
Overview
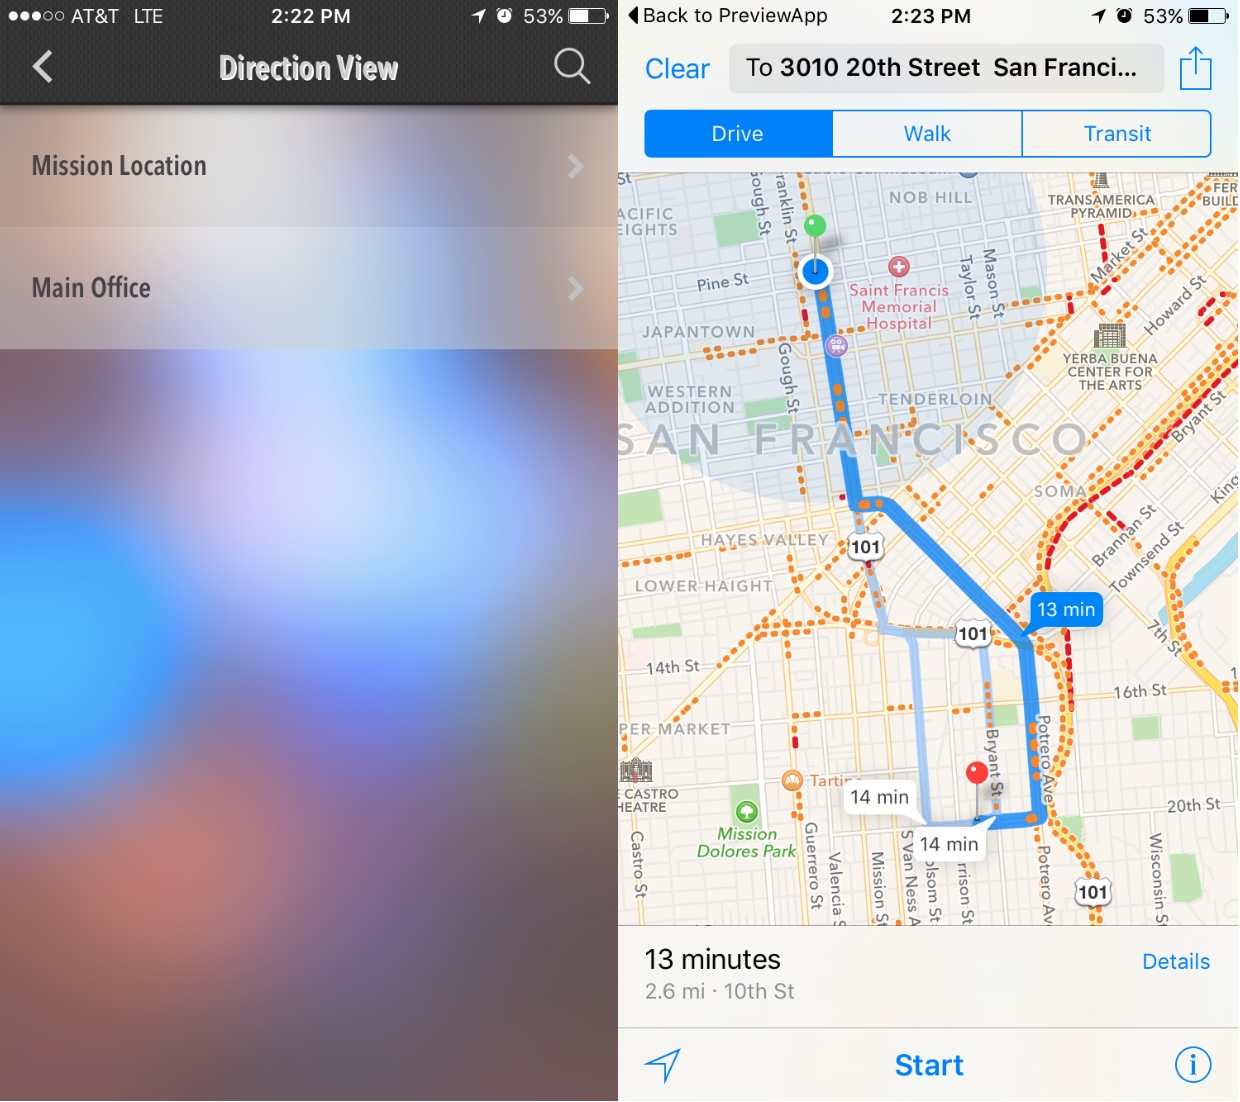
The Direction View feature offers one-touch directions to multiple locations. It is quick and easy to set up and allows you to enter as many addresses as you would like.
This article provides the steps on how to set up this feature in your app.
Information
This feature is available on the following platforms:
- iOS
- Android
This feature is recommended for the following industries:
- Restaurants
- Retail
- Small Businesses
Related features:
Process
To set up the feature, follow the steps below:
- Navigate to the Build section of your dashboard.
- Click Add Feature.
- Choose the Direction View feature from the menu, then click Select.
- Name your feature, then click Add. Your new feature will now appear in the left-side menu.
- Click on the feature to expand its menu. From the left-side menu you can:
- Use the checkbox to delete the feature.
- Click and drag the arrow icon to rearrange.
- Edit the feature icon by clicking it, then selecting a new image from the fly-up menu.
- Toggle the feature on/off.
- Jump to a specific section (e.g. Content or Custom Design) to adjust the feature settings.
Content
Here you can rename the feature and add locations.
- Under Screen Info, change your Screen / Feature Name or leave as-is. This is the name that will appear in the app’s feature menu (e.g. Get Directions instead of Direction View).
- Under Direction View, click Add New Direction. Complete the fields below, then click Add. Repeat this process for each location.
-
- Direction Title: Give your location a name.
- Address: Search for the address in the Enter the address here field or enter the coordinates in the Latitude/Longitude fields below. When you use the coordinates option, Google Maps will pull the nearest address.
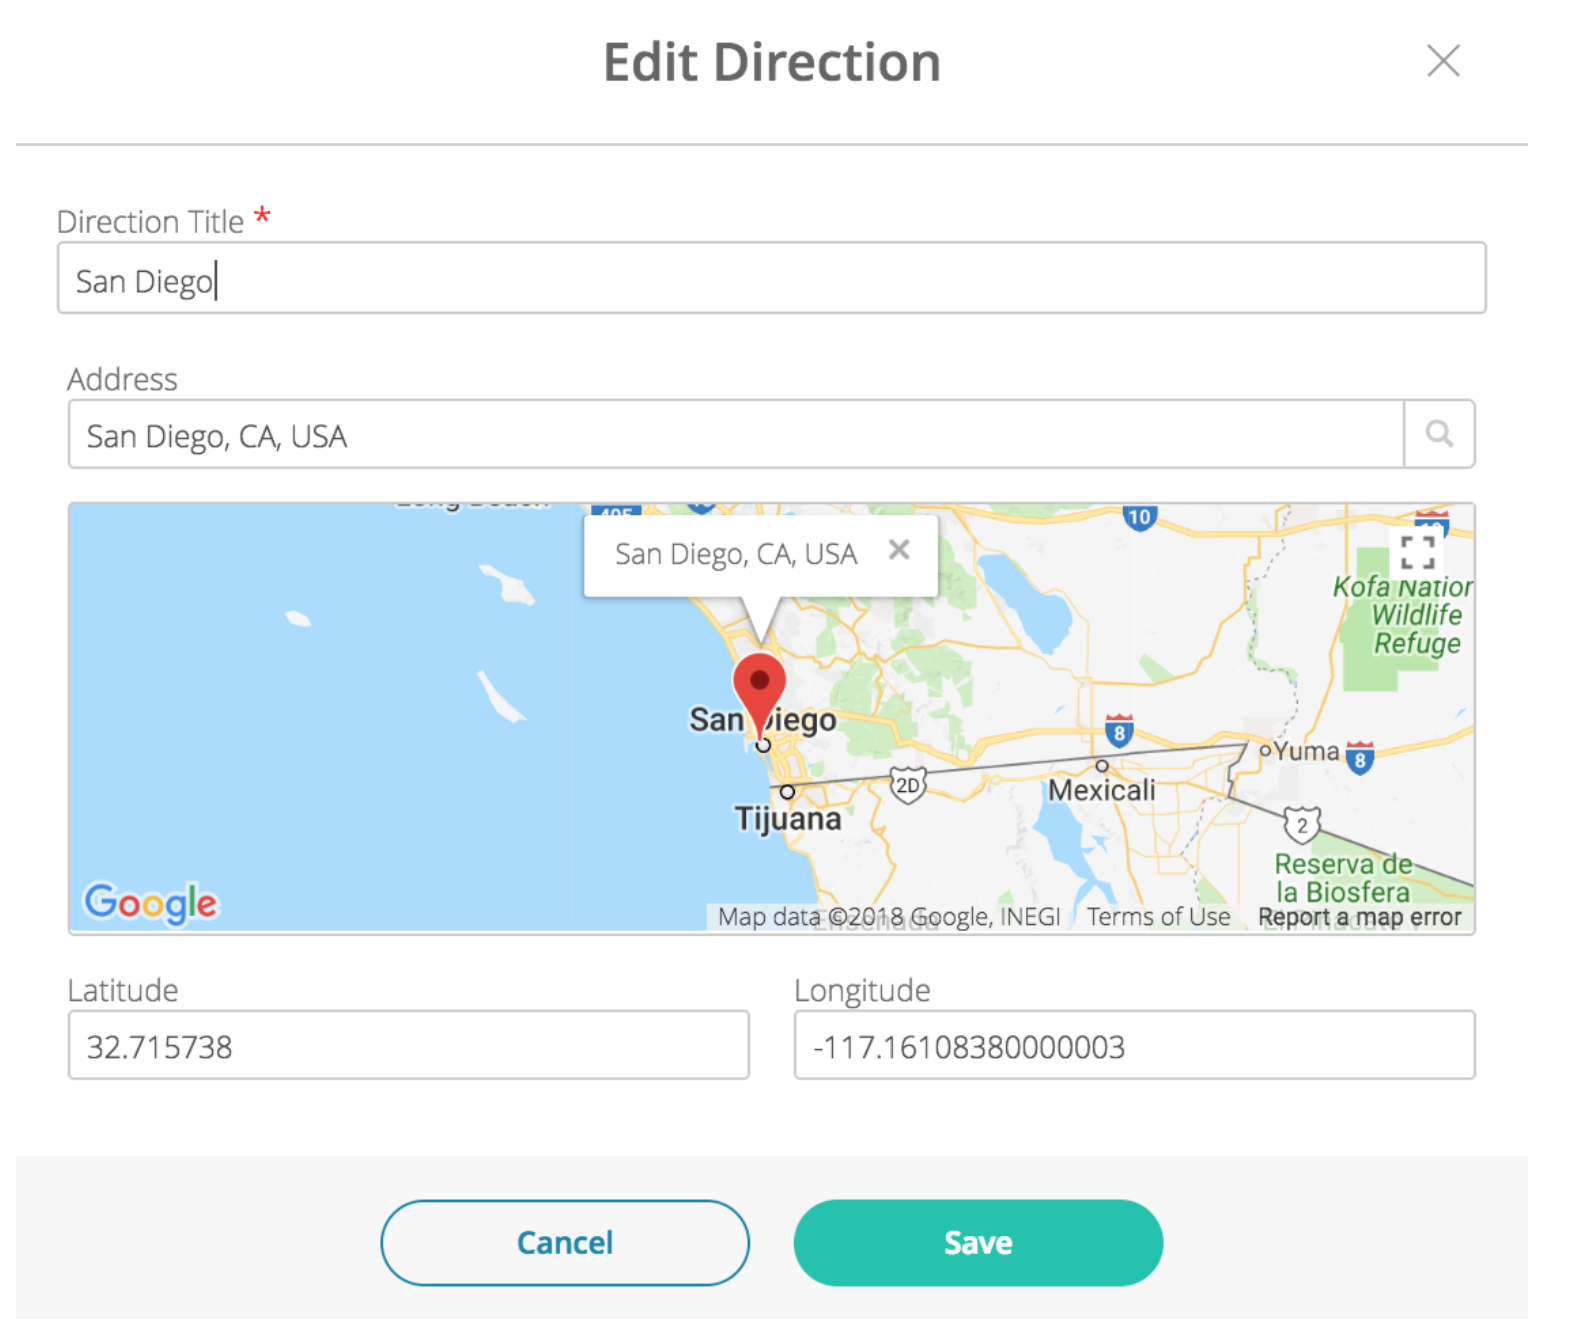
-
- Click Save when you are done.
Custom Design
If you would like to create a custom design for this feature instead of using the Global Design, please refer to the article Feature: Custom Design Area.
Examples
Posted in Features