Overview
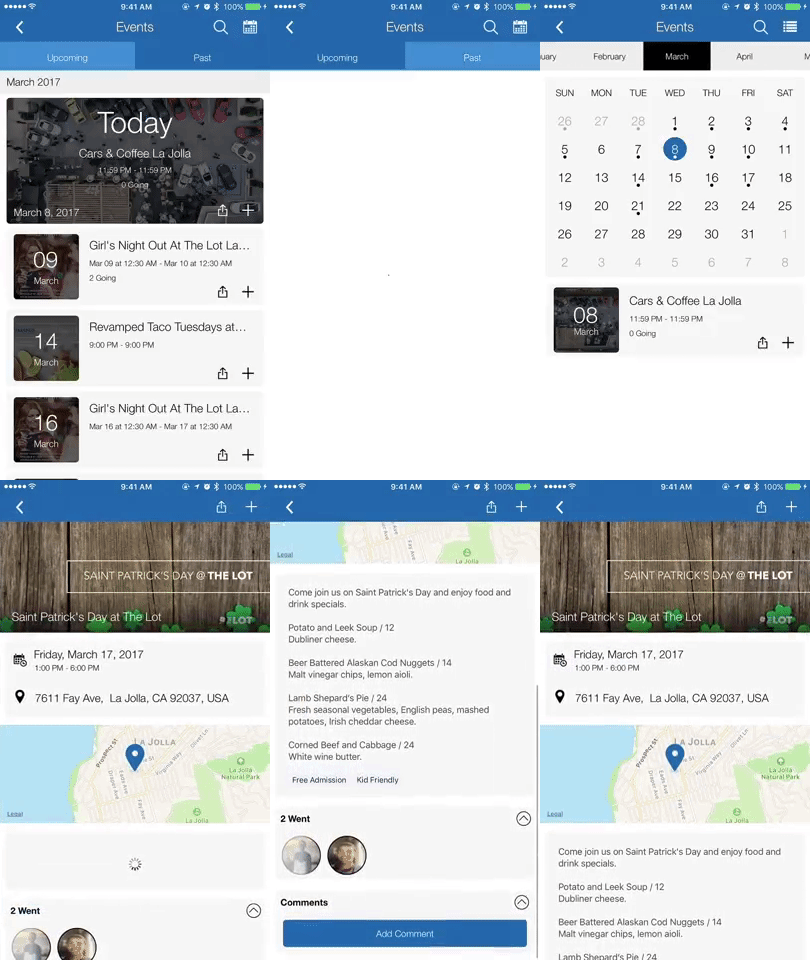
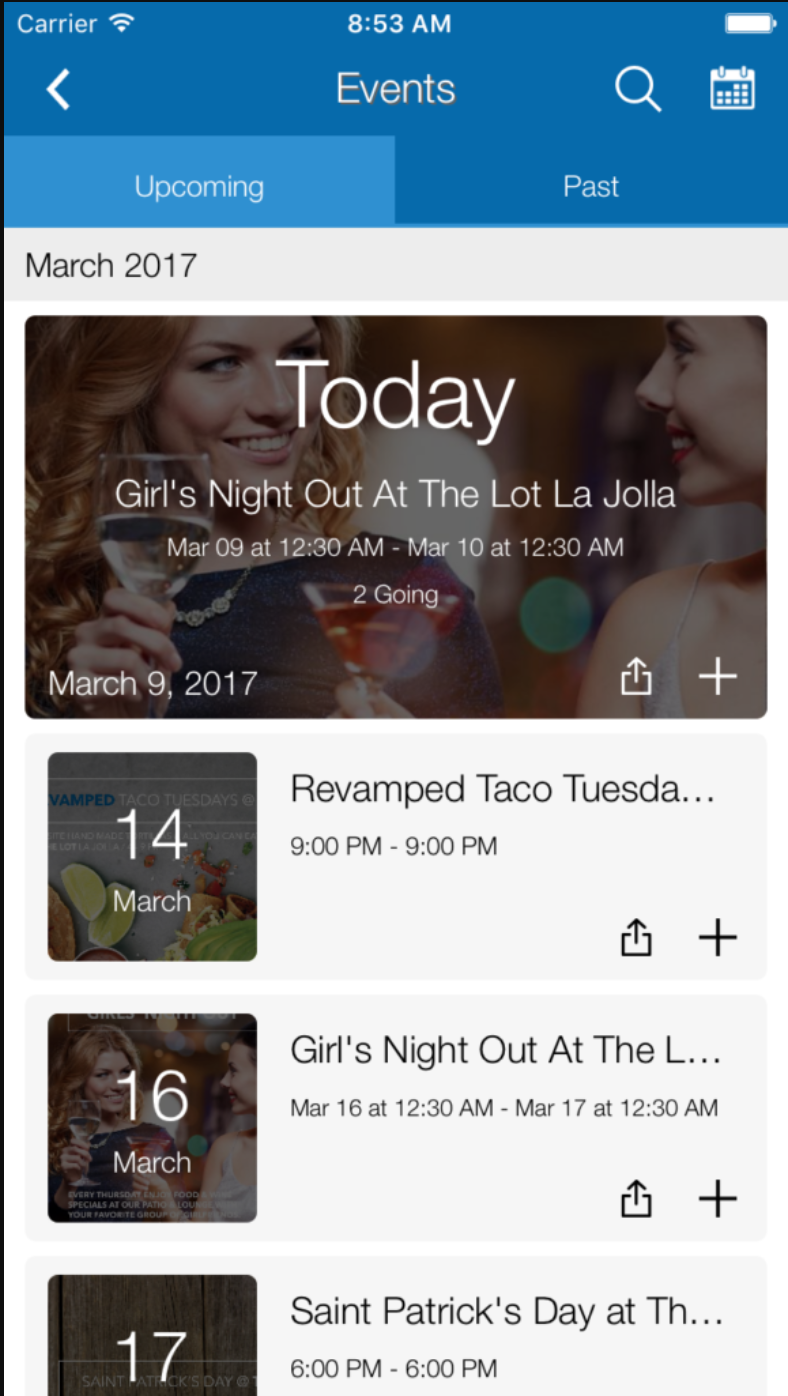
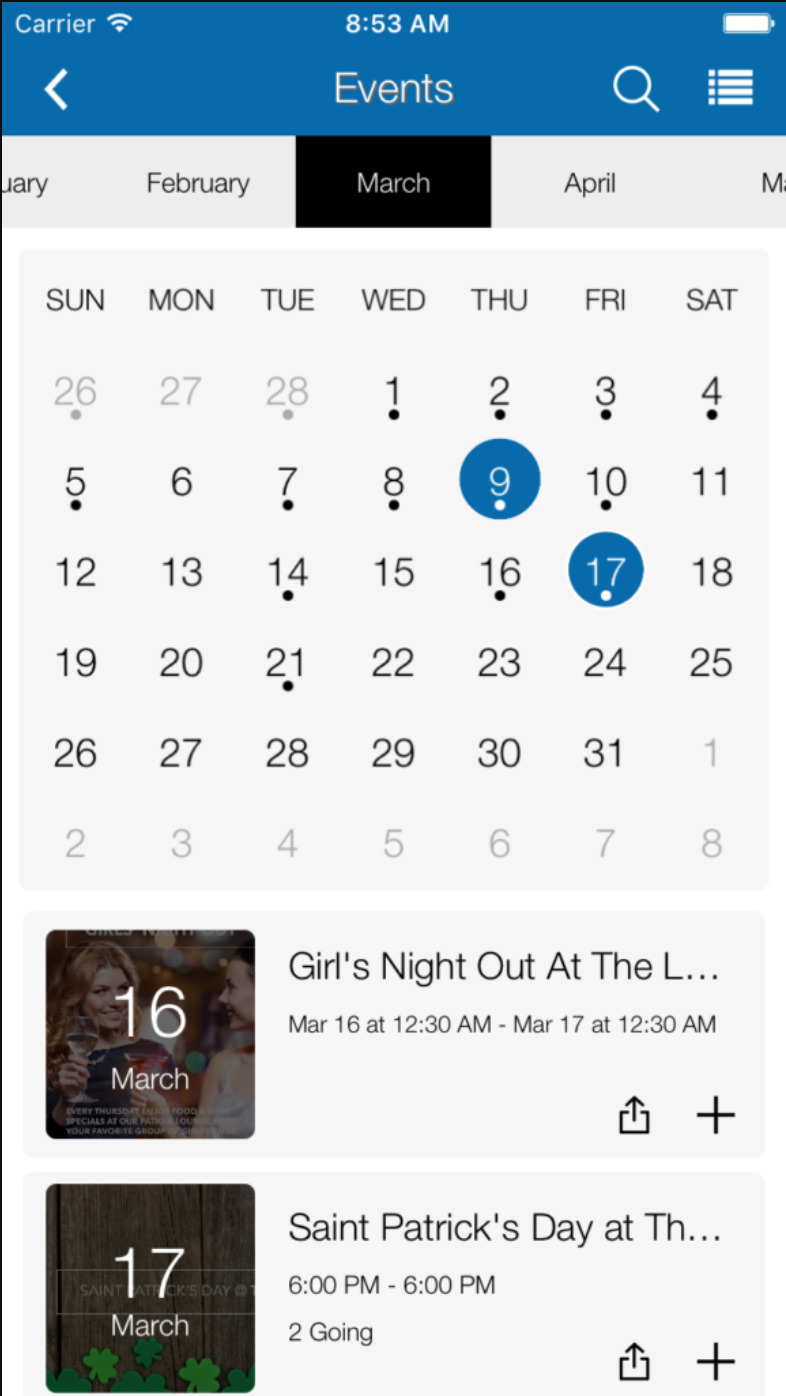
The Events v2 feature is a robust option for event promotion. An upgrade to the original Events feature, this improved option adds user engagement and social media integration, plus importing options and advanced recurring event customization.
In this article, you will learn how to set up this feature in your app.
Information
This feature is available on the following platforms:
- iOS
- Android
- HTML5
This feature is recommended for the following industries:
- Bars & Nightclubs
- Entertainment
- Venues
Monetization ideas:
- Draw attention to upcoming events your business is participating in or hosting.
- Sell advertising space for other businesses/events in your area by including them in your listings.
Process
To set up the Events v2 feature, follow the steps below:
- Navigate to Edit > Build in your dashboard.
- Click Add Feature.
- Choose the Events v2 feature from the menu, then click Select.
- Name your feature, then click Add. Your new feature will now appear in the left-side menu.
- Click on the feature to expand its menu. From the left-side menu you can do the following:
- Use the checkbox to delete the feature.
- Click and drag the arrow icon to rearrange.
- Edit the feature icon by clicking it, then selecting a new image from the fly-up menu.
- Toggle the feature on/off.
- Jump to a specific section (e.g. Content or Custom Design) to adjust the feature settings.
Content
Here you can rename the feature, adjust the settings, and add events.
- Under Screen Info, change your Screen / Feature Name or leave as-is. This is the name that will appear in the app’s feature menu (e.g. Tour Dates instead of Events v2).
- Under Settings, check the box to enable specific options.

- Auto Deactivate: Your events will deactivate (stop appearing in the app) automatically two weeks from their start date.
- Populate Recurring Events: Select the number of weeks in advance you would like recurring events to generate and appear within the app.
- Input your event information and click Save at the top right when you are done.
Custom Design
If you would like to create a custom design for this feature instead of using the Global Design, please refer to the article Feature: Custom Design Area.
User Activity
- Comments: User comments will appear here with the date, username, and comment text.
- Attendees: Attendees will appear here with the date and username. You can check the box to the left of an attendee then click the trash can icon to remove them.
Examples
 |
 |
 |
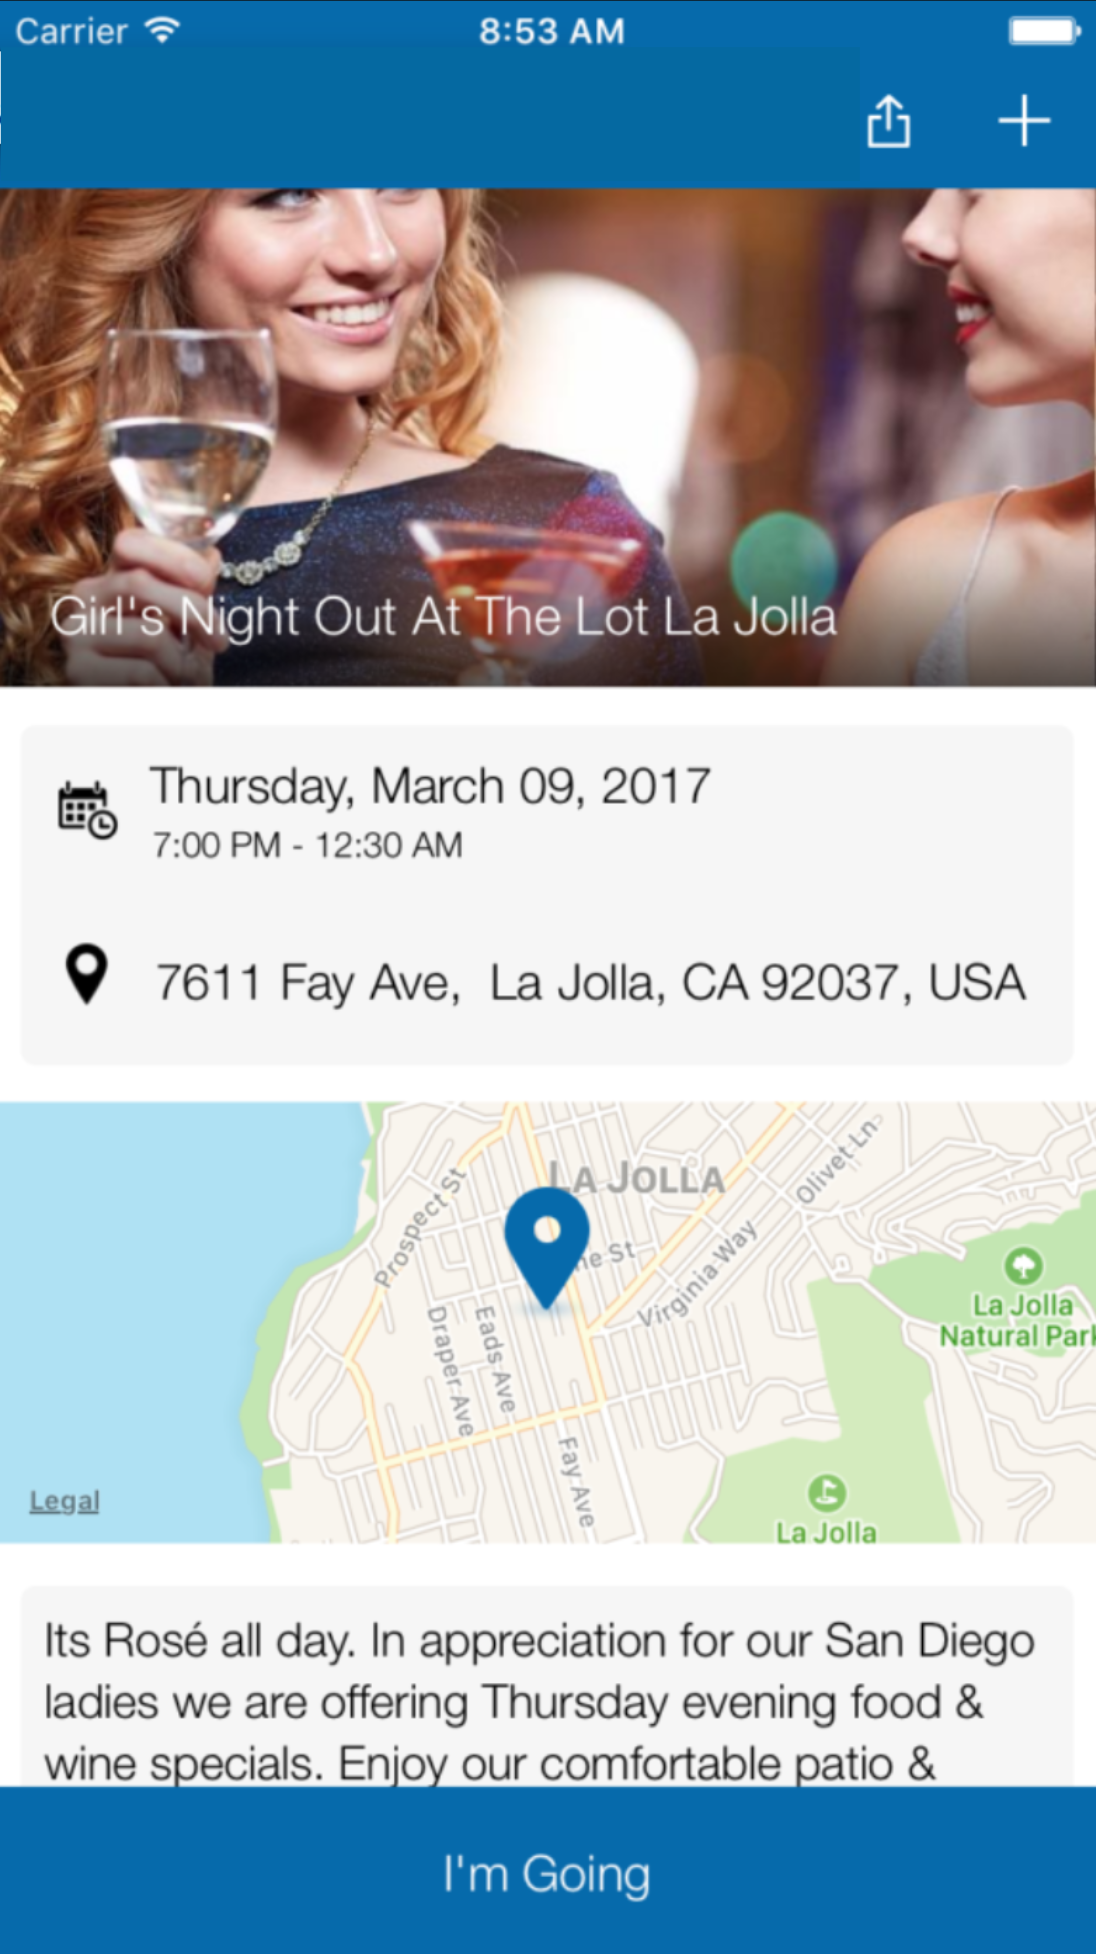 |
Posted in Features
