
Overview
The Golf Courses feature is the perfect option for golf courses that want to modernize their business. Users can view holes and scores games right from their phones.
This article provides the steps to set up this feature in your app.
Information
This feature is available on the following platforms:
- iOS
- Android
This feature is recommended for the following industry:
- Golf Courses
Process
To set up this feature, follow the steps below:
- Click Add Feature.
- Choose the Golf Courses feature from the menu, then click Select.
- Name your feature, then click Add. Your new feature will now appear in the left-side menu.
- Click on the feature to expand its menu. From the left-side menu you can do the following:
- Use the checkbox to delete the feature.
- Click and drag the arrow icon to rearrange.
- Edit the feature icon by clicking it, then selecting a new image from the fly-up menu.
- Toggle the feature on/off.
- Jump to a specific section (e.g. Content or Custom Design) to adjust the feature settings.
Content
Here you can rename the feature, customize the settings, and add the course data.
- Under Screen Info, change your Screen / Feature Name or leave as-is. This is the name that will appear in the app’s feature menu (e.g. My Golf Game instead of Golf Courses).
- Under Settings, check the boxes or use the dropdown menu to enable specific options.
- Transparent Overlay: The feature’s background image will have a transparent overlay added to increase visibility when this option is enabled.
- Select Your Units: Specify whether distance should appear in Yards or Meters.
- Under Golf Course, you can upload a CSV file with the course data or add data manually. Click Add Course to get started. Complete the fields, then click Add. Repeat this process for each course.
- Course Name: Give your course a name.
- Course Thumbnail: Upload a thumbnail image (140x140px in PNG format) for this course.
- Select How Many Tees Your Golf Course Has: Select the proper number from the dropdown menu.
- Tee Name and Tee Color: Input the tee name and select the tee color for each tee.
- Back in Golf Course, click Add Hole. Complete the fields below, then click Add. Repeat this process for each hole.
- Select Golf Course: Select the golf course from the dropdown menu.
- Par: Input the par number.
- Handicap: Input the handicap number.
- Description: Use the WYSIWYG editor to customize the hole’s description.
- Hole Map: Upload a map image (200x200px in PNG format) for this hole.
- Front of Green/Middle of Green/Back of Green Coordinates: Enter the latitude/longitude for each one manually, or use the map function below to search for the golf course and drop the colored pins into the correct locations.
- Click Save at the top right when you are done.
Custom Design
If you would like to create a custom design for this feature instead of using the Global Design, please refer to the article Feature: Custom Design Area.
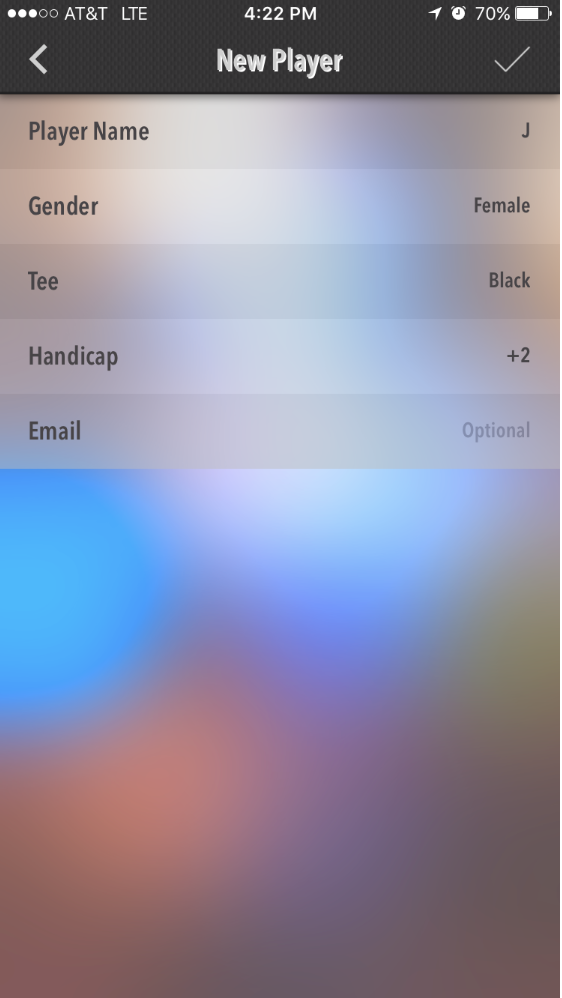
Examples


Posted in Features