
Overview
The Menu feature is essentially identical to the Info Feature (3-Tier), but instead of the option to include thumbnail images in the item list view, you can specify a price for each item.
This article provides the steps to set up this feature in your app.
Information
This feature is available on the following platforms:
- iOS
- Android
- HTML5
This feature is recommended for the following industries:
- Bars
- Restaurants
- Service Providers
Monetization ideas:
- Use it to promote what you offer! It helps to include an ordering feature as well, so users are guided toward purchase.
Related features:
Process
To set up the Menu feature, follow the steps below:
- Navigate to the Build section of your dashboard.
- Click Add Feature.
- Choose the Menu feature from the menu, then click Select.
- Name your feature, then click Add. Your new feature will now appear in the left-side menu.
- Click on the feature to expand its menu. From the left-side menu you can do the following:
- Use the checkbox to delete the feature.
- Click and drag the arrow icon to rearrange.
- Edit the feature icon by clicking it, then selecting a new image from the fly-up menu.
- Toggle the feature on/off.
- Jump to a specific section (e.g. Content or Custom Design) to adjust the feature settings.
Content
Here you can rename the feature and add categories and items.
- Under Screen Info, change your Screen / Feature Name or leave as-is. This is the name that will appear in the app’s feature menu (e.g. Services instead of Menu).
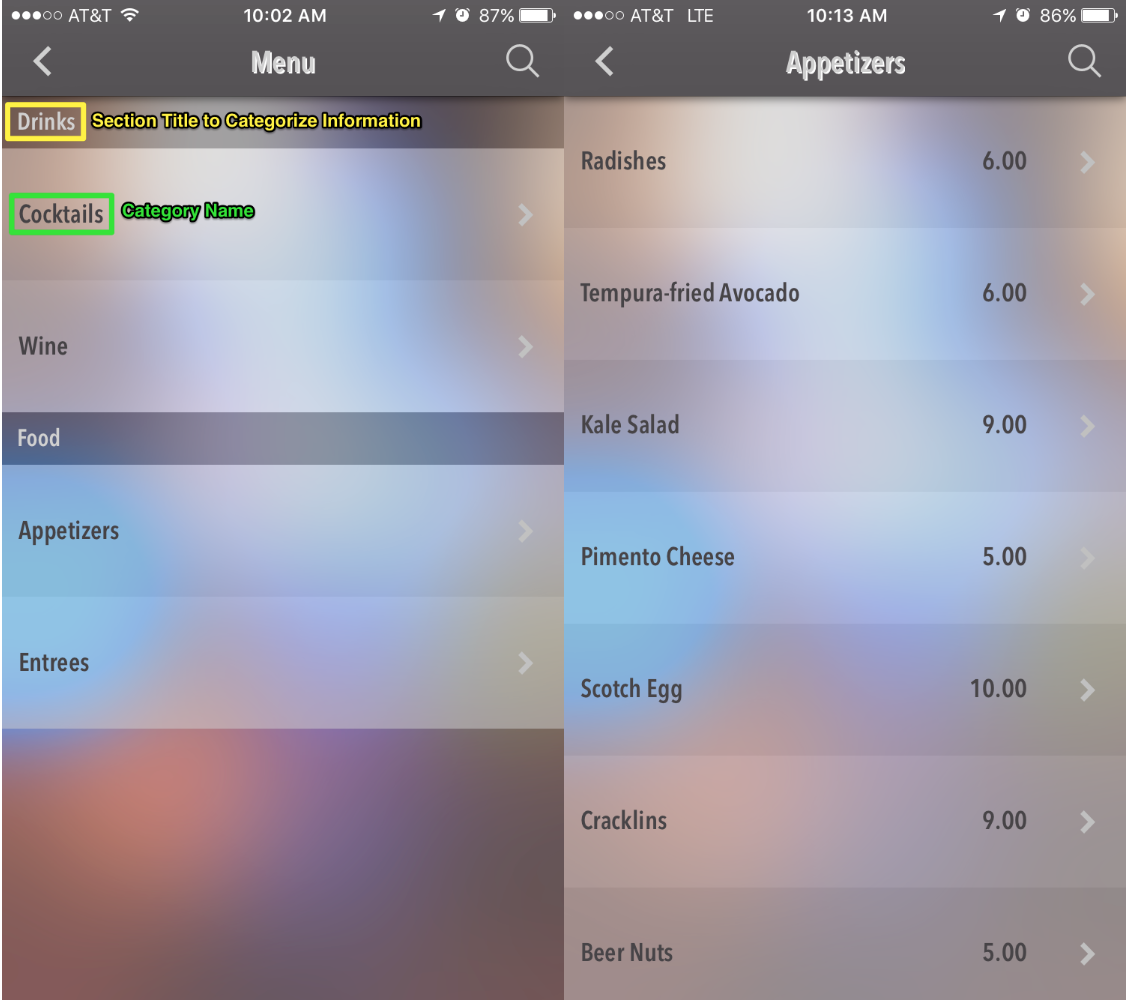
- Under Menu, click Add Category. Complete the fields below, then click Add. Repeat this process for each category.
- Section Title to Categorize Information: Name your top-tier category (e.g. Lunch Menu or Drinks).
- Category Name: Name your 2nd-tier category, which falls under the Section Title (e.g. Entrees or Cocktails).
- Back in Menu, click the category you would like to add items to, then click Add Item. Complete the fields below, then click Add. Repeat this process for each category.
- Color Settings: Toggle on to use the app’s Global Background and Text Colors. When disabled, you can customize the item’s colors:
- Background: Select the background color for the item.
- Text: Select the text color for the item.
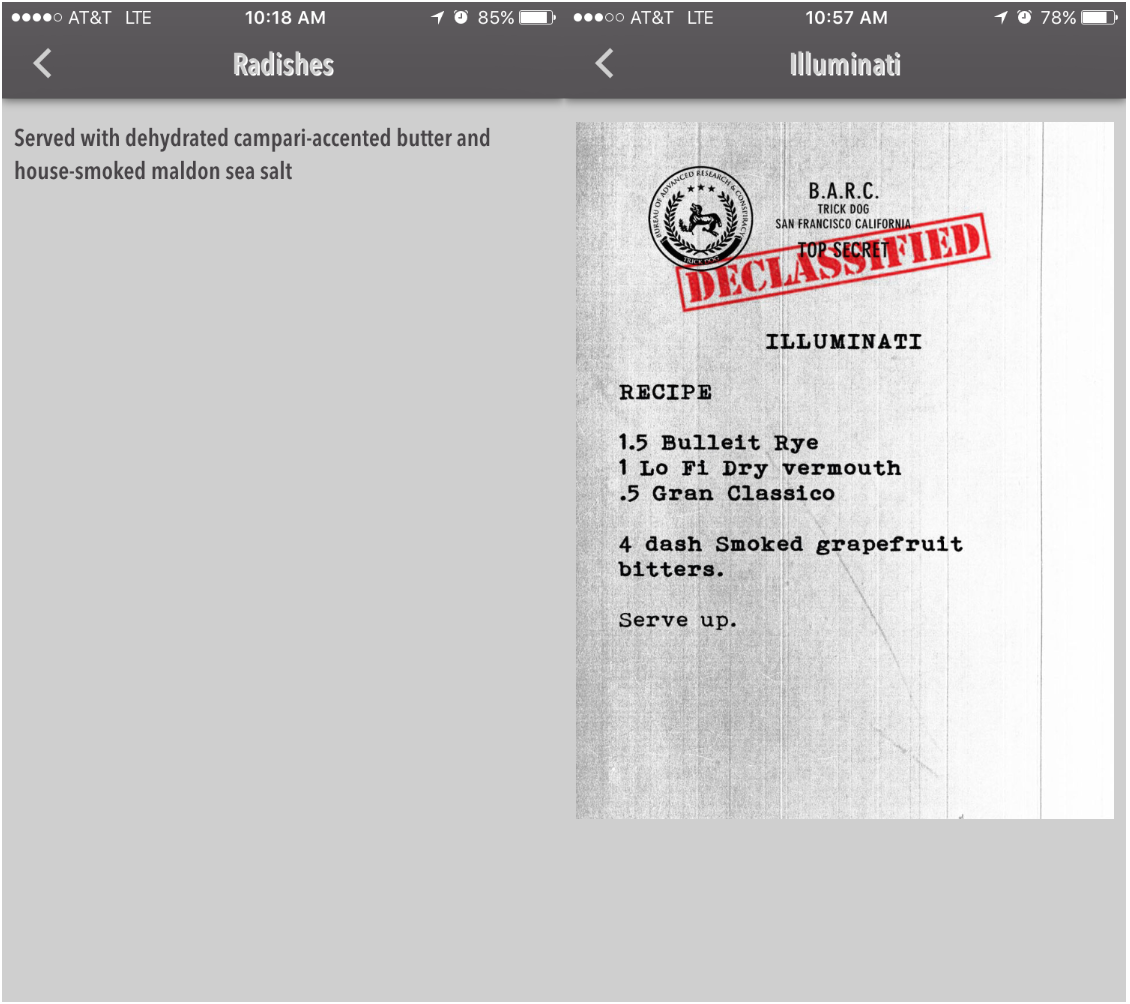
- Description: Use the WYSIWYG editor to customize the item’s description.
- Item Name: Give the item a name.
- Price: Input the item’s price.
- Color Settings: Toggle on to use the app’s Global Background and Text Colors. When disabled, you can customize the item’s colors:
- Click Save at the top right when you are done.
Custom Design
If you would like to create a custom design for this feature instead of using the Global Design, please refer to the article Feature: Custom Design Area.
Examples
Posted in Features