Overview
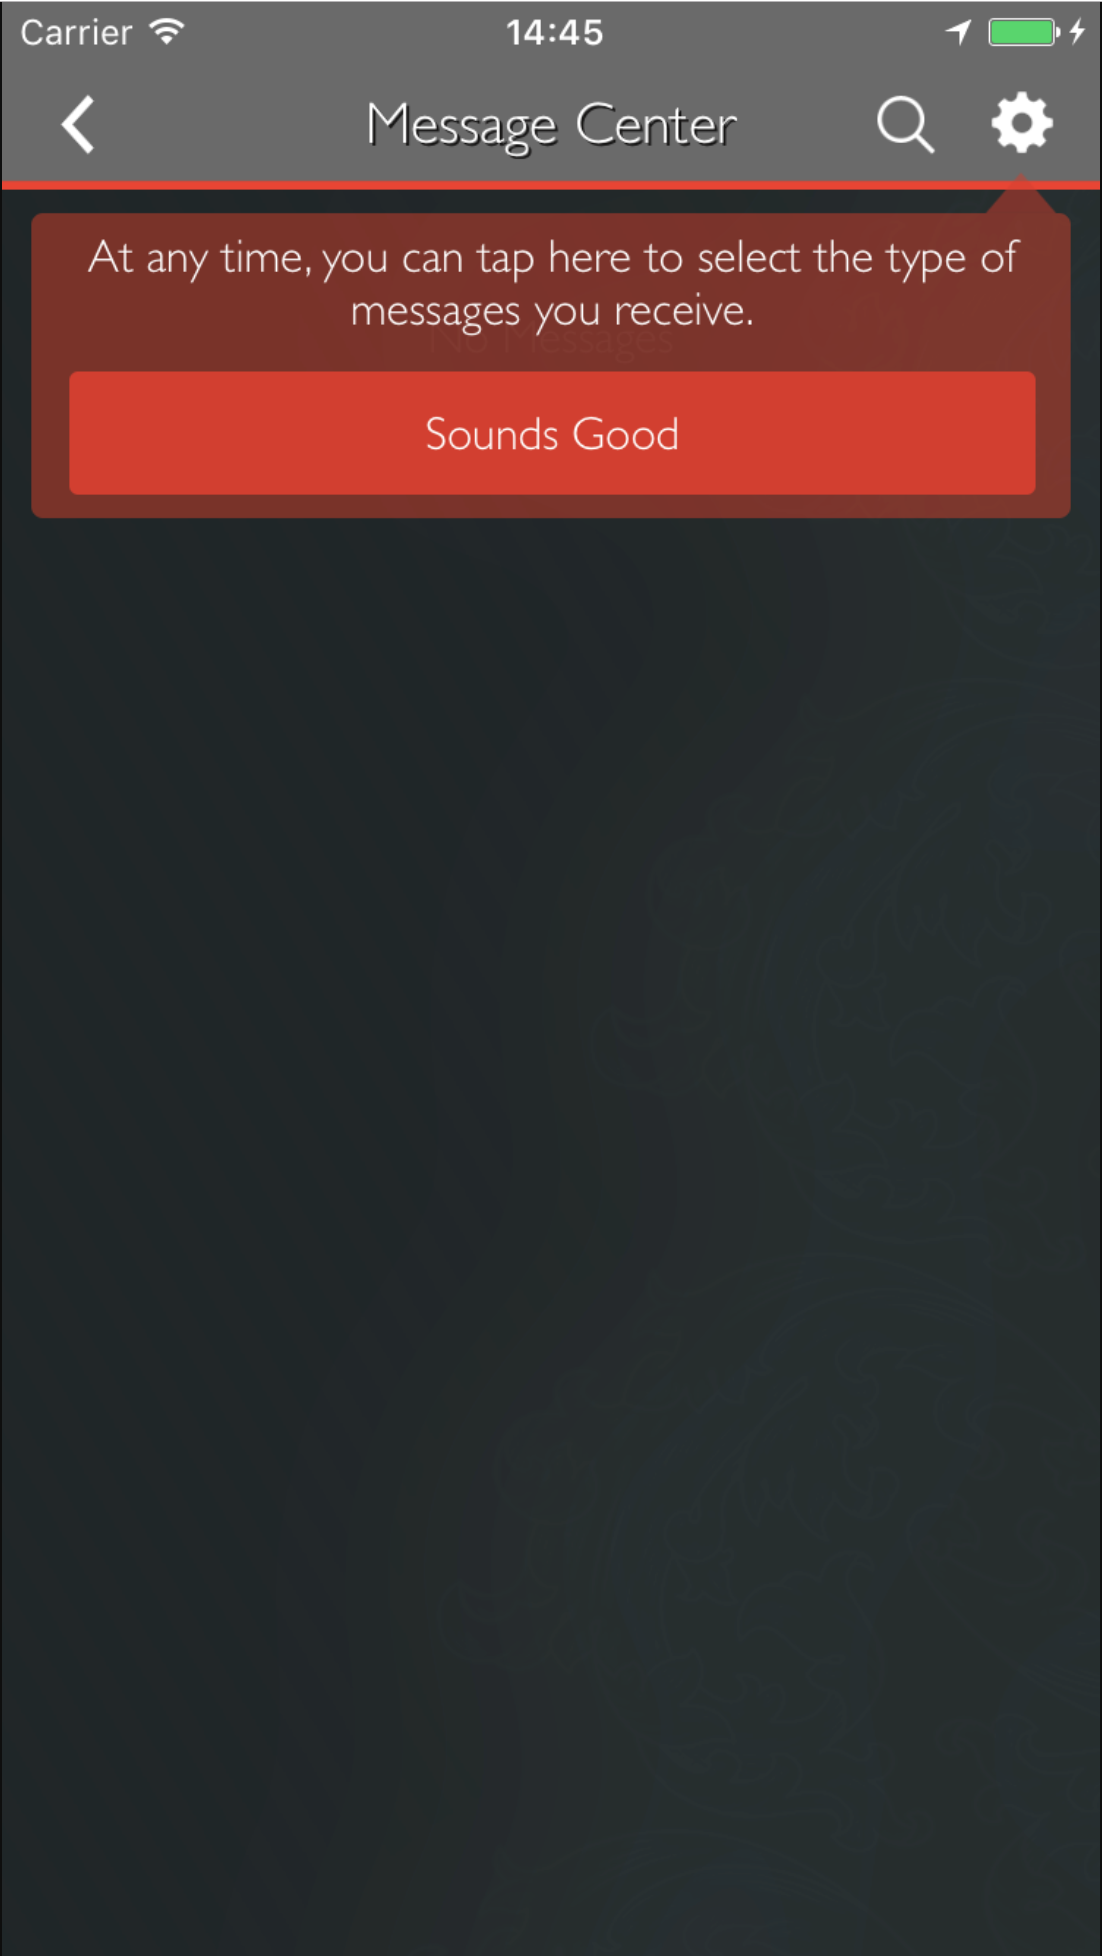
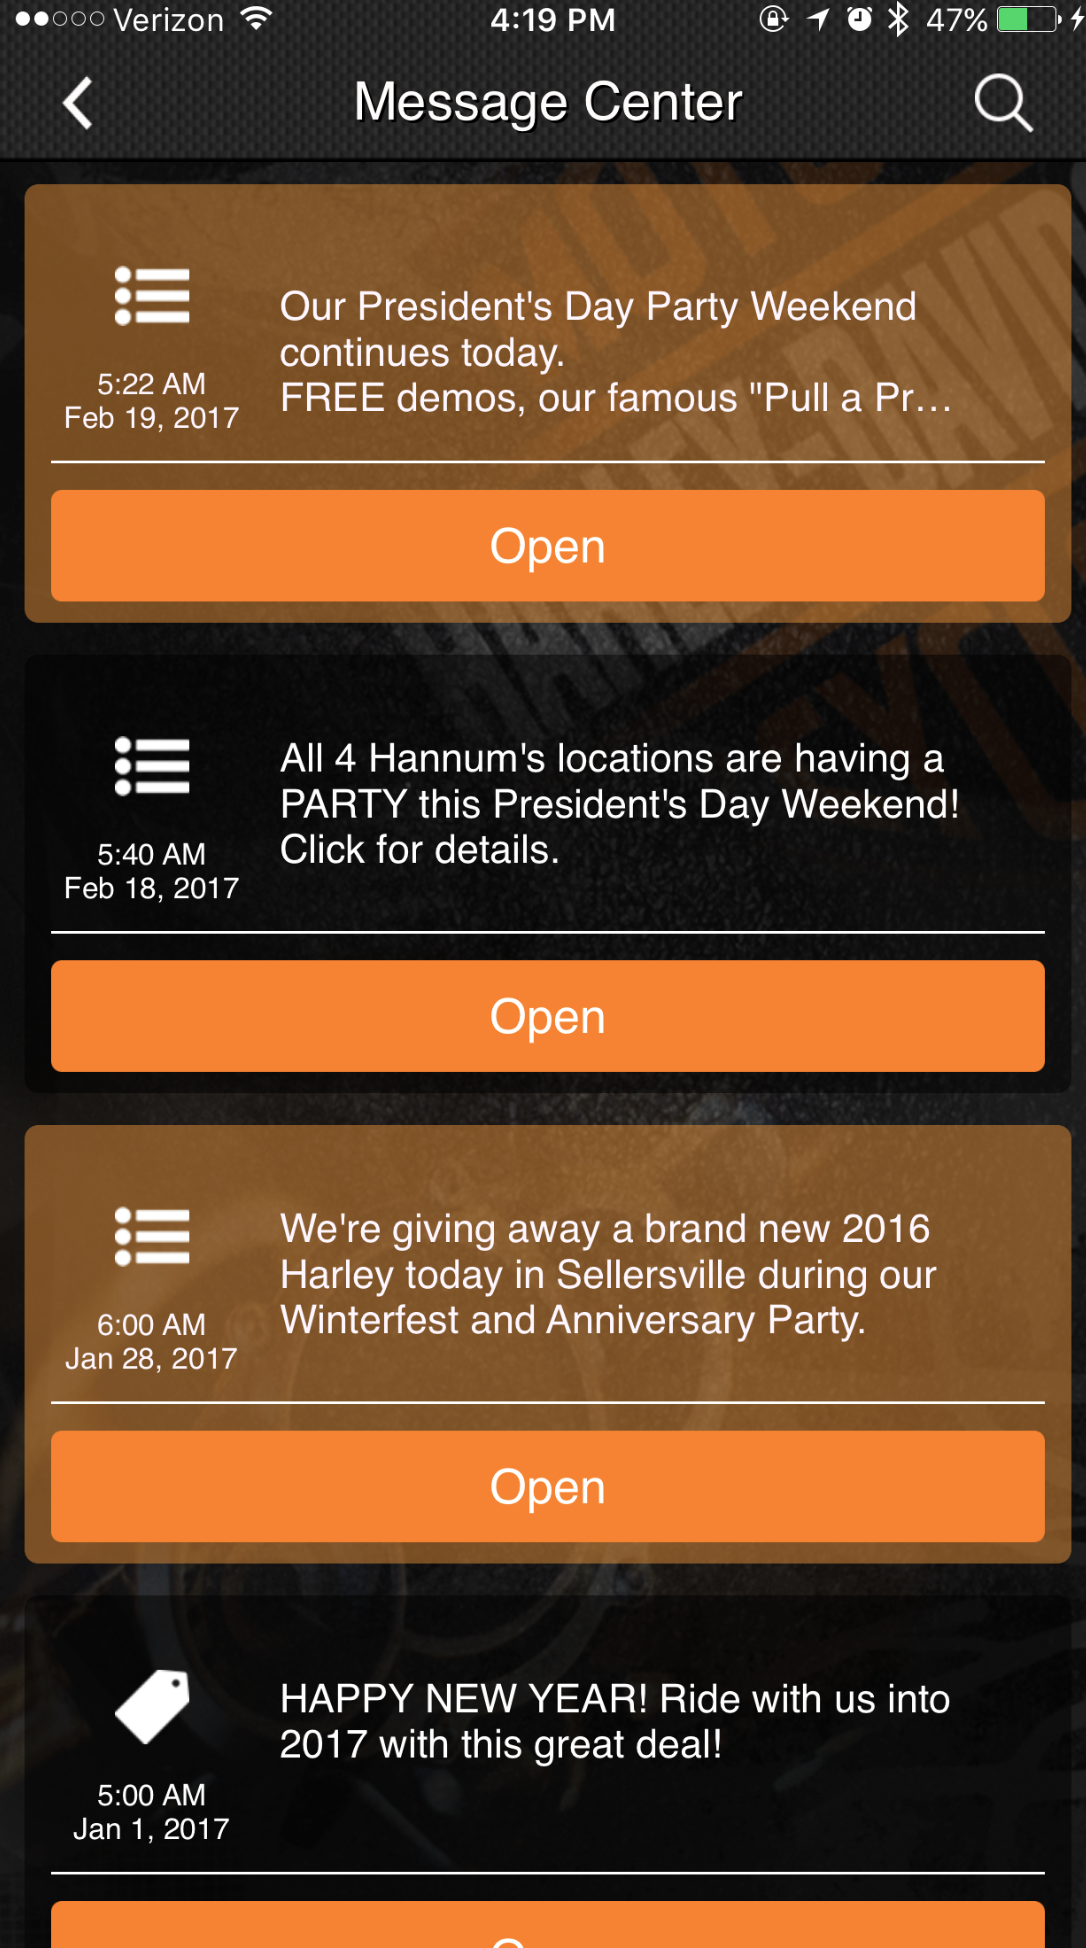
The Messages feature serves as your users’ ‘storehouse’ for received push notifications. It allows users to refer back to previous push notifications they may have missed at receiving time. From within the feature, users can view plain text, template, and linked push notifications’ content.
If you decide to enable the option, users can also subscribe to message lists to receive push notifications tailored to their interests.
In this article, you will learn how to set up this feature in your app.
Information
This feature is available on the following platforms:
- iOS
- Android
Related features:
Process
To set up the Messages feature, follow the steps below:
- Navigate to Edit > Build in your dashboard.
- Click Add Feature.
- Choose the Messages feature from the menu, then click Select.
- Name your feature, then click Add. Your new feature will now appear in the left-side menu.
- Click on the feature to expand its menu. From the left-side menu you can do the following:
- Use the checkbox to delete the feature.
- Click and drag the arrow icon to rearrange.
- Edit the feature icon by clicking it, then selecting a new image from the fly-up menu.
- Toggle the feature on/off.
- Jump to a specific section (e.g. Content or Custom Design) to adjust the feature settings.
Content
Here you can rename the feature, configure the settings, and add subscriptions.
- Under Screen Info, change your Screen / Feature Name or leave as-is. This is the name that will appear in the app’s feature menu (e.g. Updates instead of Messages).
- Under Settings, check the box to enable specific options.
- Display Messages Screen: Choose how to display your Messages feature.
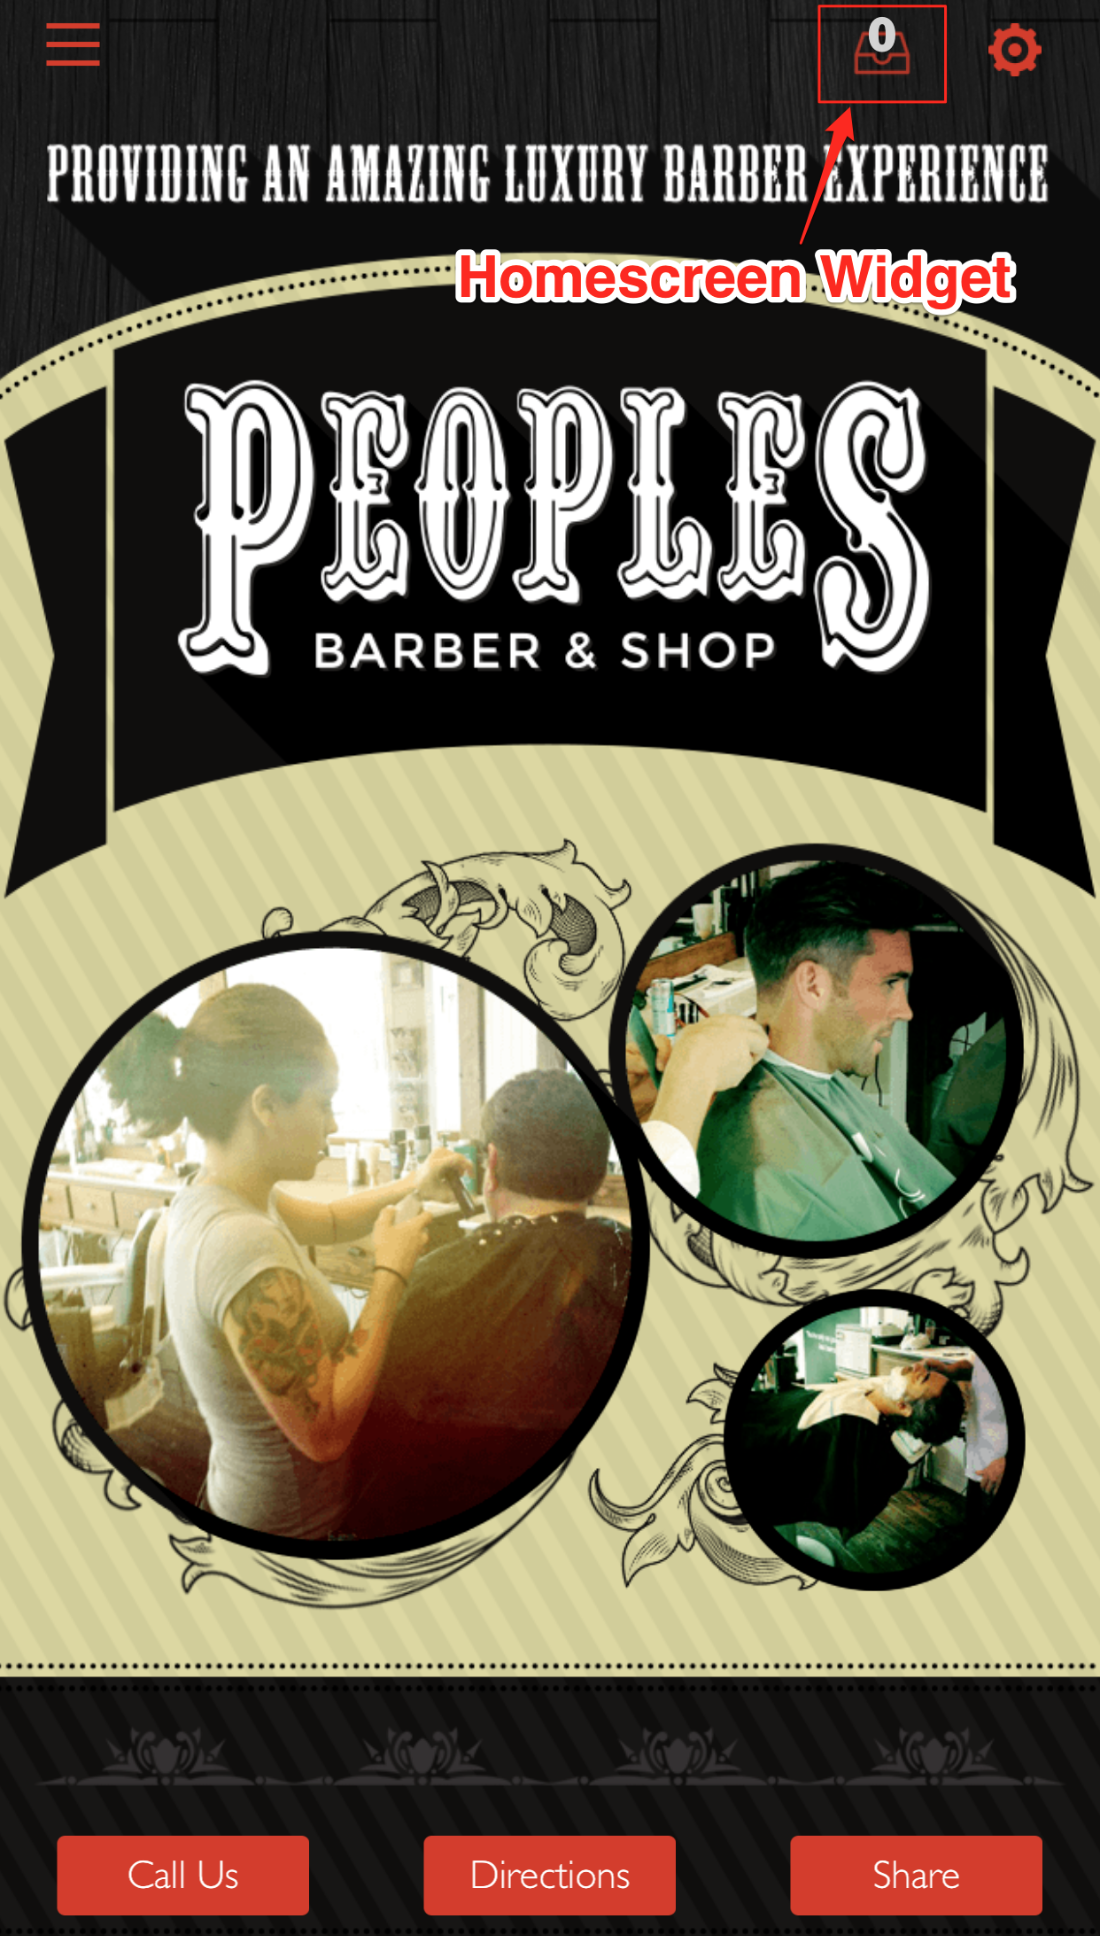
- Homescreen Widget: The Messages shortcut will appear on the app’s home screen when this setting is enabled.
- Display Widget Only: The homescreen widget will appear but the actual Messages feature will be hidden from the feature menu when this setting is enabled.
- Display Messages Screen: Choose how to display your Messages feature.
- Under Homescreen Widget, configure the Messages shortcut settings (this section will only appear if you have enabled Homescreen Widget under Settings).
- Icon Location: Select the widget’s positioning (Left Side of Screen or Right Side of Screen) on the home screen.
- Icon Opacity: Select the widget opacity. The farther to the right, the more opaque (visible) the shortcut will be.
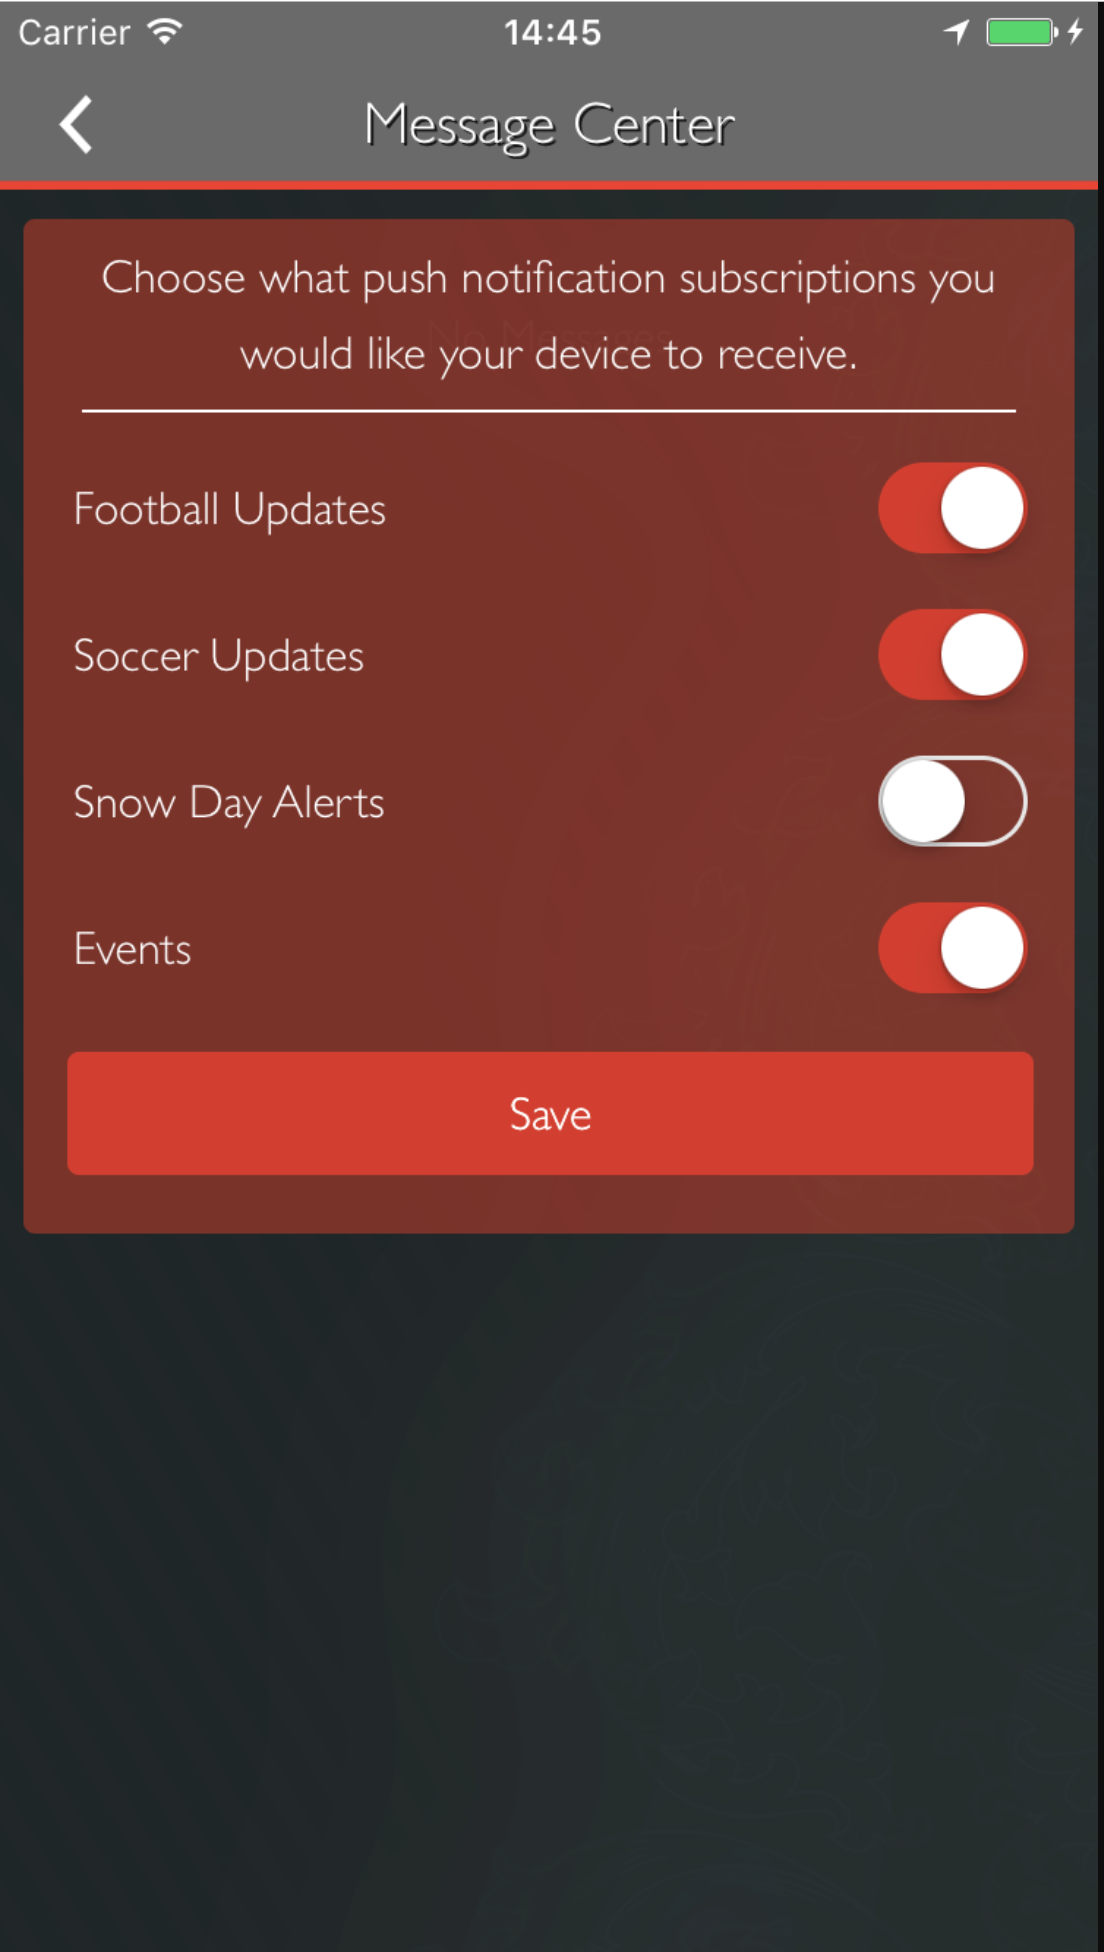
- Under Subscription Service, toggle on Subscription-Based Push Notes to create unique message lists.
- Users can subscribe to these lists to receive push notifications tailored to their interests.
- Click Add Subscription and type the name of the subscription in the fields. Repeat this process for each subscription.
- Click Save at the top right when you are done.
Custom Design
If you would like to create a custom design for this feature instead of using the Global Design, please refer to the article Feature: Custom Design Area.
Examples