
Overview
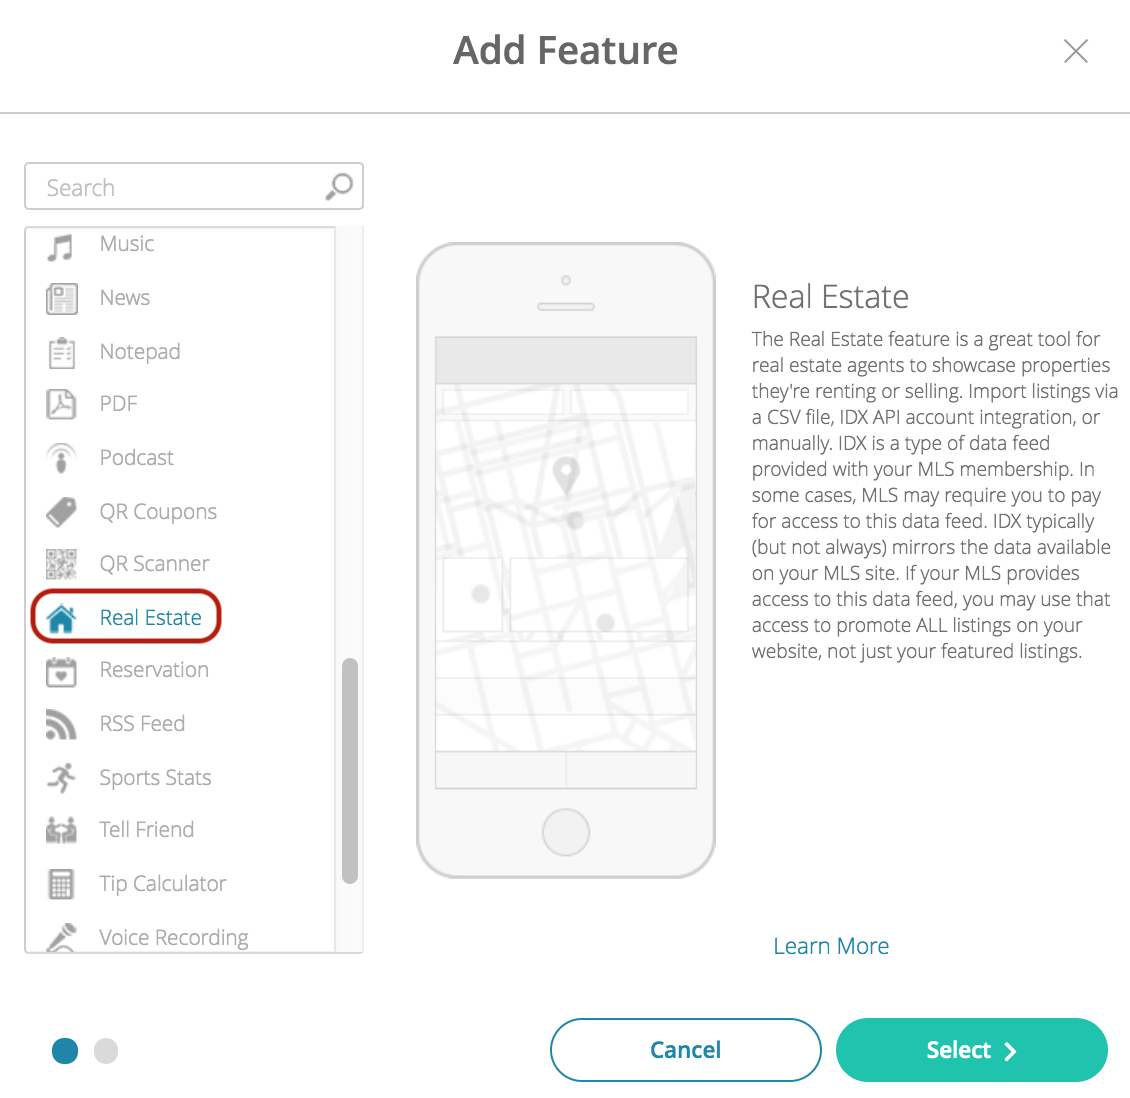
The Real Estate feature is a great tool for real estate agents to showcase properties they are renting out or selling. Realtors can easily upload their listings using a CSV file or sync with their IDX account.
In this article, you will learn how to set up this feature in your app.
Information
Available on:
- iOS
- Android
Great for these industries:
- Real Estate/Realtor
Monetization ideas:
- Sell listing space in-app to other realtors.
Process
To set up the Real Estate feature, follow the steps below:
- Navigate to the Build section on your dashboard.
- Click Add Feature.
- Choose the Real Estate feature from the menu, then click Select.
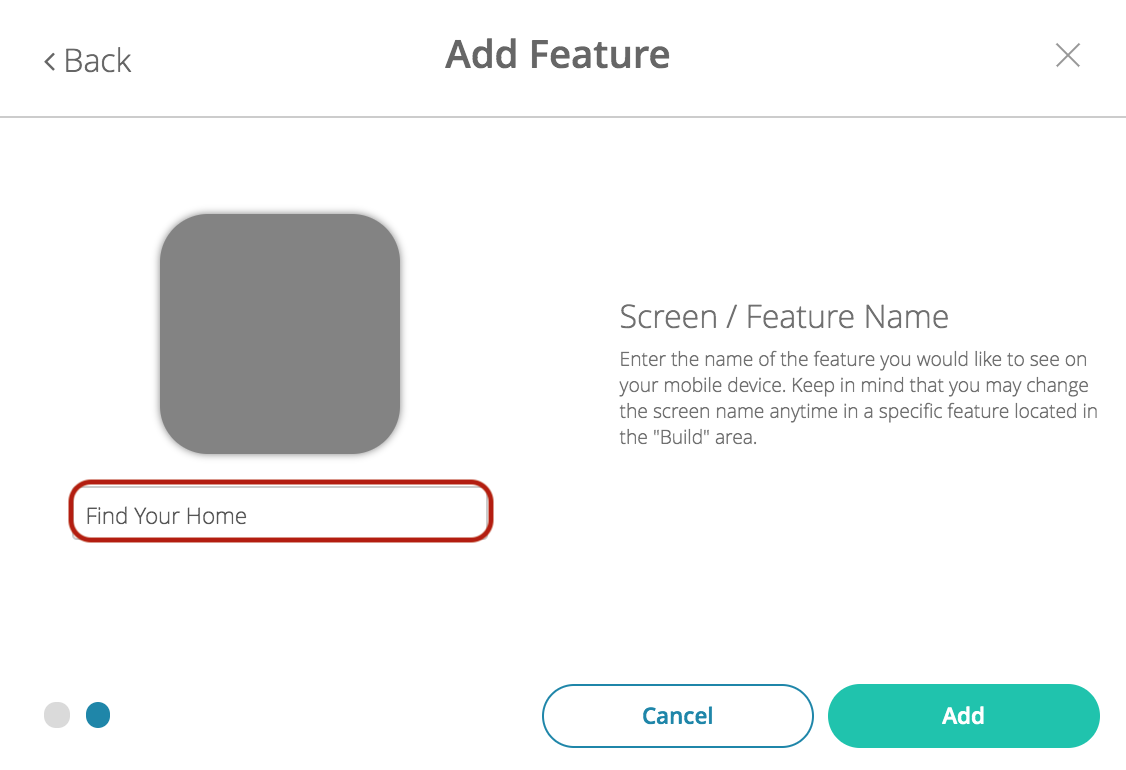
- Name your feature, then click Add. Your new feature will now appear in the left-side menu.
- Click on the feature to expand its menu. From the left-side menu you can do the following:
- Use the checkbox to delete the feature.
- Click and drag the arrow icon to rearrange.
- Edit the feature icon by clicking it, then selecting a new image from the fly-up menu.
- Toggle the feature on/off.
- Jump to a specific section (e.g. Content or Custom Design) to adjust the feature settings.
Content
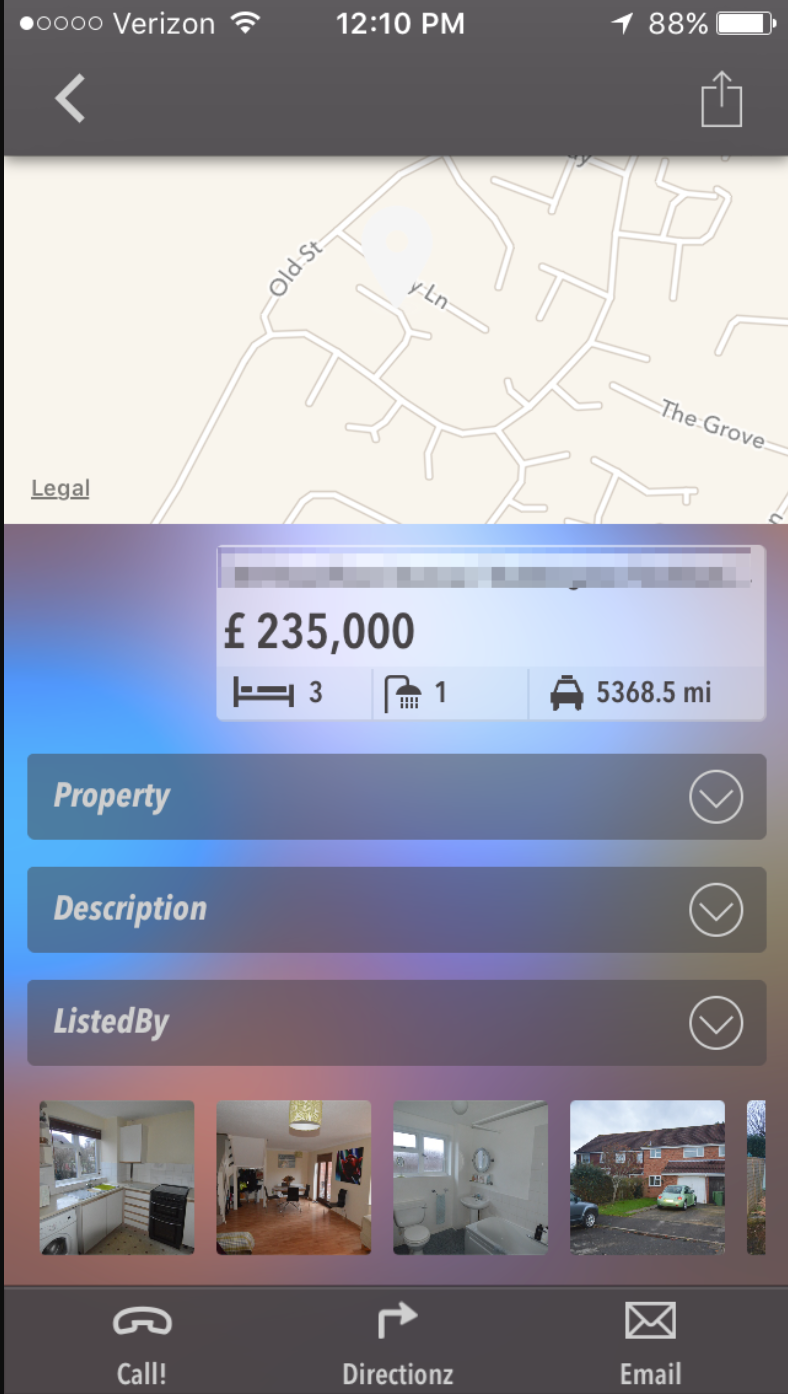
Here you can rename the feature and add property listings.
- Under Screen Info, change your Screen / Feature Name or leave as-is. This is the name that will appear in the app’s feature menu (e.g. Find Your Home instead of Real Estate).
- Under Settings, slide the toggle-enable specific options.
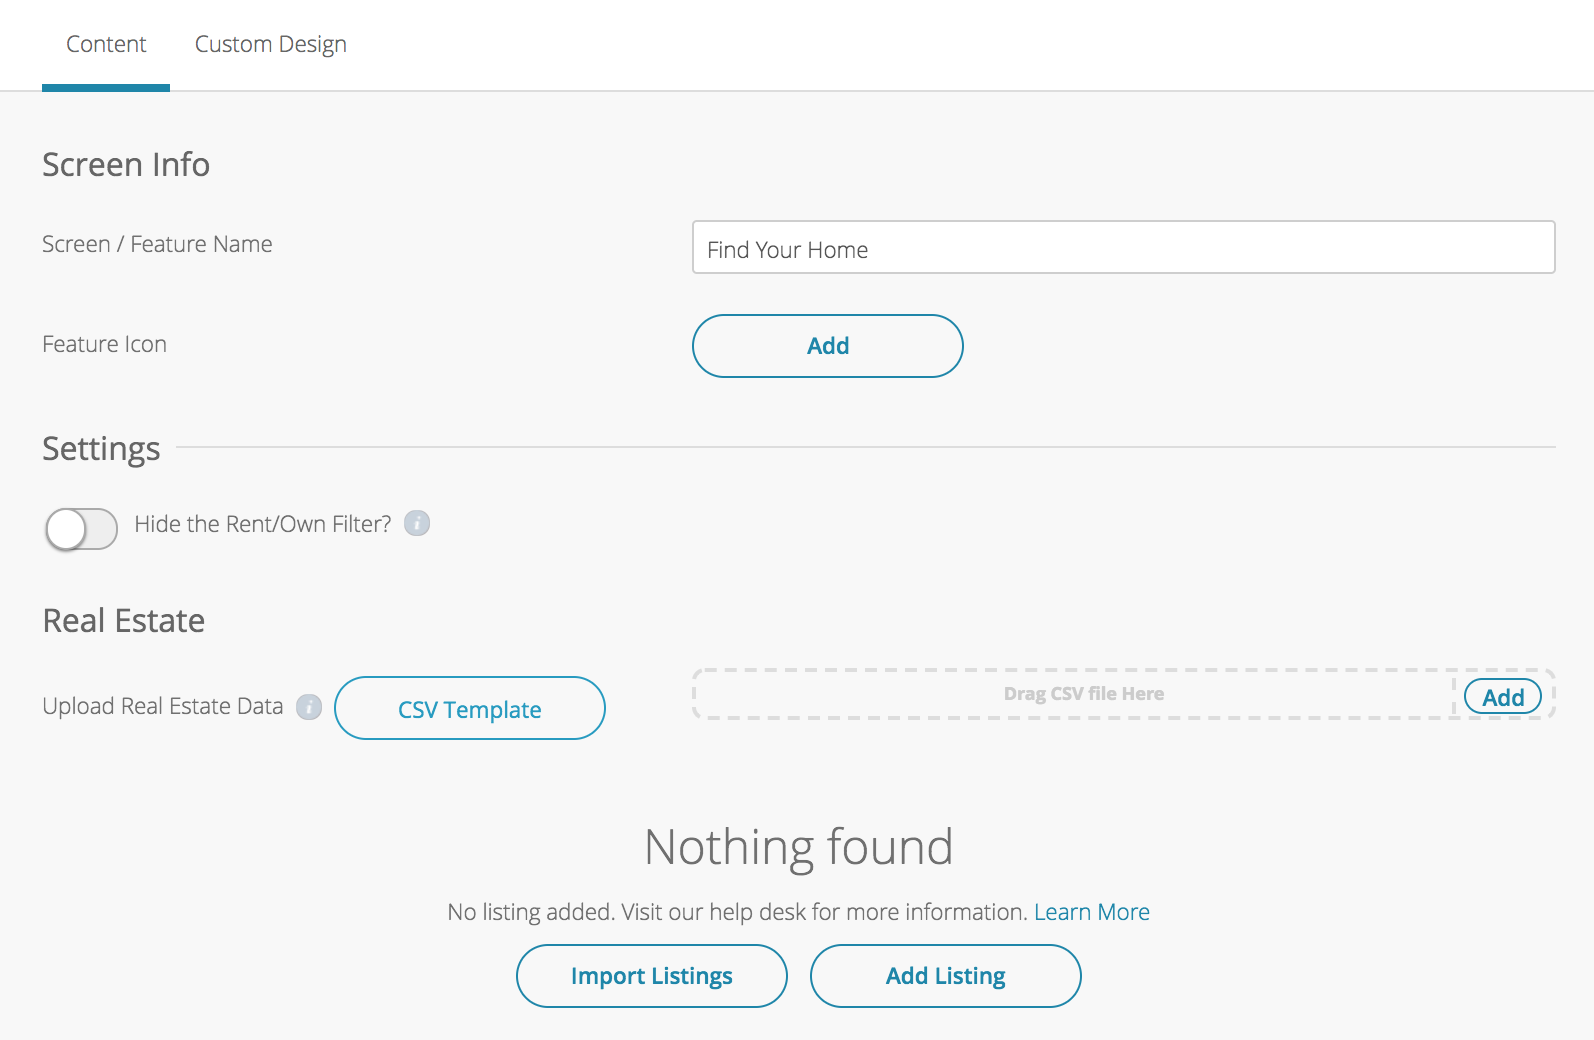
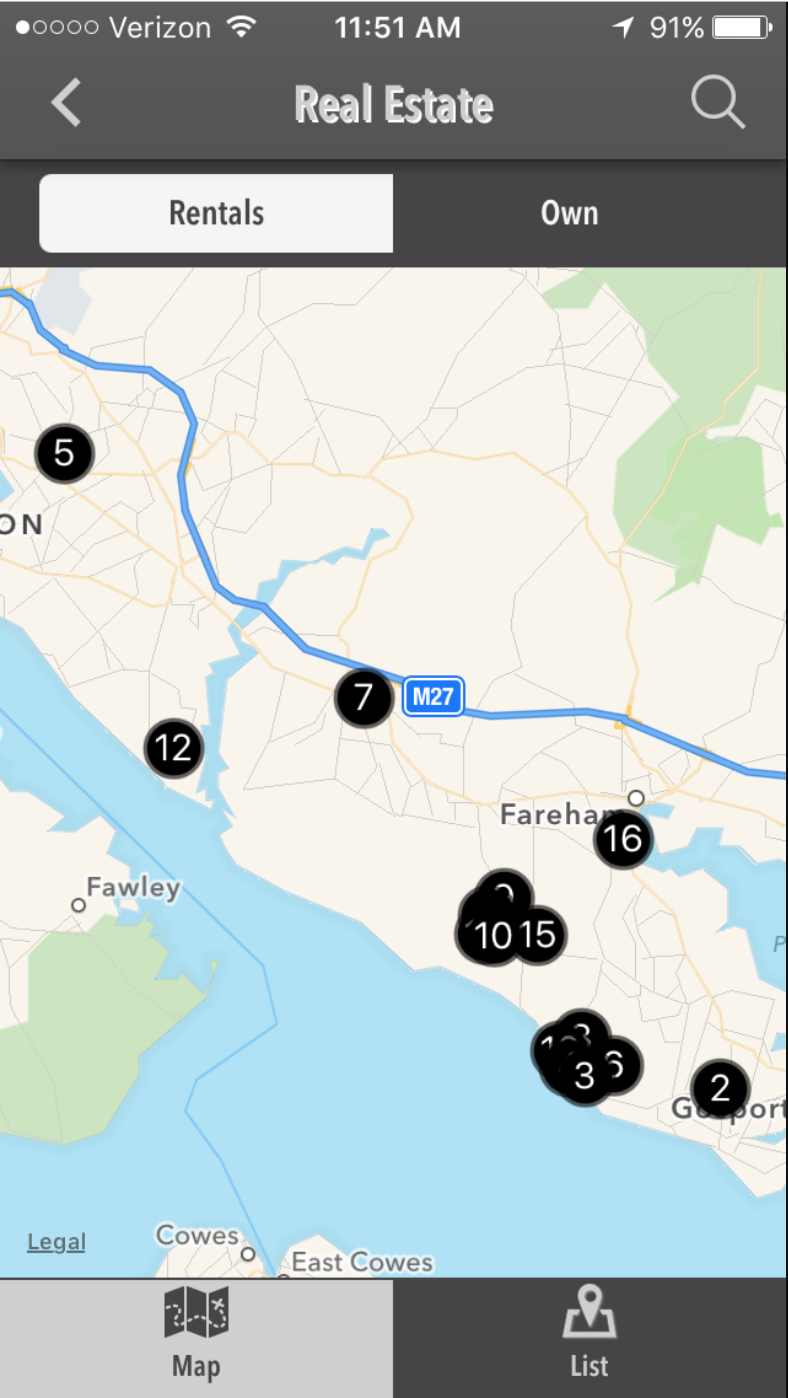
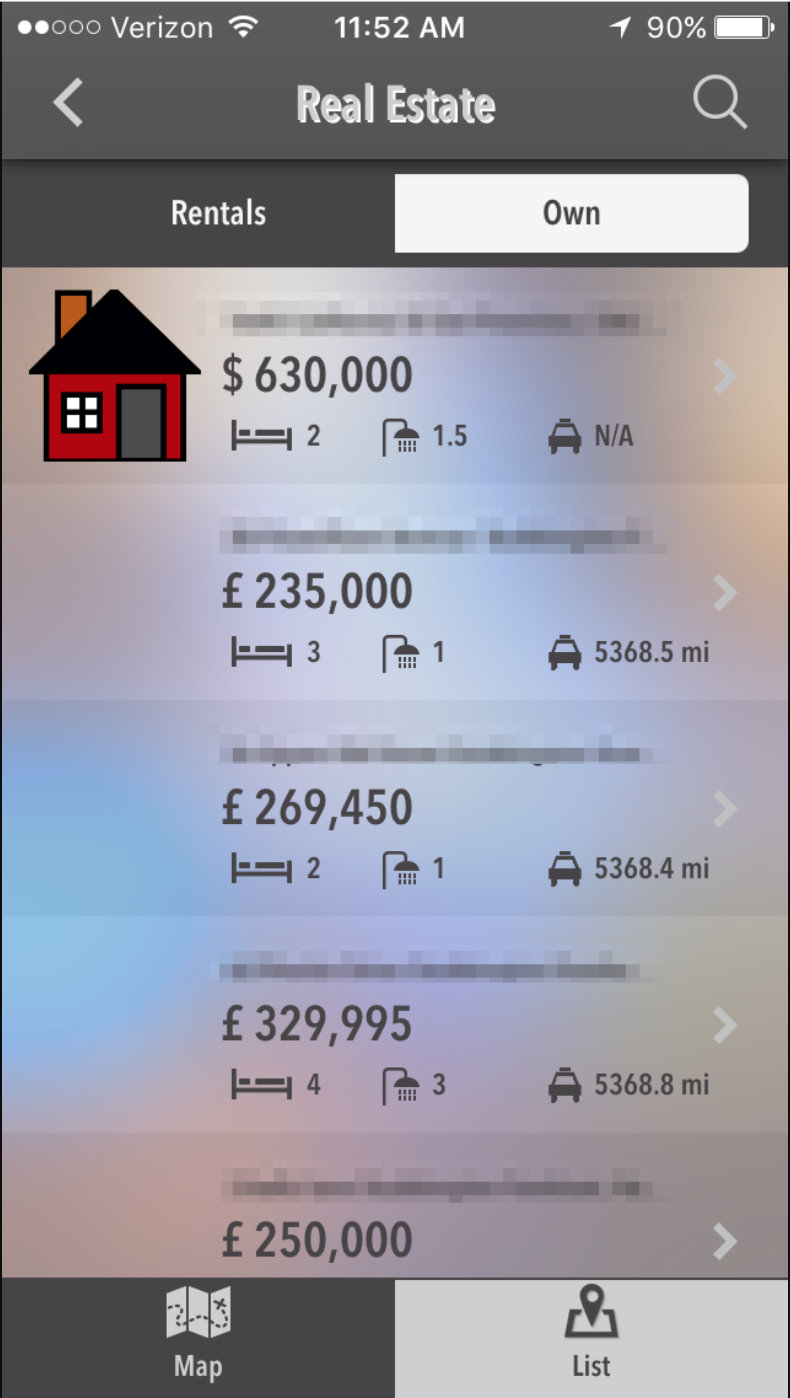
- Rent/Own Filter:
- If you toggle this feature ON, listings will display in separated sections.
- If you toggle it OFF, all your listings will be combined into one list.
- Rent/Own Filter:
- Under Real Estate, there are three options to add your listings:
- CSV Template: to import listings from a CSV file (see Using the CSV Template)
- Import Listings: to sync up IDX listings (see Integrating IDX Listings into the Real Estate Feature)
- Add Listing: to add them manually (see Manually Add Listings in the Real Estate Feature)
- Click Save on the top right when you are done.
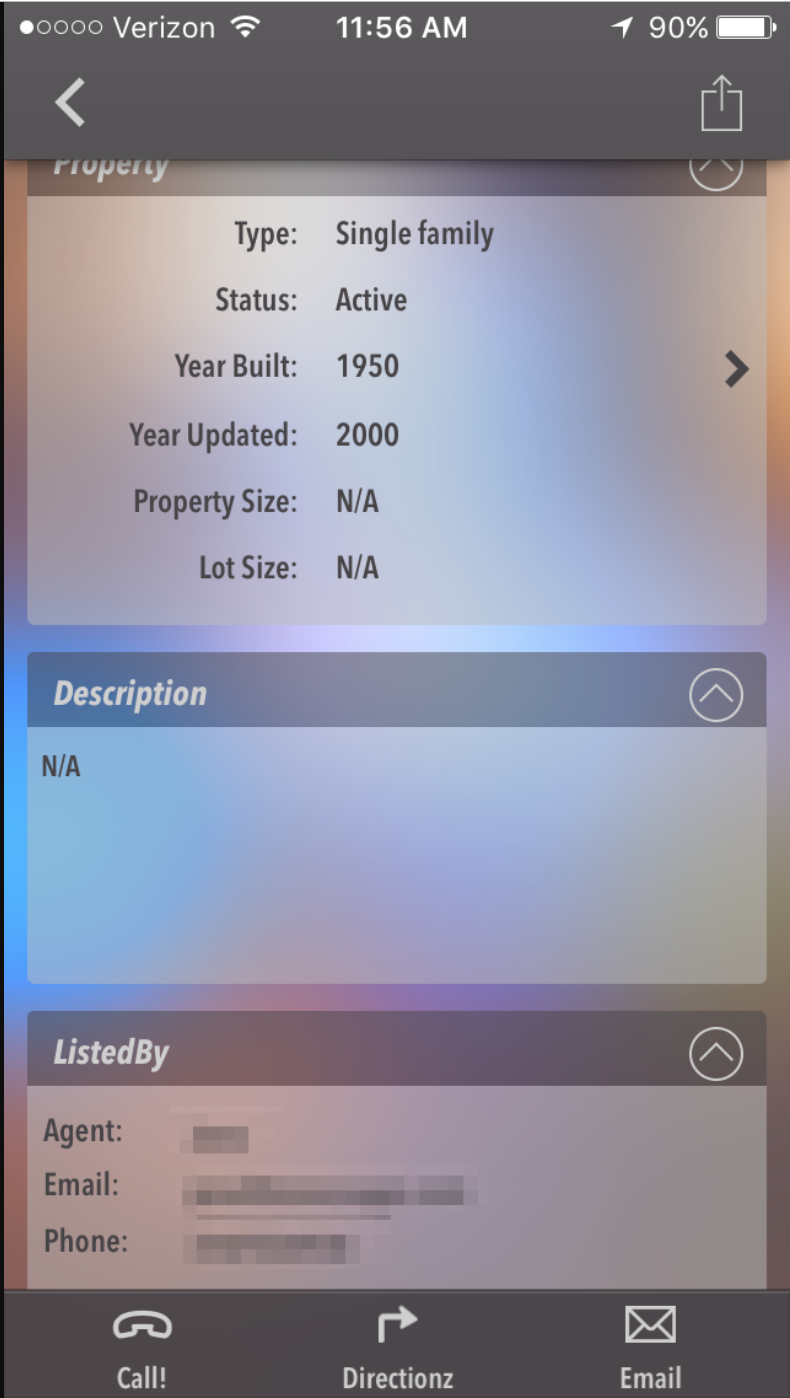
Note: You can write ‘N/A’ in any of the input fields, but you may not leave them blank.
Custom Design
If you would like to create a custom design for this feature instead of using the Global Design, please refer to the article Feature: Custom Design Area.
Examples
 |
 |
 |
 |
 |
Posted in Features