Overview
The Reservation feature is a great option for restaurants, beauty salons, offices, and more! Using the built-in booking system, users can reserve time slots for various services, and you can fill up your calendar without having to take calls or reply to emails non-stop.
This feature also allows you to:
- Implement an optional up-front commitment fee for the appointment
- Manage your appointments with a beautiful built-in calendar
- Receive notifications via email when appointments are scheduled
- Provide users with easy appointment management
- Book more clients and increase repeat appointments
This article provides instructions on how to set up this feature in your app.
Information
This feature is available on the following platforms:
- iOS
- Android
This feature is recommended for the following industries:
- Restaurants
- Spas/Salons
- Gyms/Fitness Studios
Monetization ideas:
- Charge the business a service fee for each reservation that is booked.
Process
To set up the Reservation feature, follow the steps below:
- Navigate to the Build section of your dashboard.
- Click Add Feature.
- Choose the Reservation feature from the menu, then click Select.
- Name your feature, then click Add. Your new feature will now appear in the left-side menu.
- Click on the feature to expand its menu. From the left-side menu you can do the following:
- Use the checkbox to delete the feature.
- Click and drag the arrow icon to rearrange.
- Edit the feature icon by clicking it, then selecting a new image from the fly-up menu.
- Toggle the feature on/off.
- Jump to a specific section (e.g. Content or Custom Design) to adjust the feature settings.
Content
Here you can rename the feature and add your services.
- Under Screen Info, change your Screen / Feature Name or leave as-is. This is the name that will appear in the app’s feature menu (e.g. Booking instead of Reservation Feature).
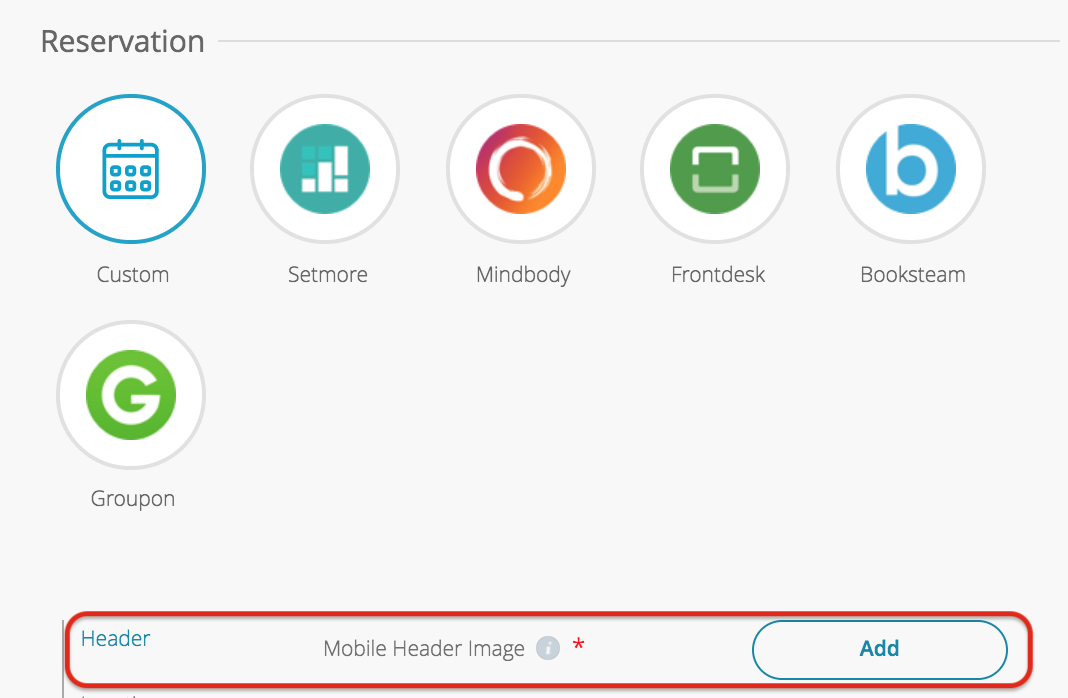
- Under Reservation, for the Header, click Add to add a thumbnail.
- Thumbnail Image: Upload a thumbnail image (140x140px in PNG format).
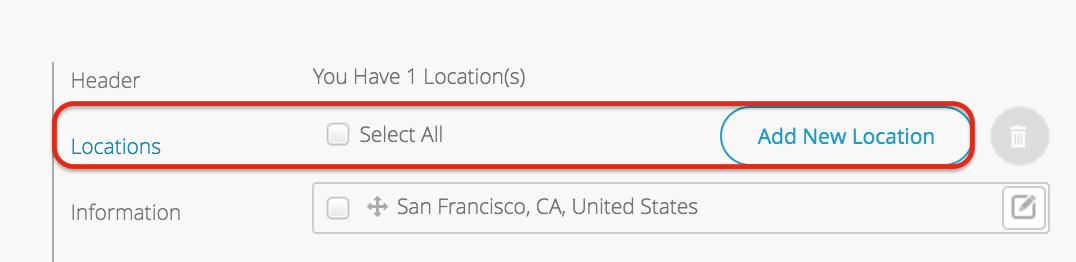
- Under Locations, click Add Location to add a new address.
Field Description Service Hours - Select each location’s operating hours.
- Turn on the toggle to indicate that the location is open on a given day.
- Adjust the time according to your service hours.
- If there is a break in service during the day, click the plus sign to add additional hours.
Website - Input a valid website for this location.
- When users click the one-touch website button, this website will be opened automatically.
Email - Input a valid email address for this location.
- When users click the one-touch Email button, this email address will auto-populate into the field.
Telephone - Input a valid phone number for this location.
- When users click the one-touch Call button, this is the phone number it will dial.
Address Section 1 and Address Section 2 (requires Hazel or later) - Use these fields to name the location whatever you like (e.g. Mission Location and San Francisco).
- They will serve as the top and bottom lines of the location name.
Address - Search for the address in the Enter a query field or enter the coordinates in the Latitude/Longitude fields.
- When you use the coordinates option, Google Maps will pull the nearest address.
Distance Type - Specify whether distance should appear in Kilometers or Miles.
- Click Information to add your business’s general information.
Field Description Username Give your business a name. Description Use the WYSIWYG editor to customize the business’ description. Unlimited Reservation Toggle Turn on the toggle to indicate that there are unlimited reservations for each time slot. Unavailable Dates Click Add Block Date to add specific dates reservations will not be available. - Date: Select each date individually.
- Description: Add a reason for why services are not available on that date (e.g. Holiday).
- Click Payment to add payment options.
Field Description Currency Select the appropriate currency from the dropdown menu. Braintree Toggle on to enable credit card processing through Braintree. Go to the Braintree website for instructions on generating your Merchant ID, Braintree Public Key, and Braintree Private Key. Cash Toggle on to enable cash payment. Users will need to pay upon delivery if this option is selected. - Click Services, then Add Service to specify the services you offer.
- Details:
- Service Name: Give your service a name.
- Price: Indicate the price of each reservation.
- Reservation Fee: Decide if you are taking a percentage or specific dollar amount by selecting the $ or % sign in the dropdown, then input a number indicating the percentage or dollar amount the user will be charged for making the reservation.
- Unlimited Simultaneous Service Possibilities: Turn on this toggle to indicate that unlimited services can be booked at this time.
- Max Service Possibilities: If the toggle is turned off, you will be asked to select the maximum number of services that can be booked by unique customers for each time slot.
- Duration: Indicate the duration of the service.
- Image of Item: Upload an image for each service.
- Availability:
- Choose your item’s available locations: Select which locations offer this service.
- Availability: Select when a specific service is offered.
- Details:
- Click Emails to customize the order confirmation emails.
- Customer Confirmation: This is the confirmation email customers will receive when they place an order.
- Admin Receipt: This is the confirmation email the app admin will receive when an order is placed.
- Custom Guides: Customize how individual items are displayed in confirmation emails.
- Click Add-ons to add a printer or preview your web widget here.
- Printer: You can connect a printer to the Reservation feature to automatically print order confirmations.
- Click Add Printer to connect an e-printer.
- Click Connect To Google Cloud Printer (BETA) if you would prefer to use a Cloud-ready printer (not recommended).
- Printer: You can connect a printer to the Reservation feature to automatically print order confirmations.
- Click Save at the top right when you are done.
Custom Design
If you would like to create a custom design for this feature instead of using the Global Design, please refer to the article Feature: Custom Design Area.
User Account Registration
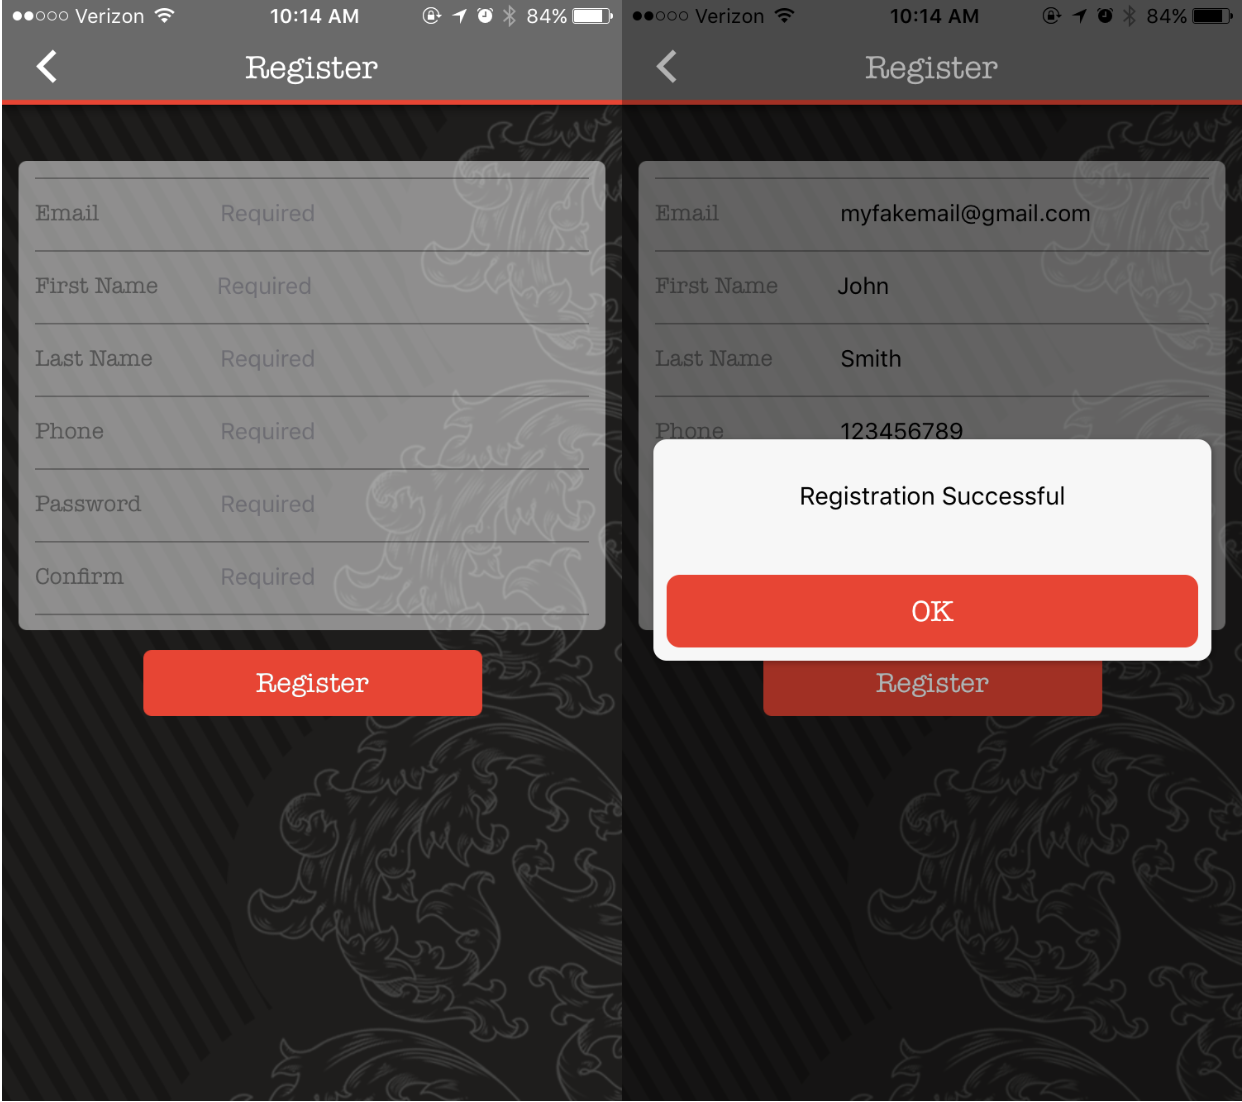
Users must register for an account through the Reservation feature in order to book appointments. Once they register, they will be able to log into the feature each time they return. They can view upcoming and past reservations, plus cancel reservations through the app.
Registering for an account:
North Park Update:
- With North Park, the Reservations feature will now use the Sign-up | Log-in screens for account creation.
- These screens contain a customizable headline as a customizable option as well as a welcomed UI refresh.
- Once using North Park source code, your app’s users will now show in the new Customers page to provide powerful insights on your users.
Here are some examples of the new Reservations Sign-up screens.
Note: The phone number collect screen will only display if the user’s phone number is not already registered.