Overview
The WuFoo Form feature provides easy integration with WuFoo, a 3rd party form-building site that provides a huge array of features and customization options. This is a great feature to utilize if our native Email Form feature does not suit your needs. As the leader in form-building, WuFoo is constantly tacking on new features. Check out all that they offer in their Features page.
In general, email forms are a critical feature to provide in your apps. You can generate important info from your customers and have it sent directly to you via email, text, and more. With WuFoo, you can also view all form entries through their site, plus analyze the data you receive.
This article provides instructions on how to set up the WuFoo Form feature in your app.
Information
This feature is available on the following platforms:
- iOS
- Android
- HTML5
Related features:
Process
To set up the WuFoo Form feature, follow the steps below:
- Navigate to the Build section of your dashboard.
- Click Add Feature.
- Choose the WuFoo Form feature from the menu, then click Select.
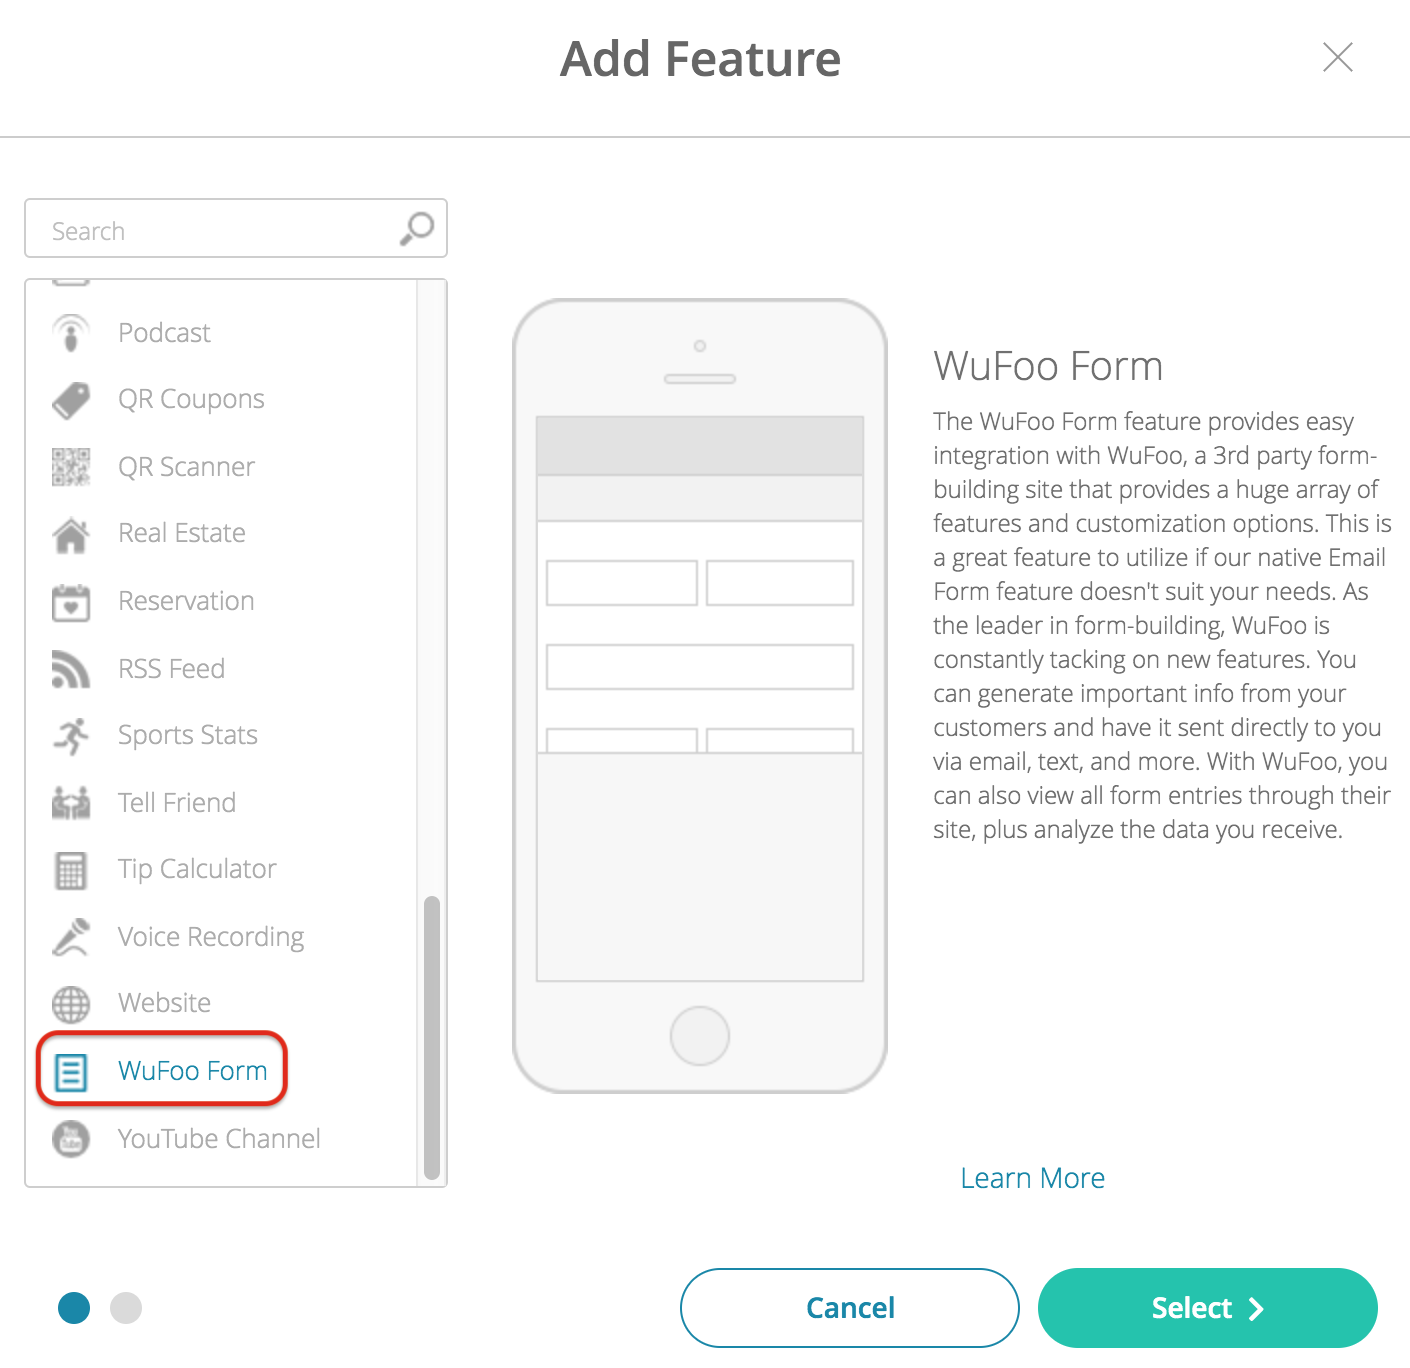
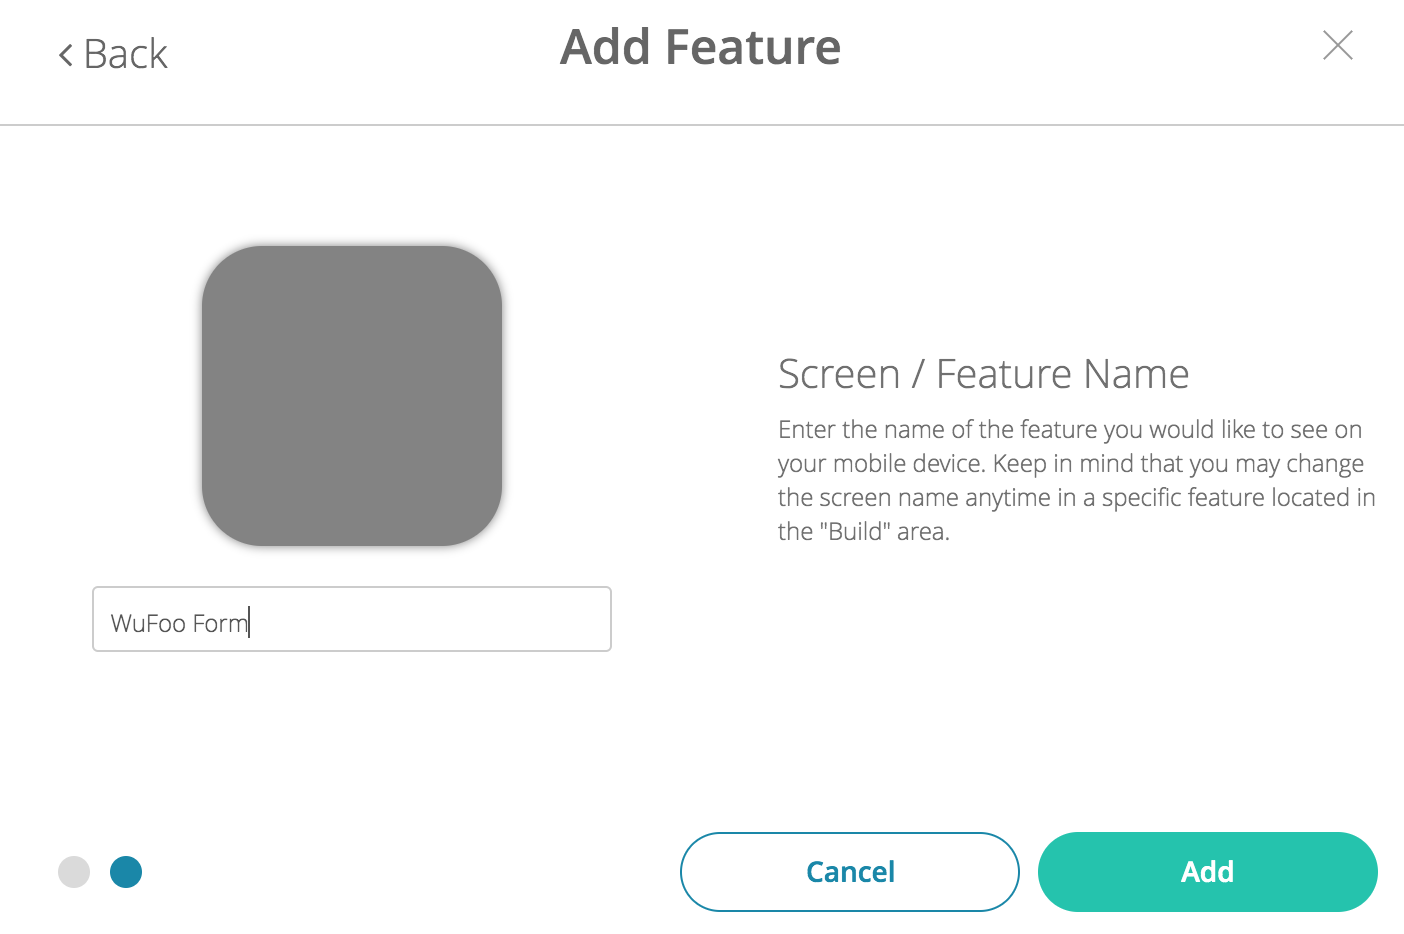
- Name your feature, then click Add. Your new feature will now appear in the left-side menu.
- Click on the feature to expand its menu. From the left-side menu you can:
- Use the checkbox to delete the feature.
- Click and drag the arrow icon to rearrange.
- Edit the feature icon by clicking it, then selecting a new image from the fly-up menu.
- Toggle the feature on/off.
- Jump to a specific section (e.g. Content or Custom Design) to adjust the feature settings.
Content
- Under Screen Info, change your Screen / Feature Name or leave as-is. This is the name that will appear in the app’s feature menu (e.g. WuFoo Form).
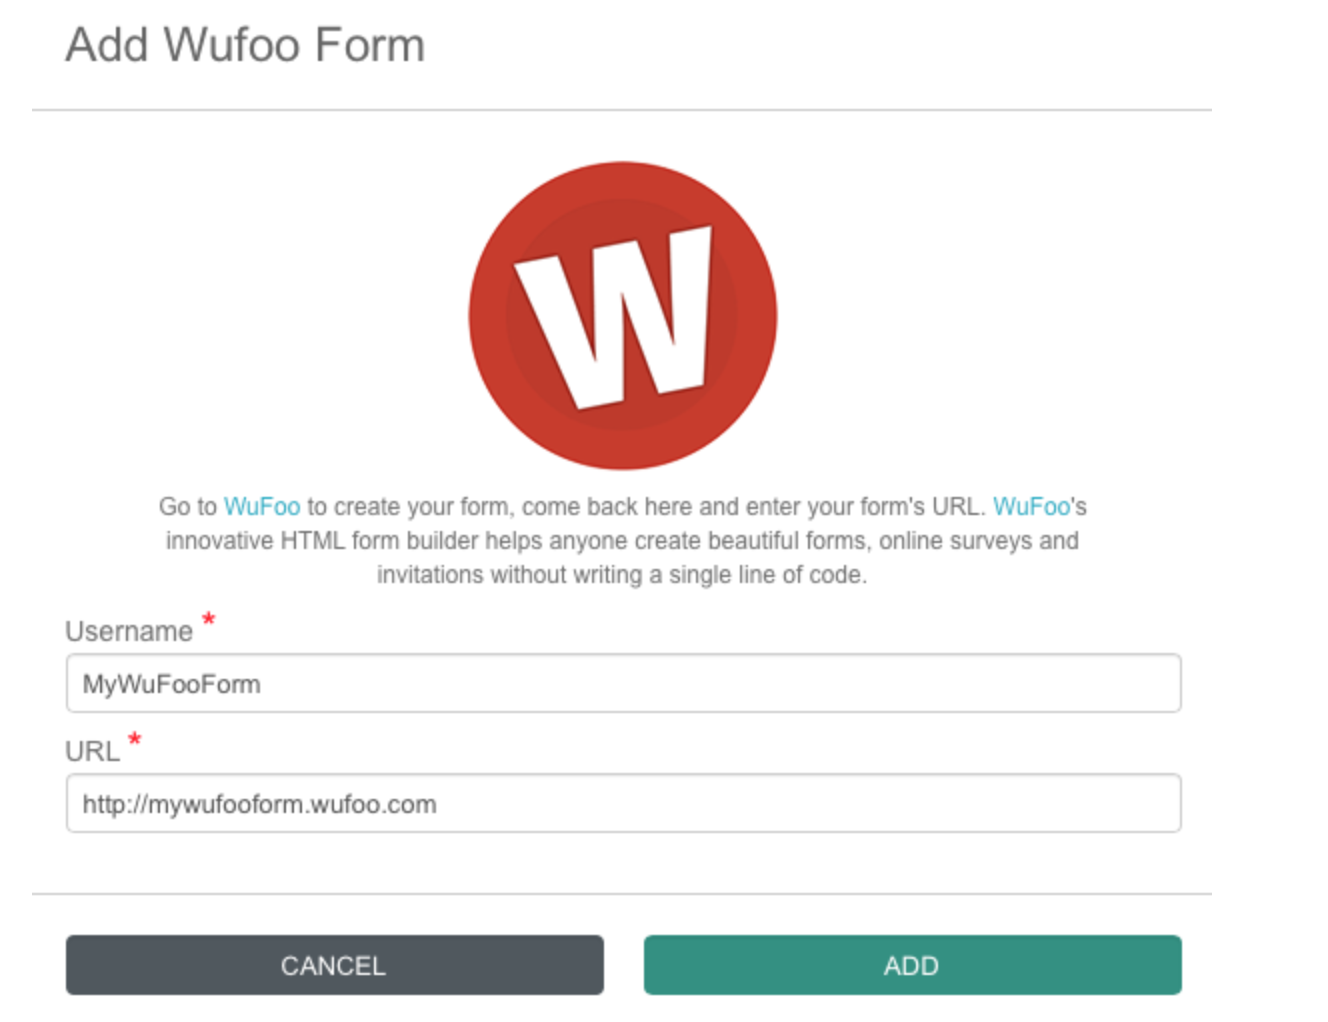
- Under Wufoo Forms, click Add WuFoo Form. Complete the fields below, then click Add. Repeat this process for each form.

- Here you will integrate your WuFoo form(s). Before moving onto steps 4-5, check out the WuFoo Form Setup instructions below.
- Once you have created your form and copied your username and permanent URL, click ADD. Fill out the info and click Save at the top when you are done.
- Give your form a Name. This will appear in the app.
- Paste your form’s permanent URL in the URL field.
- That’s it! Back in the main feature view, you can edit or delete your new form, or continue adding additional forms to your feature.Note: You will maintain your forms completely through your WuFoo account. Any time you update your form on WuFoo’s site, those changes will be reflected in your app.
WuFoo Form Setup
-
- First, register for a free account in the WuFoo Sign-Up page.
- Once signed up, you will be taken to the Form Manager.

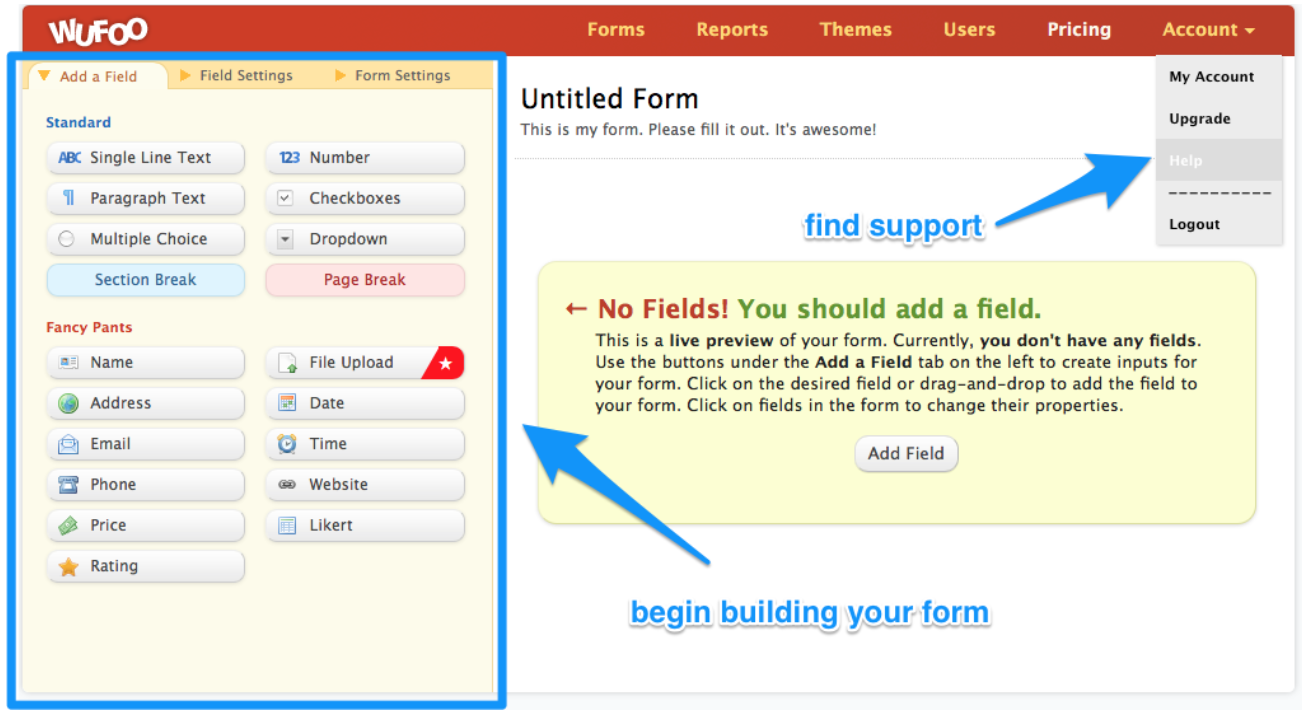
- Click CREATE A NEW FORM to get started. You will see you’re form settings on the left-hand side and your form preview to its right. Check out WuFoo’s help center for tutorials and tips on the form-building process.
- Add a Field: Use this feature of the builder to add input fields to your form.
- Field Settings: Customize your fields’ specific settings, restrictions, etc.
- Form Settings: Manage your general form settings.
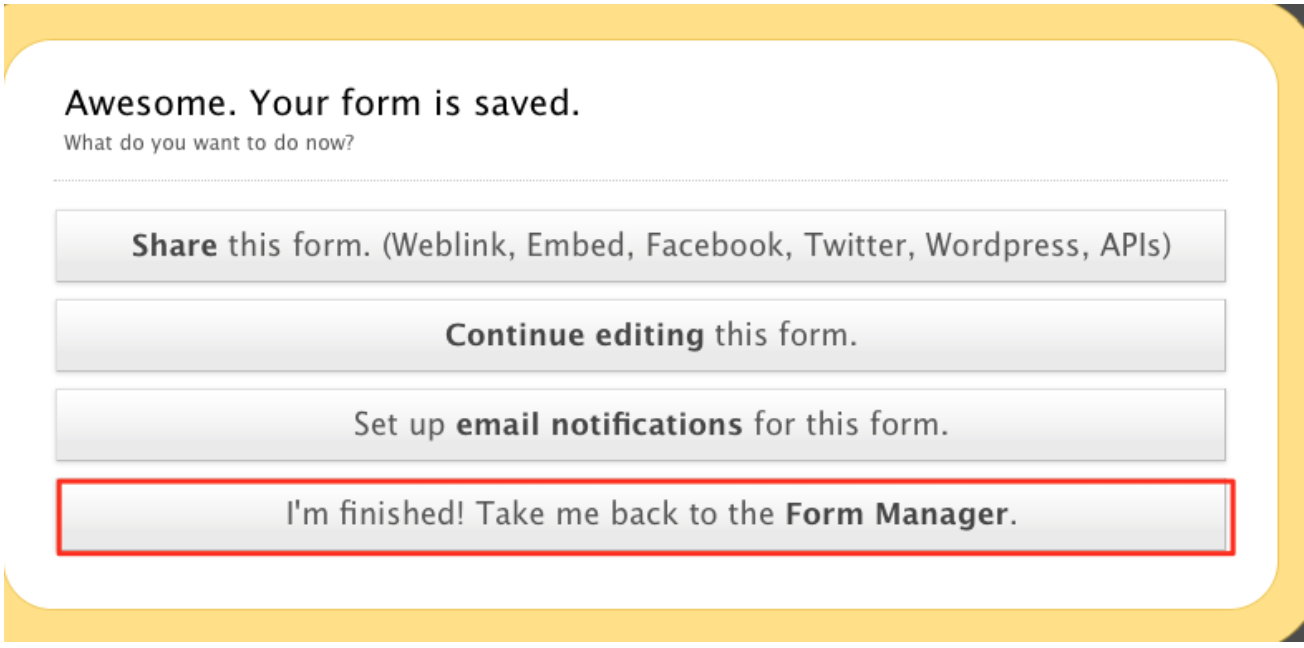
- Once you are done building and designing your form, save your changes. You will see the pop-up window below. Click the 4th option to return to the Form Manager.
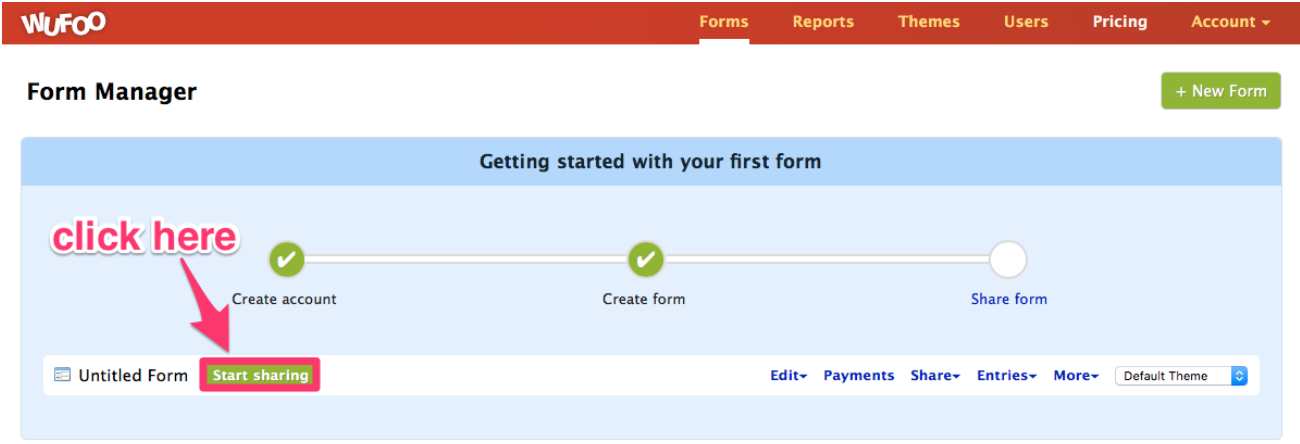
- From the Form Manager, click the Start Sharing button to the right of your new form.
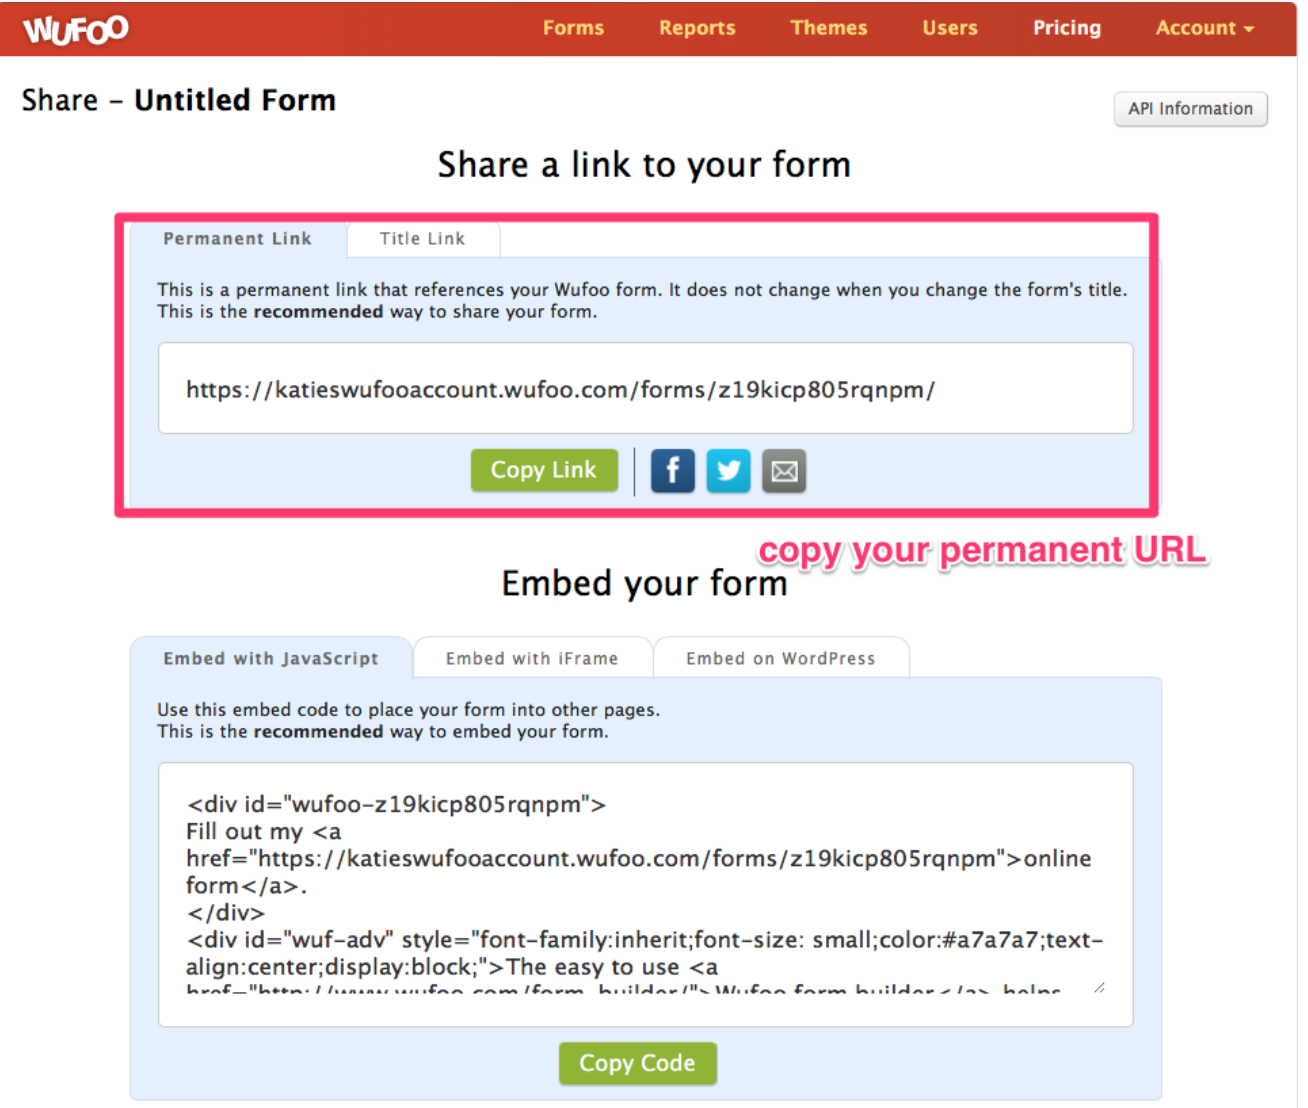
- On the next page, copy the permanent URL. The second box indicates your unique embed code. Use this embed code to place your form into other pages.
Examples
Check out some live examples below!


