
Overview
Under the Real Estate feature, you will find the option to upload real estate data. These CSVs are essentially spreadsheets that can be used to upload correctly formatted data quickly. This is a great option if you already keep your listings organized on a spreadsheet, or want to make content additions simple down the line. Each time you add a listing to your spreadsheet, you can re-upload your CSV file to tack on the additions.
In this article, you will learn how to download and use the CSV template.
Process
Note: We recommend first adding at least one manual listing to your feature following the Add Listing instructions below. This way, when you download your CSV file, it will already have one row (one listing) populated and serve as an example of how to fill out additional rows (listings).
- Navigate to Build in your dashboard.
- In this example, we are using the Real Estate feature (CSV template is also being used in Golf Courses). Click Real Estate.
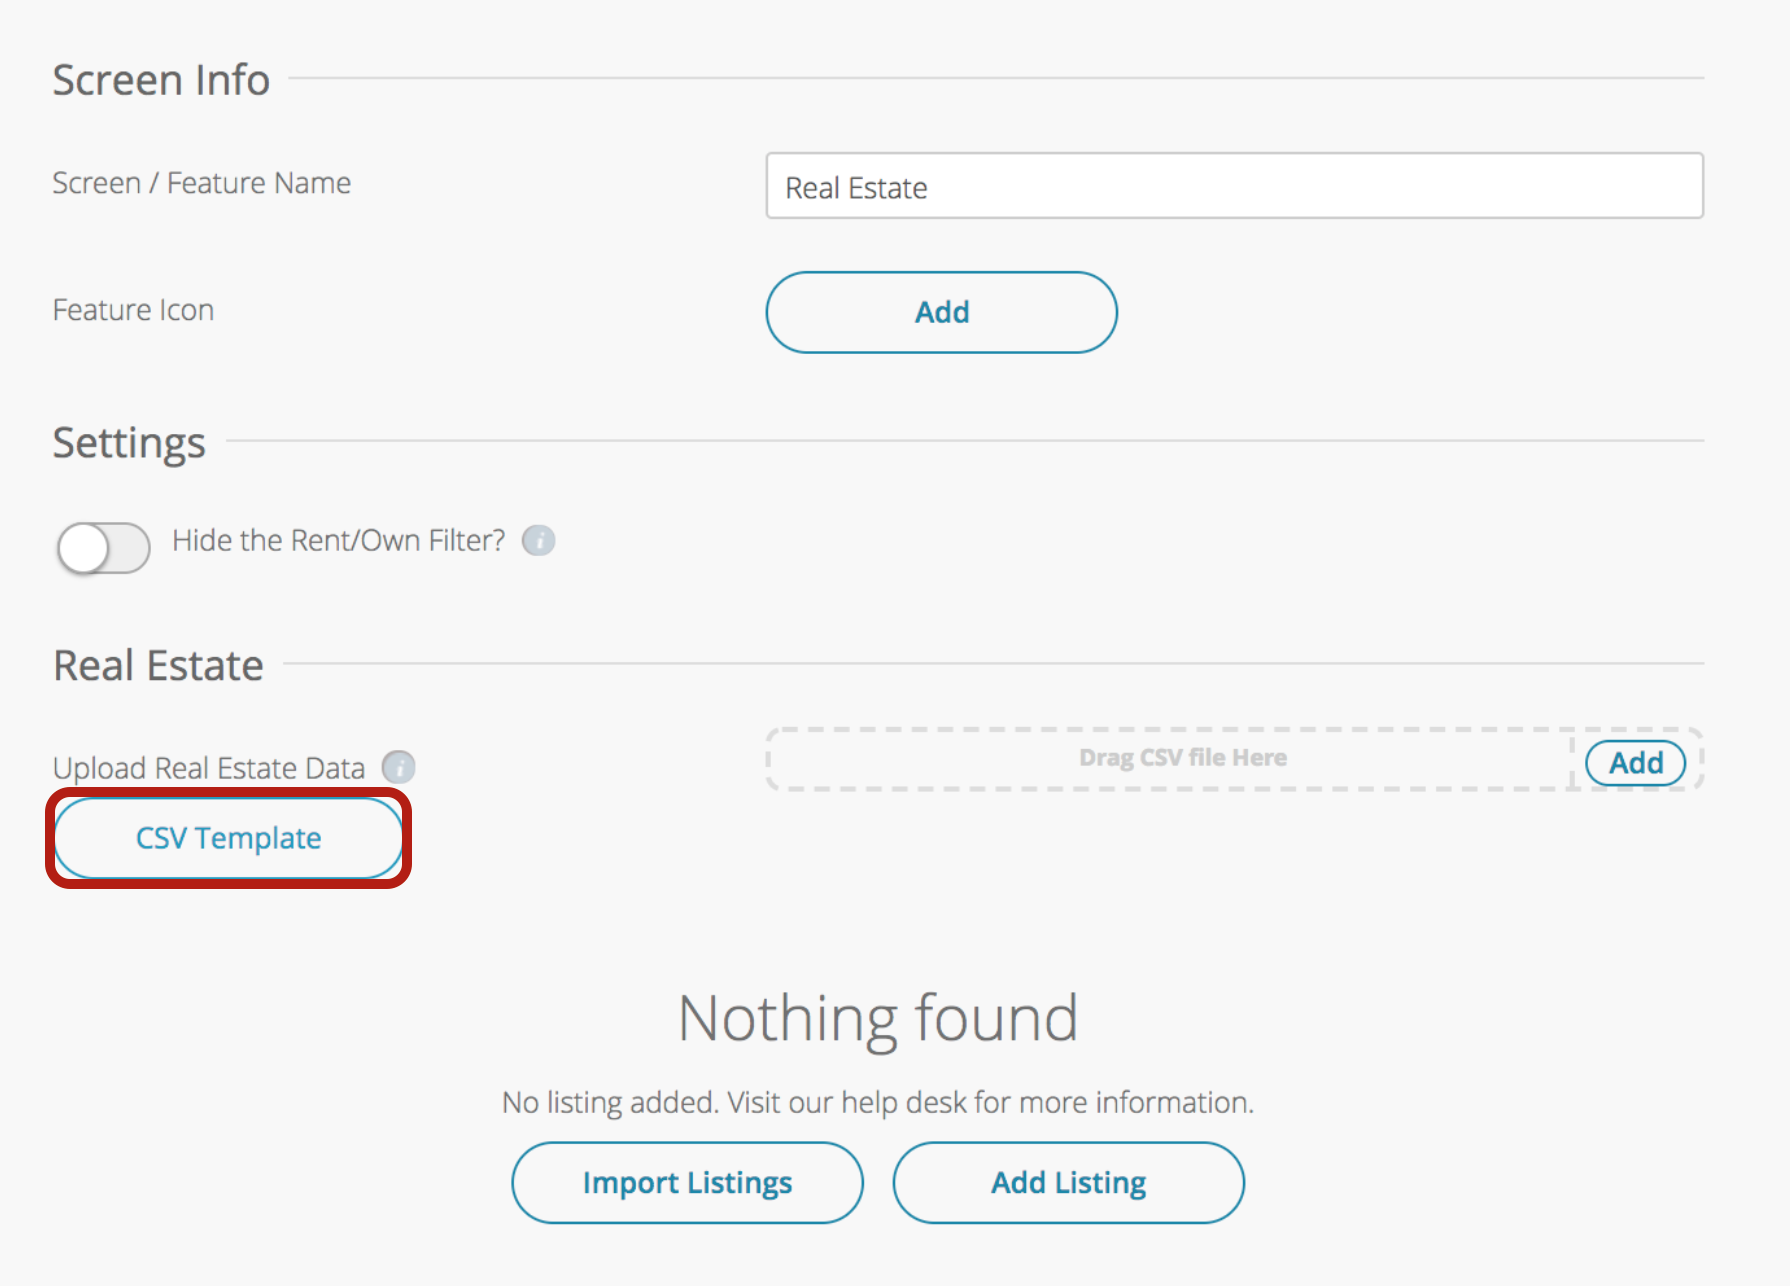
- Click CSV Template to get started. This will download the CSV file.
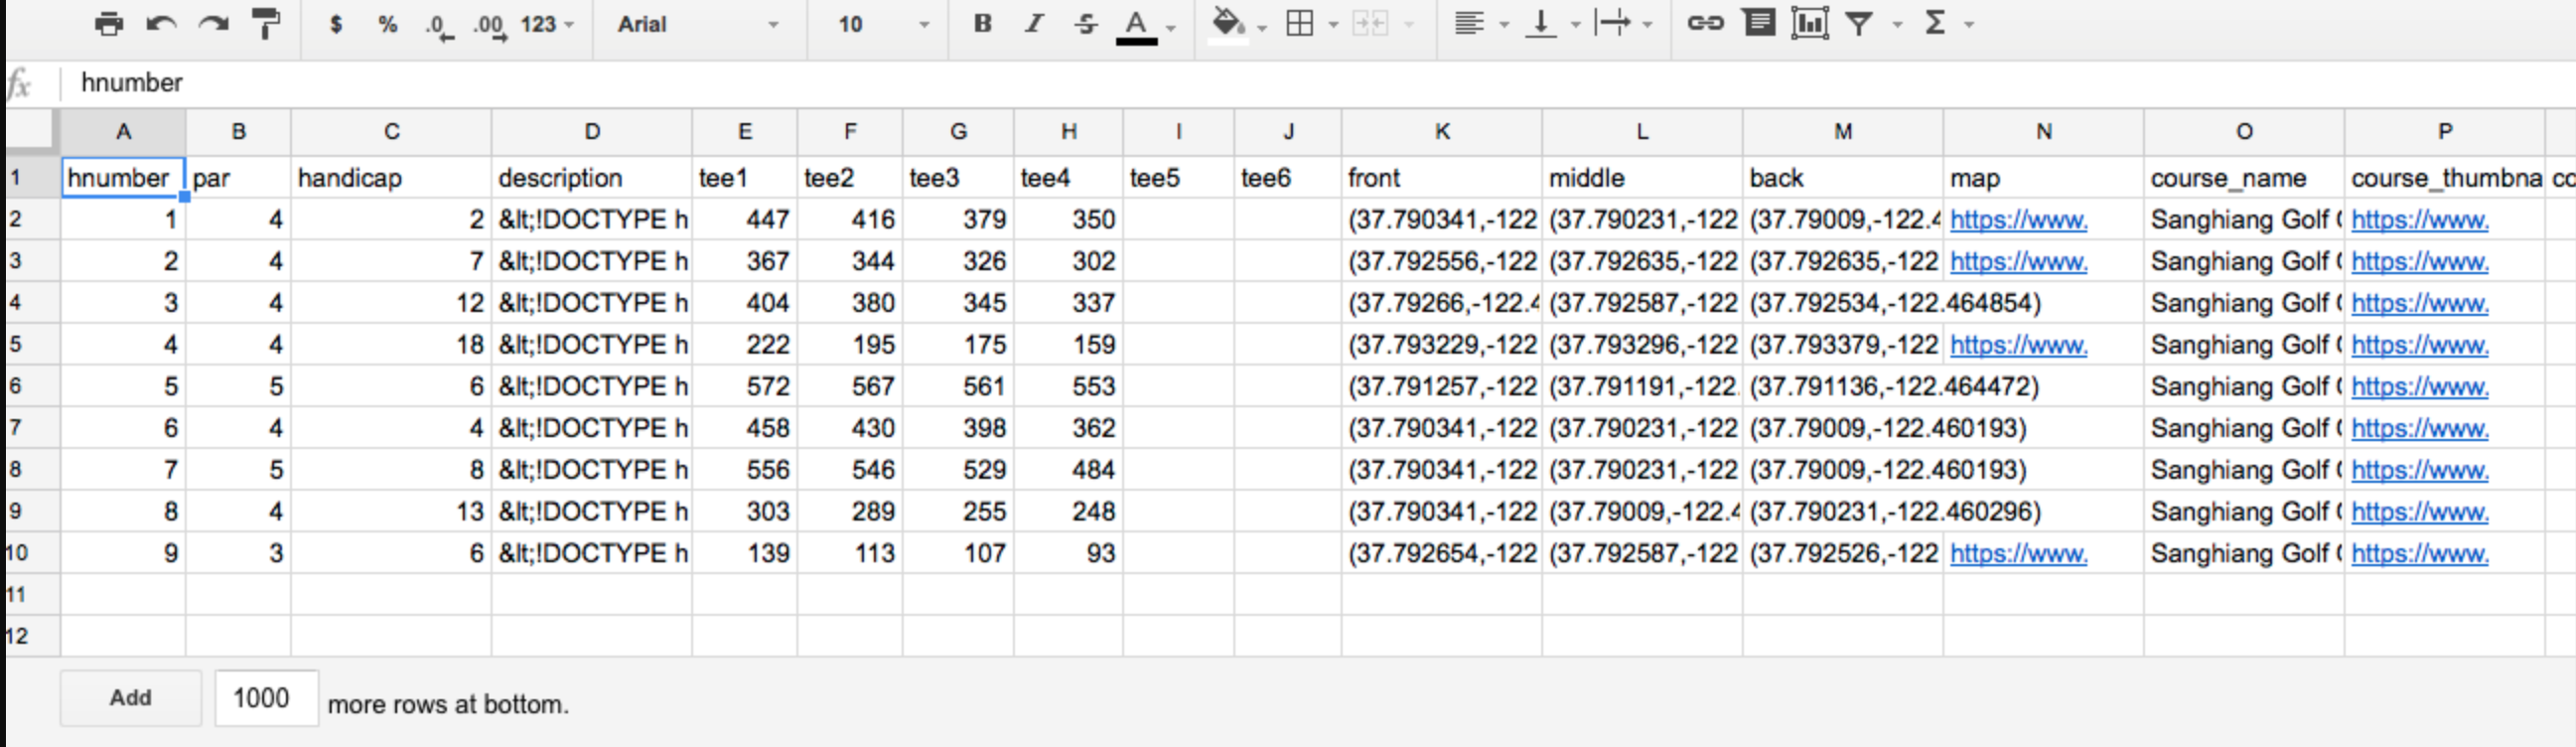
- Open the CSV file. You will see a spreadsheet with 45 columns.
- If you have already added a listing to your feature, you will see its details populated.
- If you have not added any listing to your feature, only the column titles will be populated.
For listing additions, just mirror the format of your first listing. Some tips:
- If an optional field does not apply, you can leave it blank. For example, the Rent column does not apply to my own listing, so it will be left blank.

- You can find Latitude/Longitude in Google Maps.
- Go to the Google Maps page, search your listing’s address, and right-click the pin on the map.
- Click What’s here? and more details will appear at the top left.
- Copy and paste the latitude and longitude from here.
- Make sure to properly format your content. For instance, phone numbers should be formatted ###-###-#### and the provided item titles (like Miles, Dishwasher, Sqft, etc.) should be copied exactly.
- For check-all Additional Info items, add all applicable items separated by a comma without spaces, like below.
- Each time you are ready to import new listings, just click Add under the Build feature you are on and select your CSV file. Click Upload to import the new listings.
Note: When using the CSV import, be sure to check your imported listings thoroughly by clicking Edit next to each one and viewing each section. This will help you catch mistakes and learn more best practices for CSV import!