
Overview
The Mailing List feature is a great way to collect contact info from your app users and steadily build out your subscriber list. Paired with push notifications, this feature helps you get the most out of your app’s marketing capabilities.
This article provides the steps to set up this feature in your app.
Information
This feature is available on the following platforms:
- iOS
- Android
- HTML5
This feature is recommended for the following industries:
- Restaurants
- Retail
- Service Providers
Monetization ideas:
- New subscribers = new revenue opportunities, so the more you grow that list the more this feature serves you.
- Pair targeted push notifications with personalized email marketing to offer app users special discounts for being dedicated mobile customers.
Related features:
Process
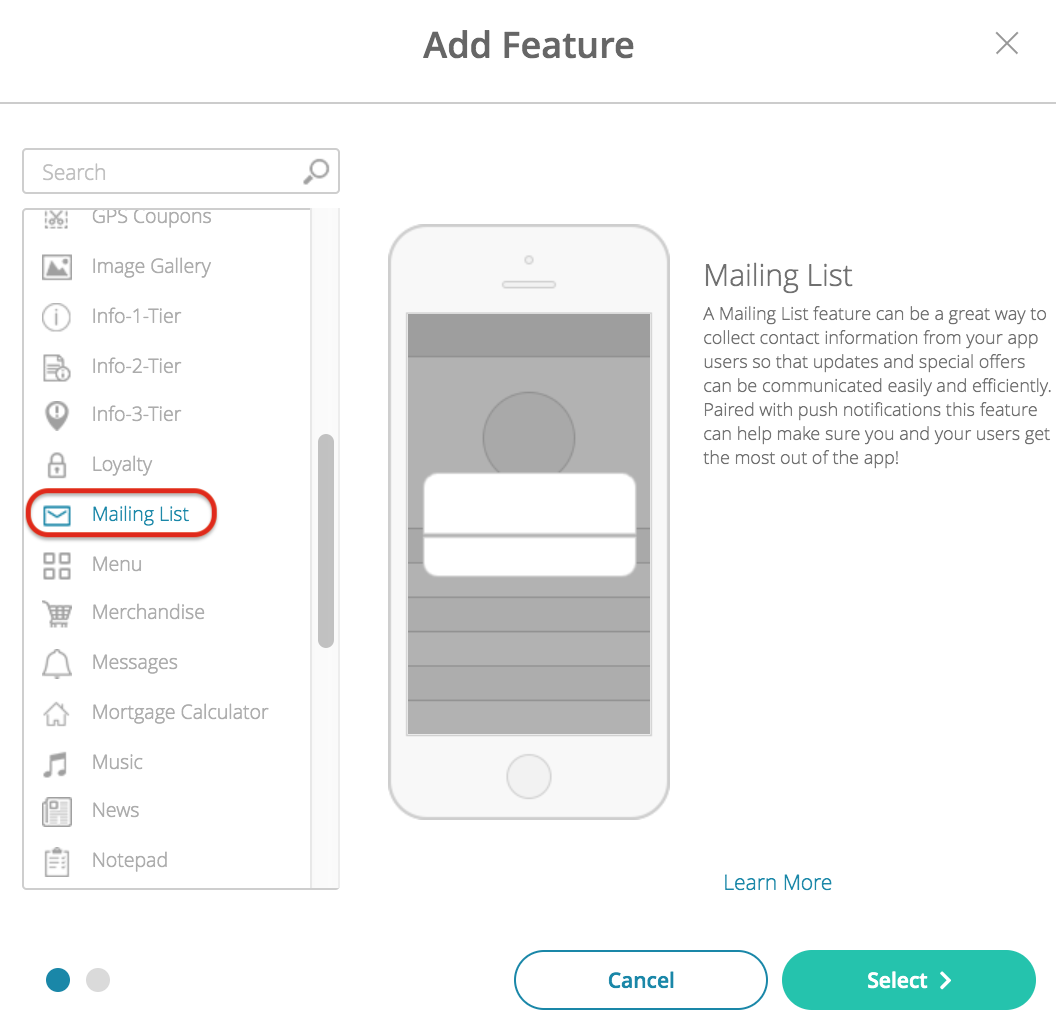
To set up the Mailing List feature, follow the steps below:
- Navigate to the Build section of your dashboard.
- Click Add Feature.
- Choose the Mailing List feature from the menu, then click Select.
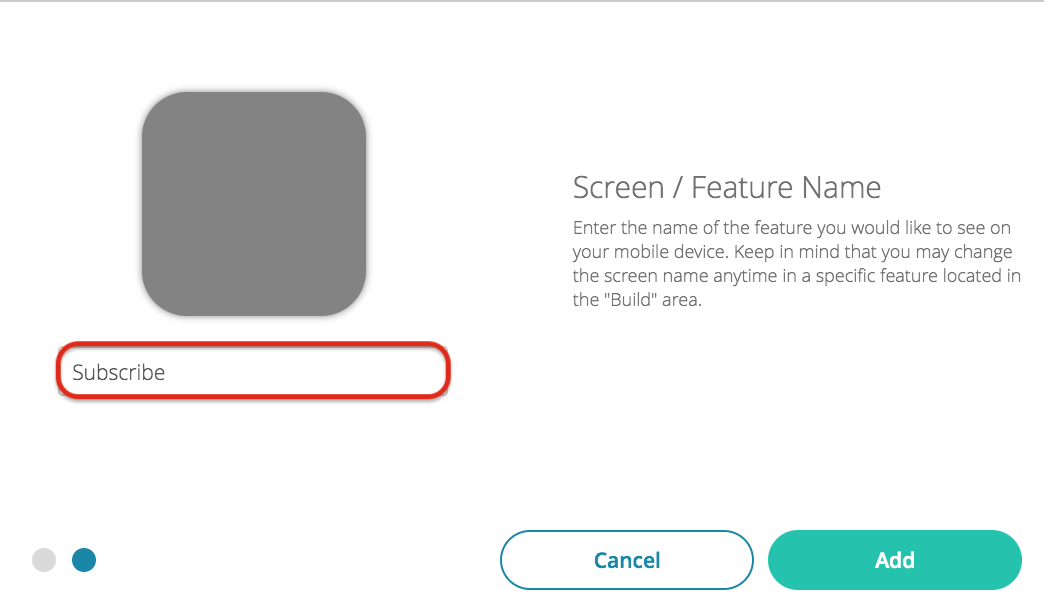
- Name your feature, then click Add. Your new feature will now appear in the left-side menu.
- Click on the feature to expand its menu. From the left-side menu, you can do the following:
- Use the checkbox to delete the feature.
- Click and drag the arrow icon to rearrange.
- Edit the feature icon by clicking it, then selecting a new image from the fly-up menu.
- Toggle the feature on/off.
- Jump to a specific section (e.g. Content or Custom Design) to adjust the feature settings.
Content
- Here you can rename the feature and adjust the settings.
- Under Screen Info, change your Screen / Feature Name or leave as-is. This is the name that will appear in the app’s feature menu (e.g. Subscribe instead of Mailing List).
- Under Settings, toggle on the button to enable specific options.
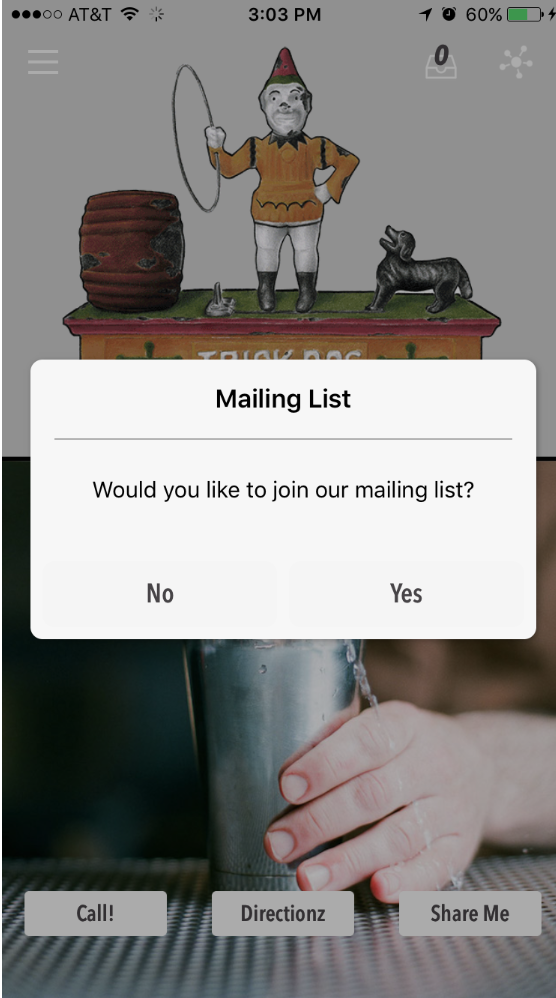
- Prompt Option: When enabled, users will be prompted to join the mailing list when they first install and launch the app.
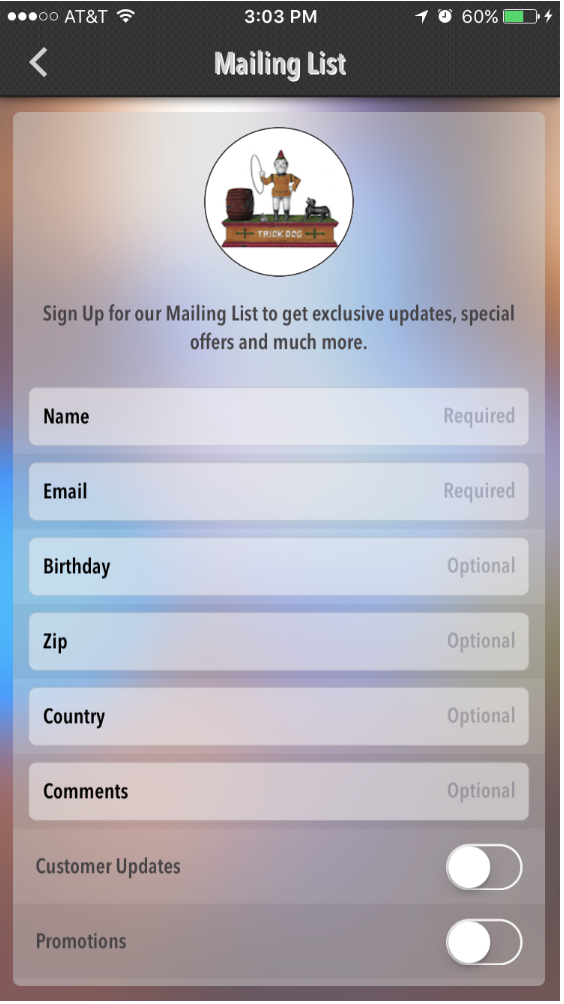
- Under Newsletter, customize your feature’s content.
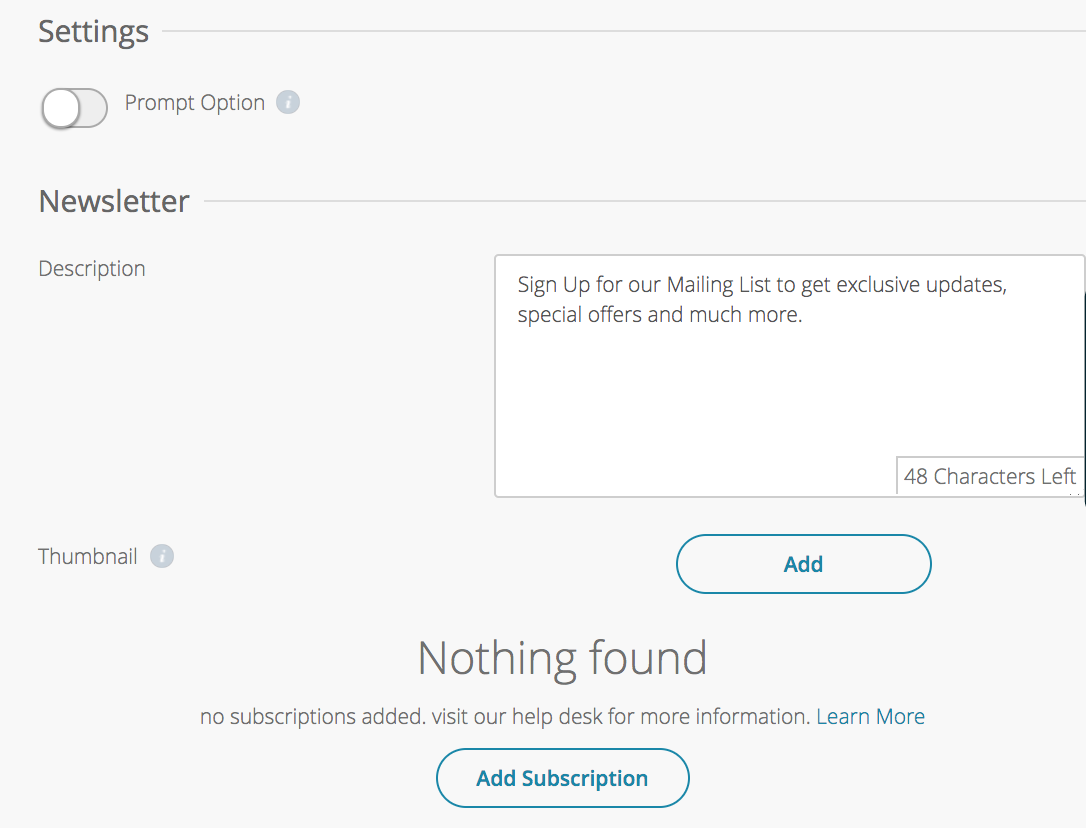
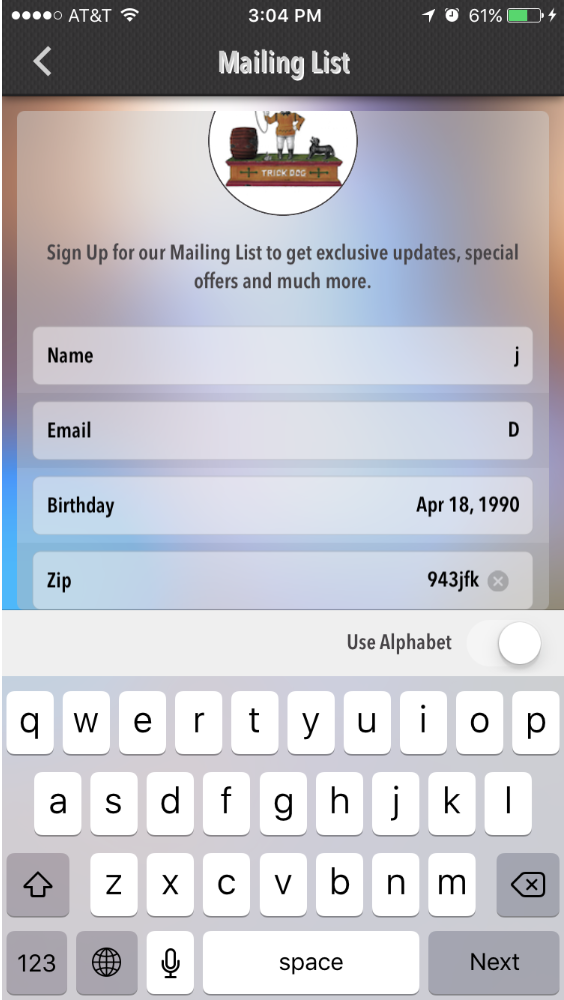
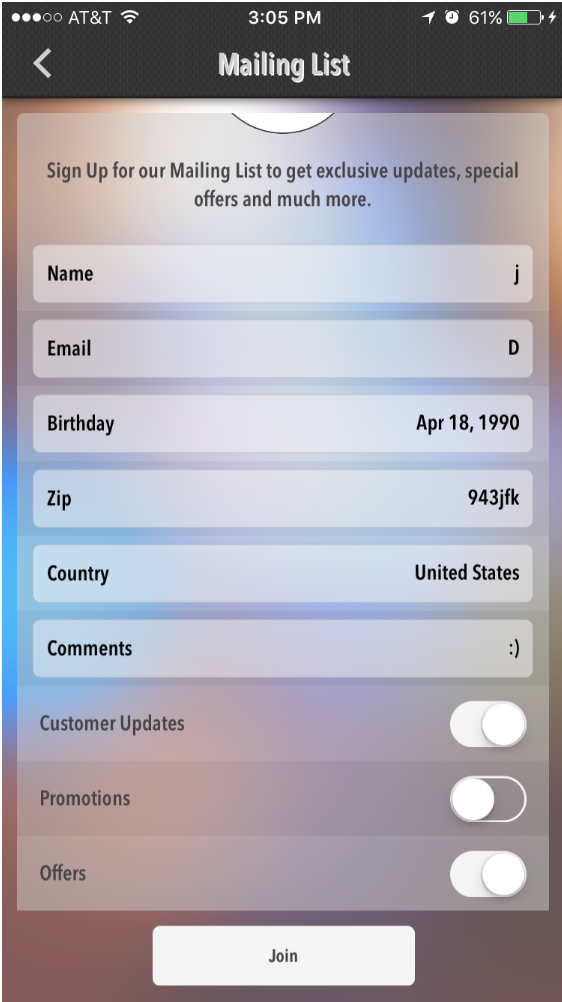
- Description: Explain the benefits of subscribing to your mailing list.
- Thumbnail Image: Upload a thumbnail image (200x200px in PNG format). This will appear above the description and input fields.
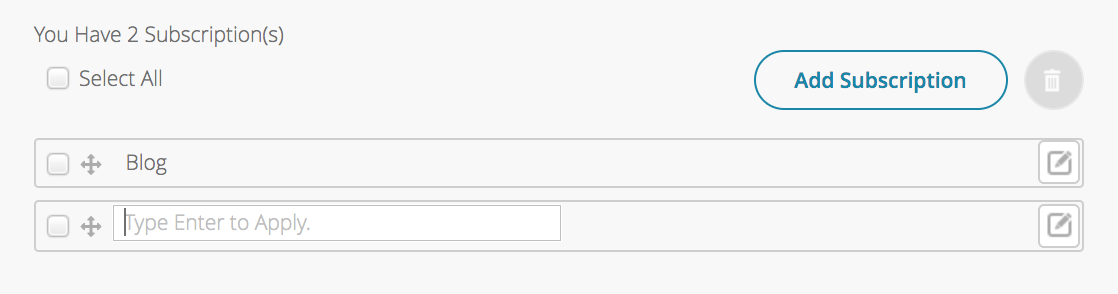
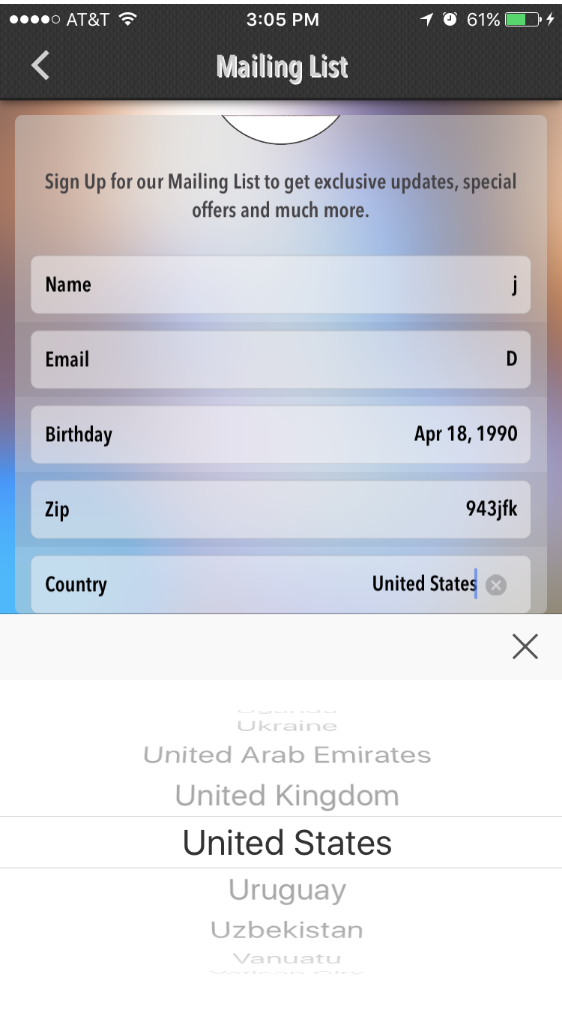
- Subscriptions: To add specific subscription lists, click Add Subscription, input the list name, and hit Enter. Users can choose to subscribe to all lists or just specific ones.
- Click Save at the top right when you are done.
Custom Design
If you would like to create a custom design for this feature instead of using the Global Design, please refer to the article Feature: Custom Design Area.
Examples
 |
 |
|
 |
 |
|
 |
 |
|
 |
 |
Posted in Features