
Overview
In this article, you will learn about the cloudPRNT Thermal Printer, the recommended model to purchase, where to buy it, and how to set it up.
Information
| Maker | Star Micronics |
| Product Line | cloudPRNT |
| Recommended Model | TSP650II |
Where to Buy
We have three options for you, but you are free to search the web for more.
There is also an available WiFi adapter. You can find out more on the product listing page in the websites given above.
Process
Setting Up
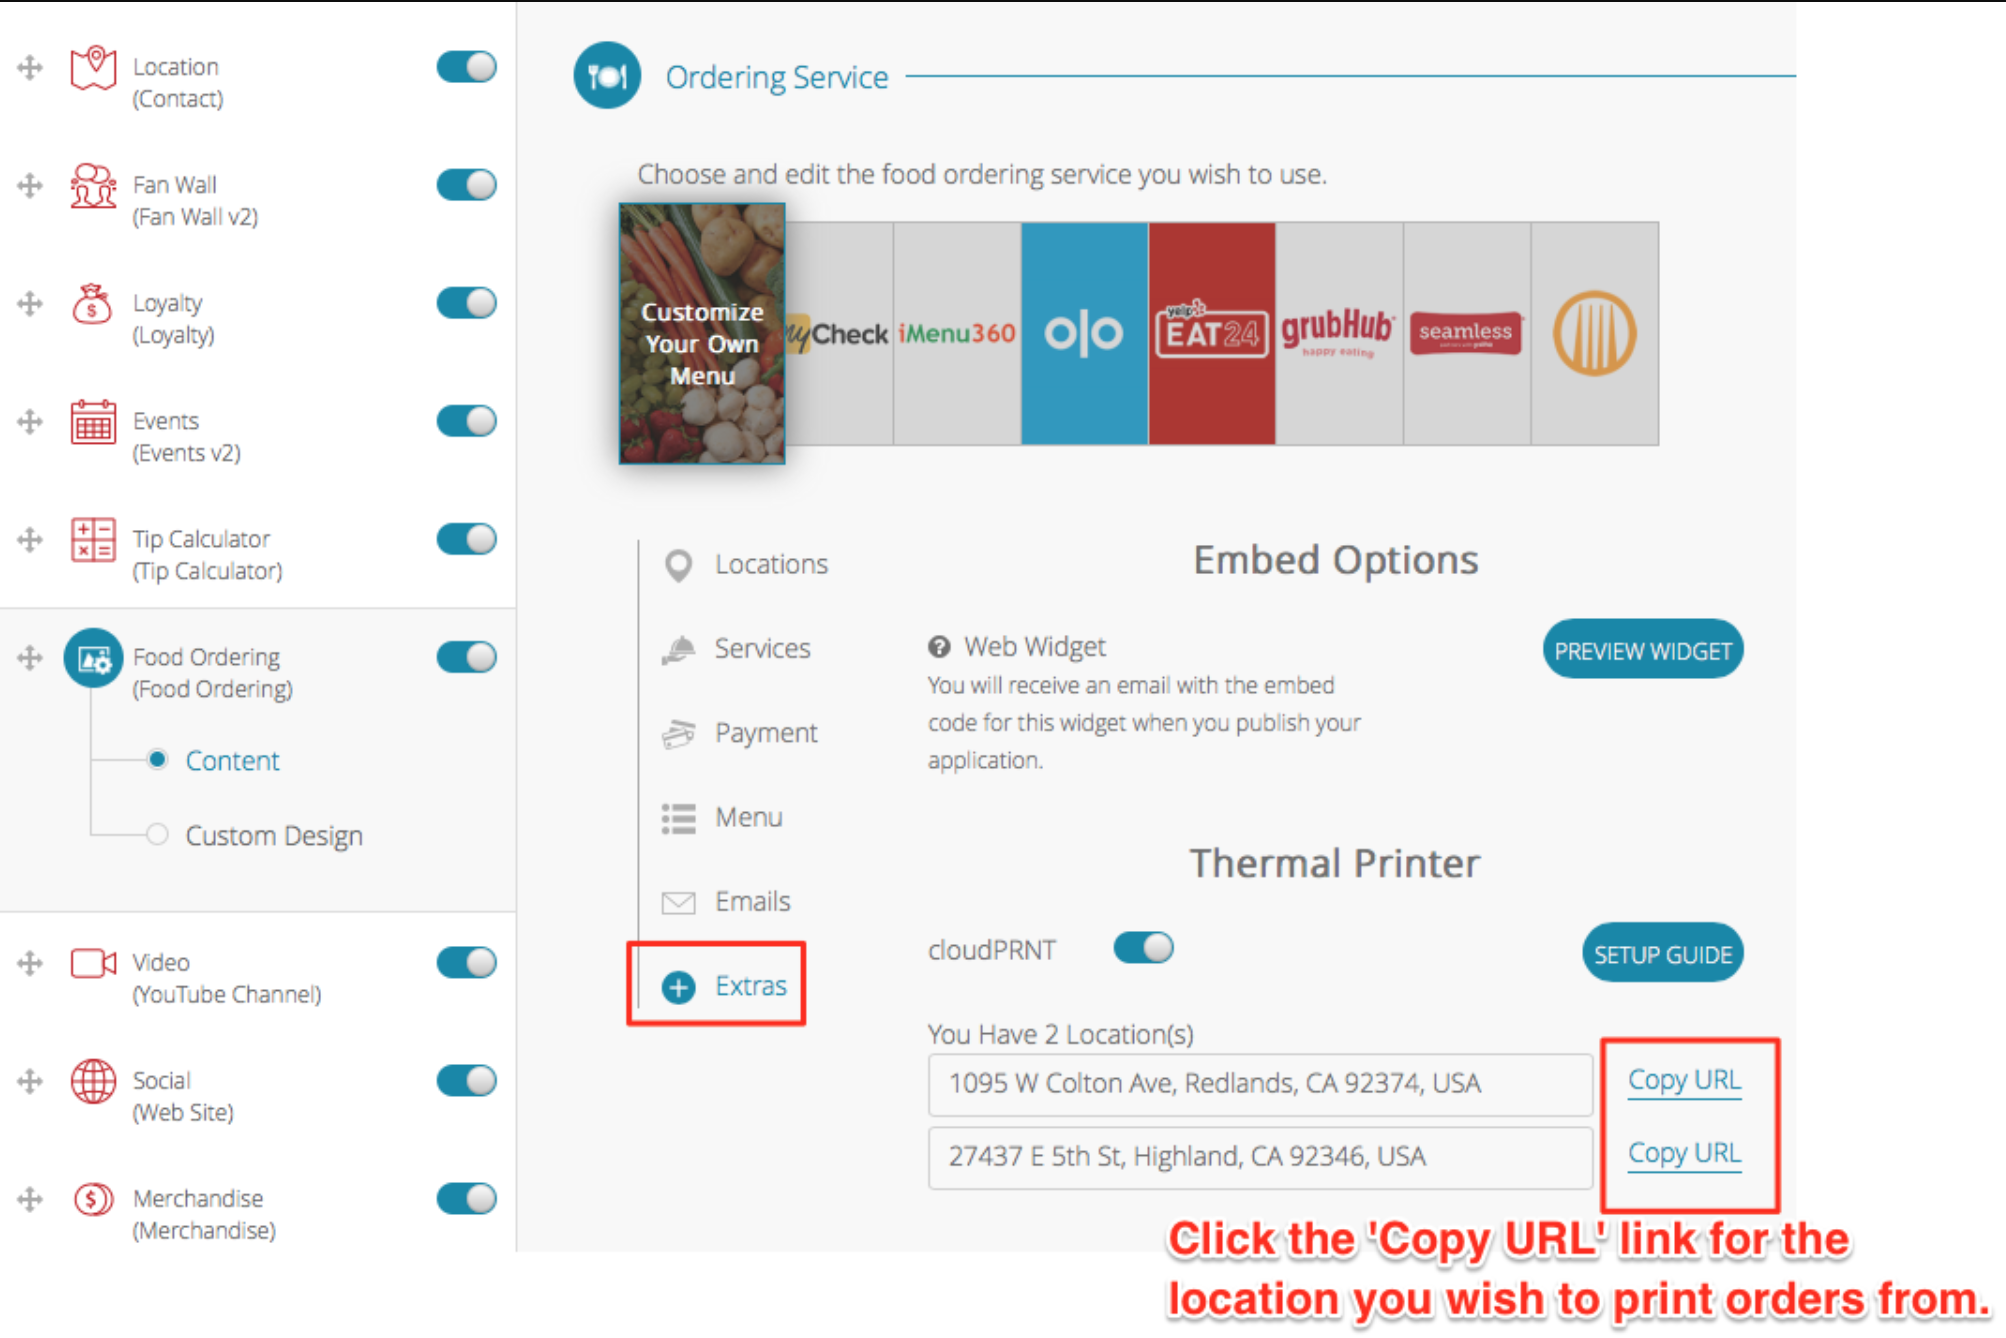
Picking the feature and store location (If applicable) you wish to print:
- Head over to either the Food Ordering, Reservations or Merchandise feature in your dashboard.
- Go to the Extras section.
- Find the location you wish to pair with your printer, and click Copy URL to have this URL added to your clipboard.
Note: This URL will be added to the Server URL field in the printer setup.
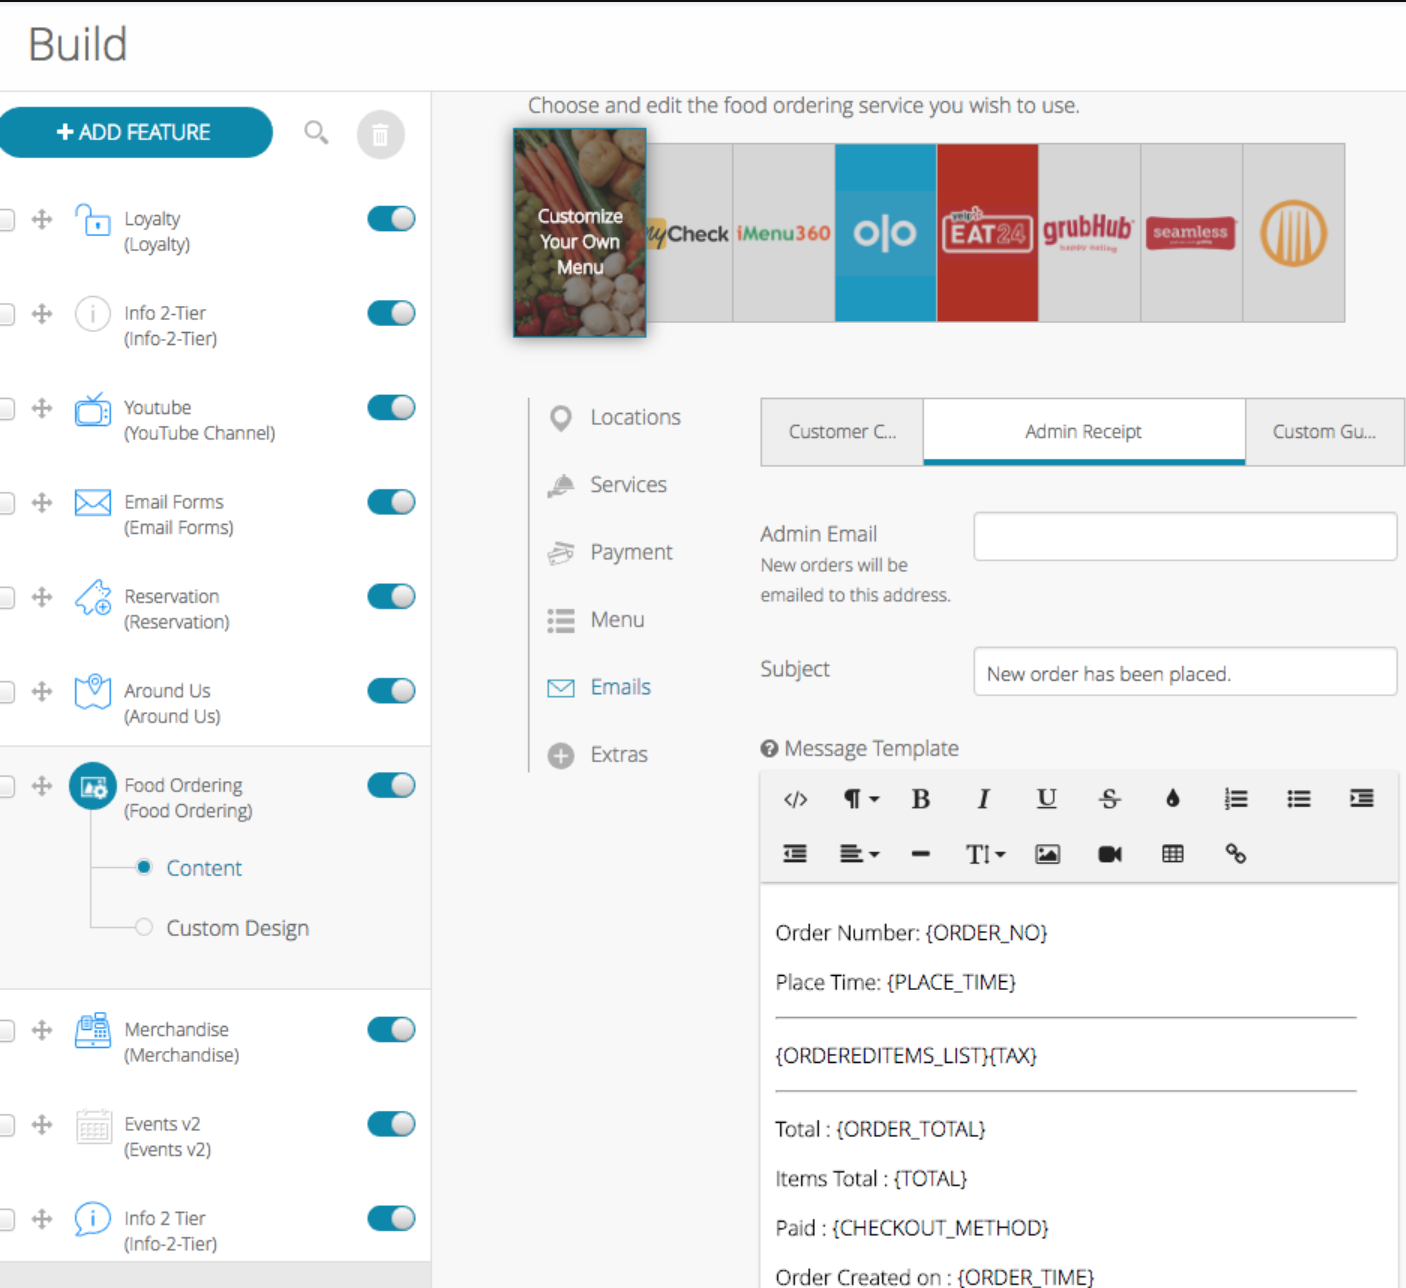
- Next, go to the Emails section and under Admin Receipt, enter the email you would like the receipts sent to in the Admin Email field.
Configuring the printer to connect (the simple stuff):
-
- Install paper.
- Plug into a power source.
- Plug in ethernet to LAN.
- Hold the feed button and power on.
- The printer will print two pages. The second page comes in about 5-10 seconds.
- On the bottom of the second page, you will find the IP address.
- Type this IP address into your computer browser.
- Example: 192.168.10.104
- Once on this webpage, you should see a Login option on the left menu.
- Click Login.
default username / password:root/public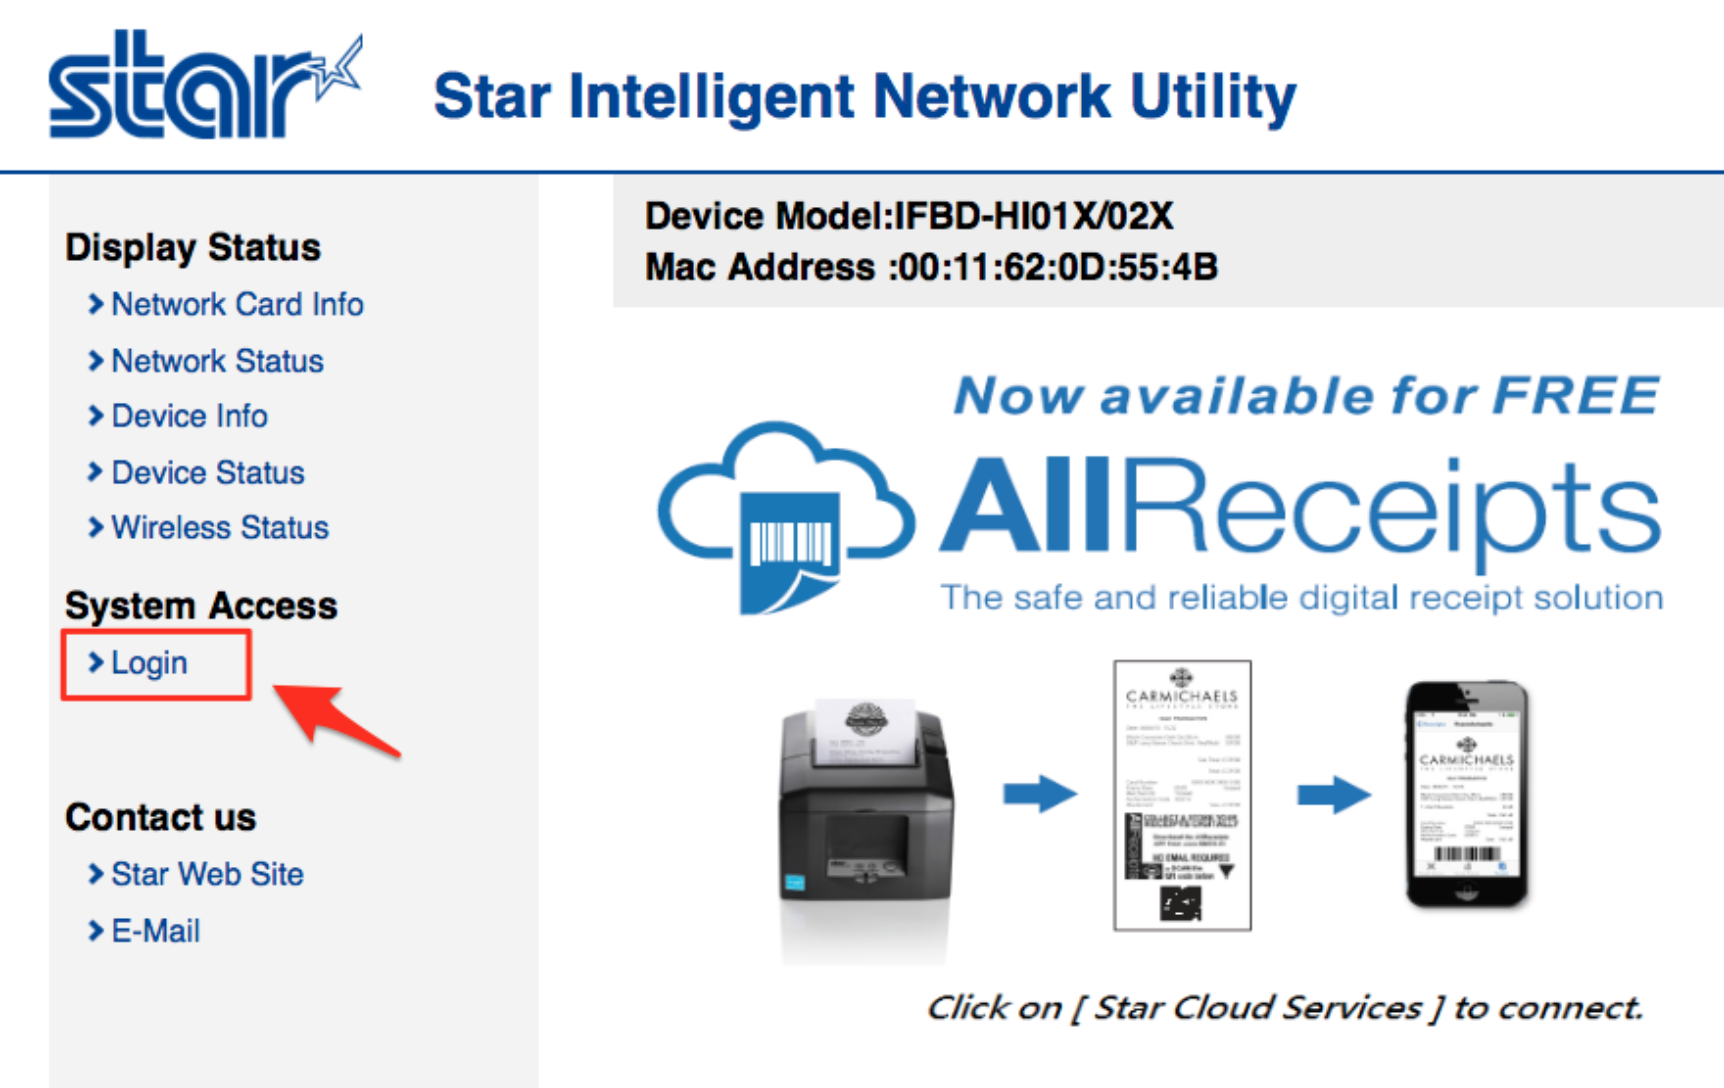
- Once logged in, on the left panel click CloudPRNT.
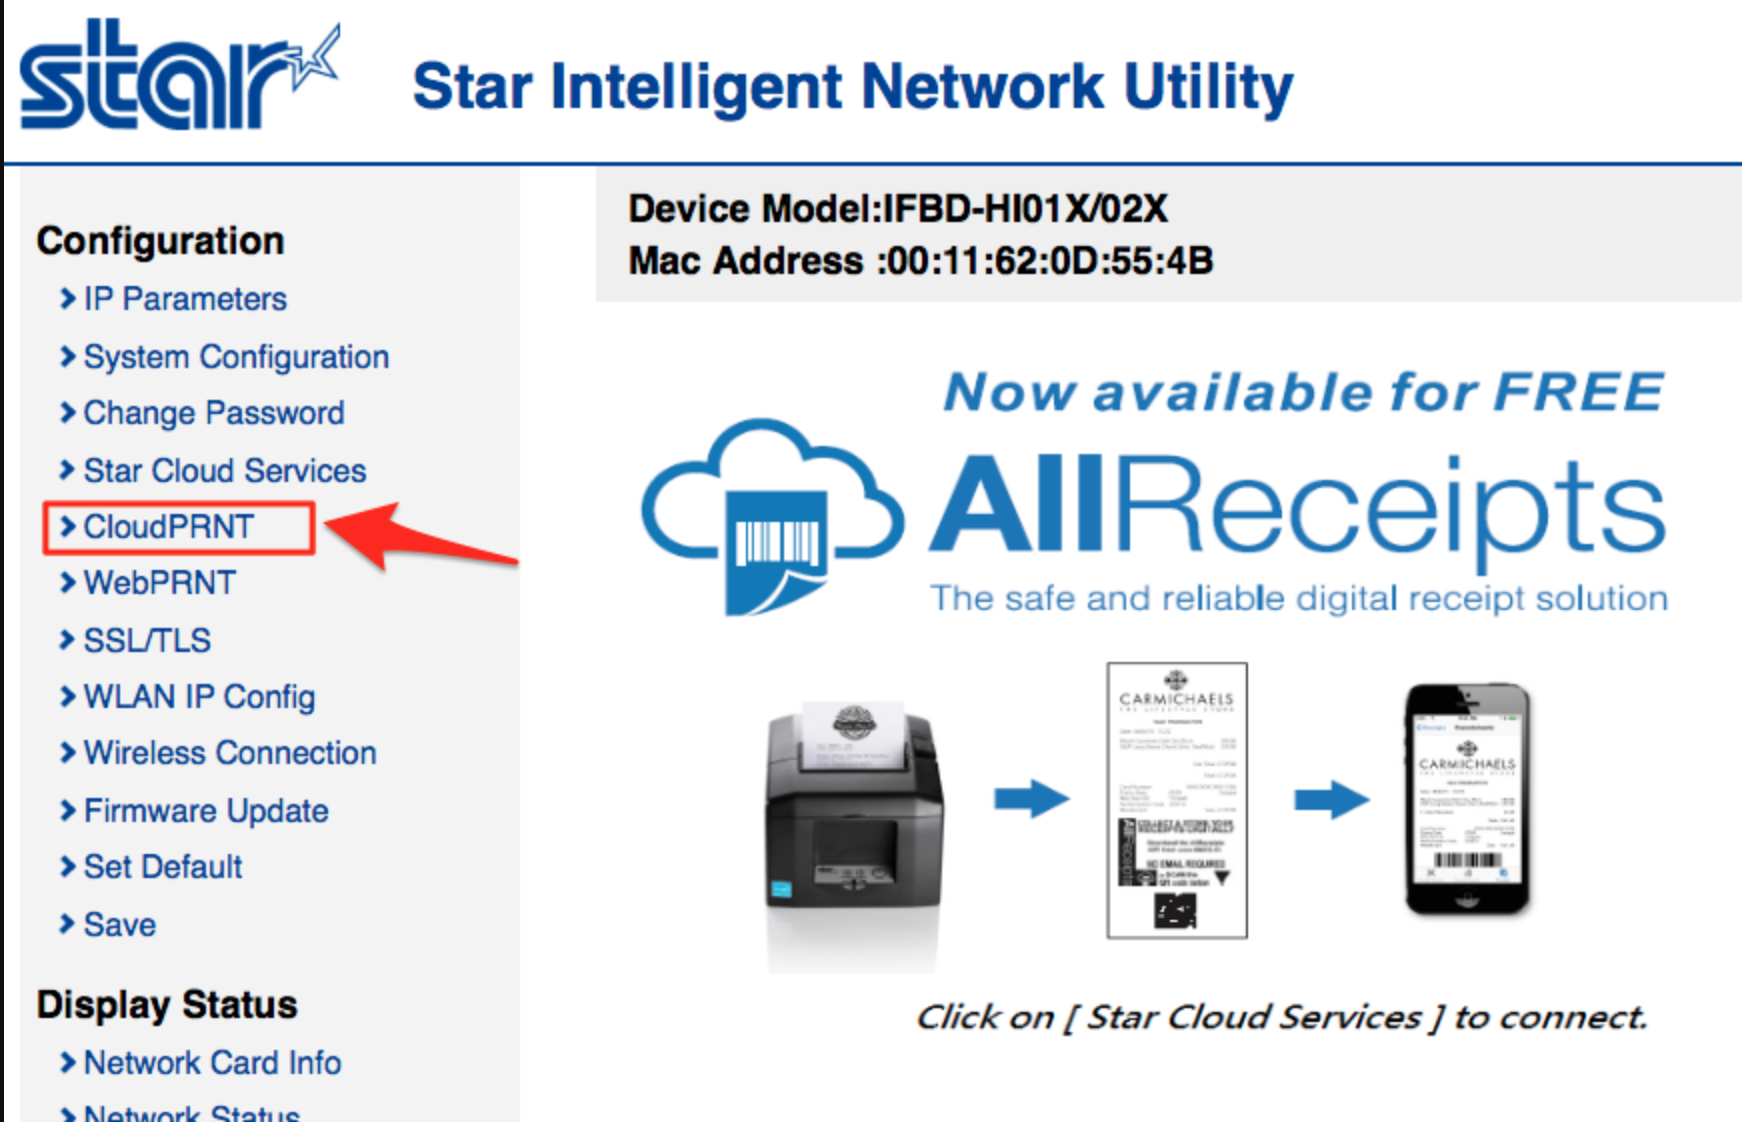
- Proceed to the next steps.
cloudPRNT Page Setup Steps
-
-
- Enable cloudPRNT Service.
- Enter the URL provided in the Food Ordering, Merchandise or Reservations Extras section into the Server URL field.
- Hit submit, then Save, then Save configuration.
- Restart the device.

-
That’s it! Your printer will now print all orders from this feature.