
Overview
With our North Park update, you can quickly add a well-designed and branded Walkthrough to your application.
You just got a user to download your app and it is time to turn them into a paying/engaging customer. This first impression is a make-it-or-break-it moment where you need to be sure you are setting your users up for success in understanding what the key purpose of your app is, and why it needs certain permissions from your device.
In this article, you will learn about the different components of this feature and what you can do with them in your app.
Information
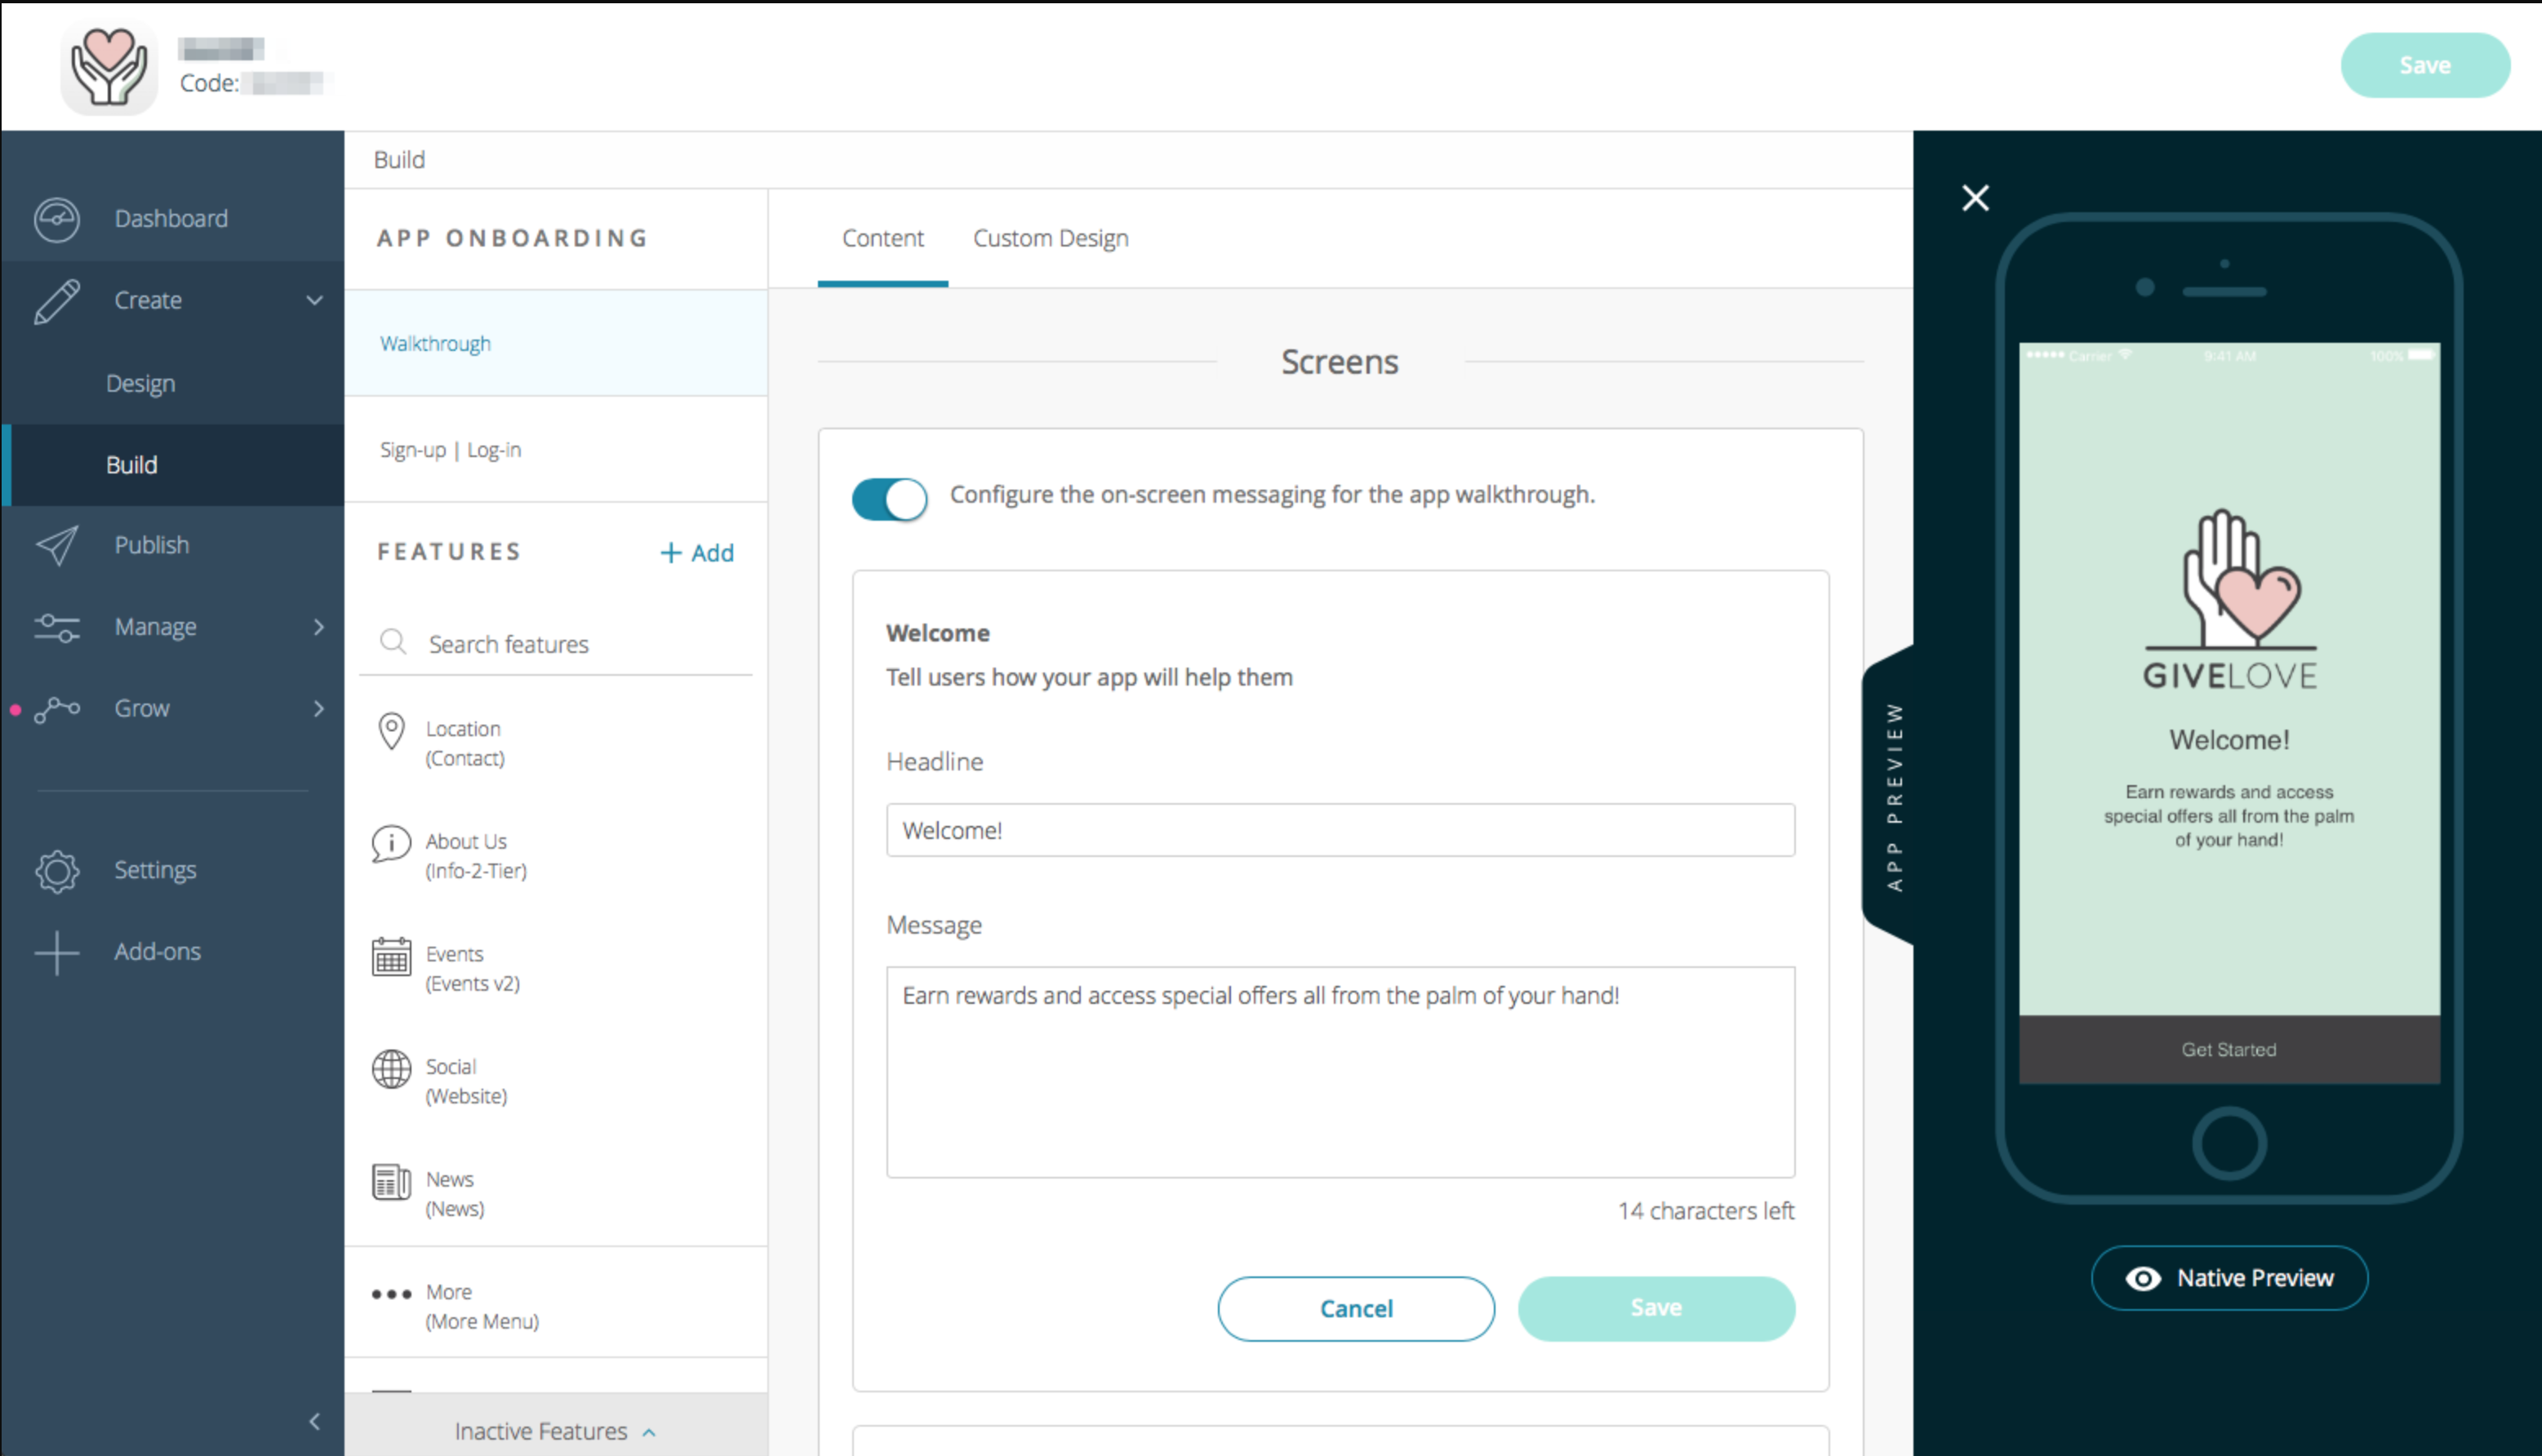
The branding logo and other design settings are pulled from the Create > Design step. You can, however, override these by using the Custom Design option.
Welcome
First up is the Welcome Screen. Here you can customize the welcome message, branding logo, and short introduction.
(Click on image to enlarge)
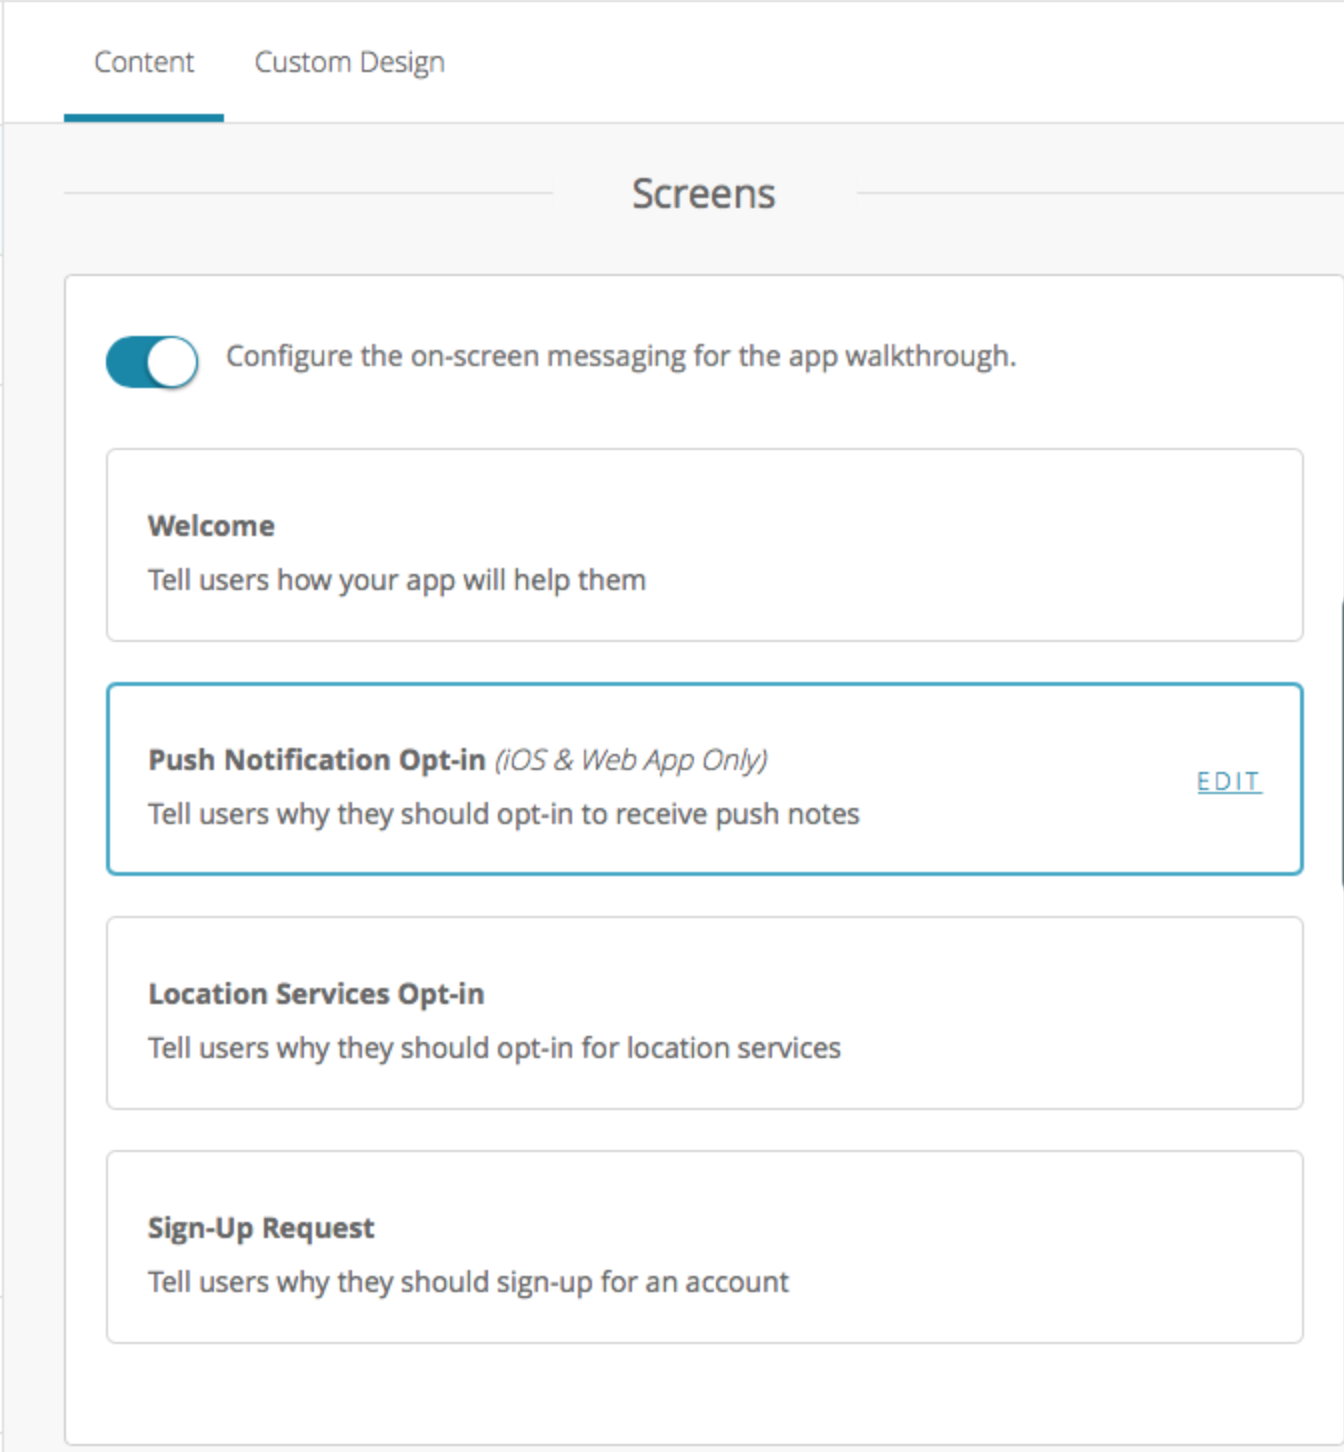
Push Notification Opt-in
- The goal here is to best articulate how your users will benefit from your app by accepting push notifications.
- If you are known to provide useful updates throughout the week or perhaps flash sales or deals, this is the first place to let your users know.
- If done correctly this brief explanation for the push notifications prompt can exponentially increase the percentage of users who accept.
- Tip: You can also adjust the phone graphic that is used here from the Custom Design page giving you another option to let your brand speak.
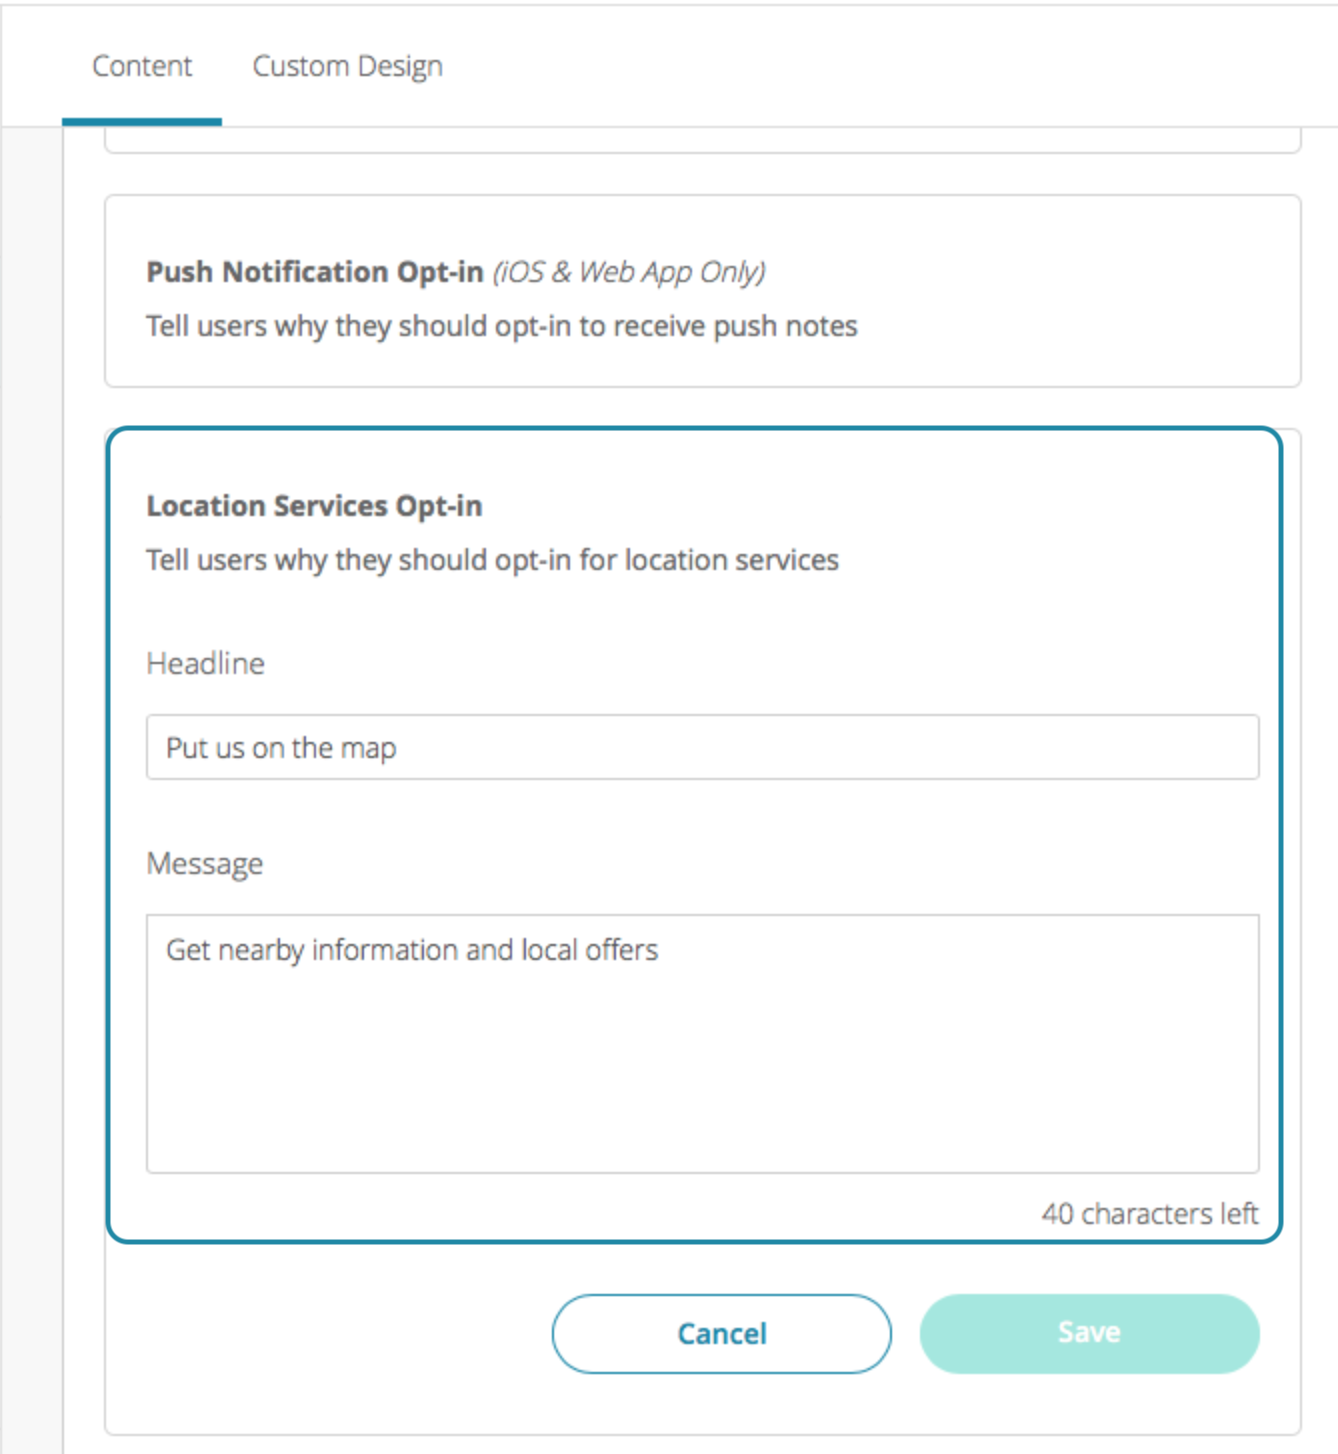
Location Services Opt-in
There are a few reasons why your application may need location services.
- Whether it is for finding their location for food ordering delivery, seeing their position to nearby points of interest in the around us feature, or being able to direct location specific and geofencing push notifications, you and your users can benefit greatly for sharing their location.
- Use this screen to educate your users so they stress less about providing you with this valuable data.
- Tip: You can also adjust the location graphic that is used here from the Custom Design page giving you another option to let your brand speak.
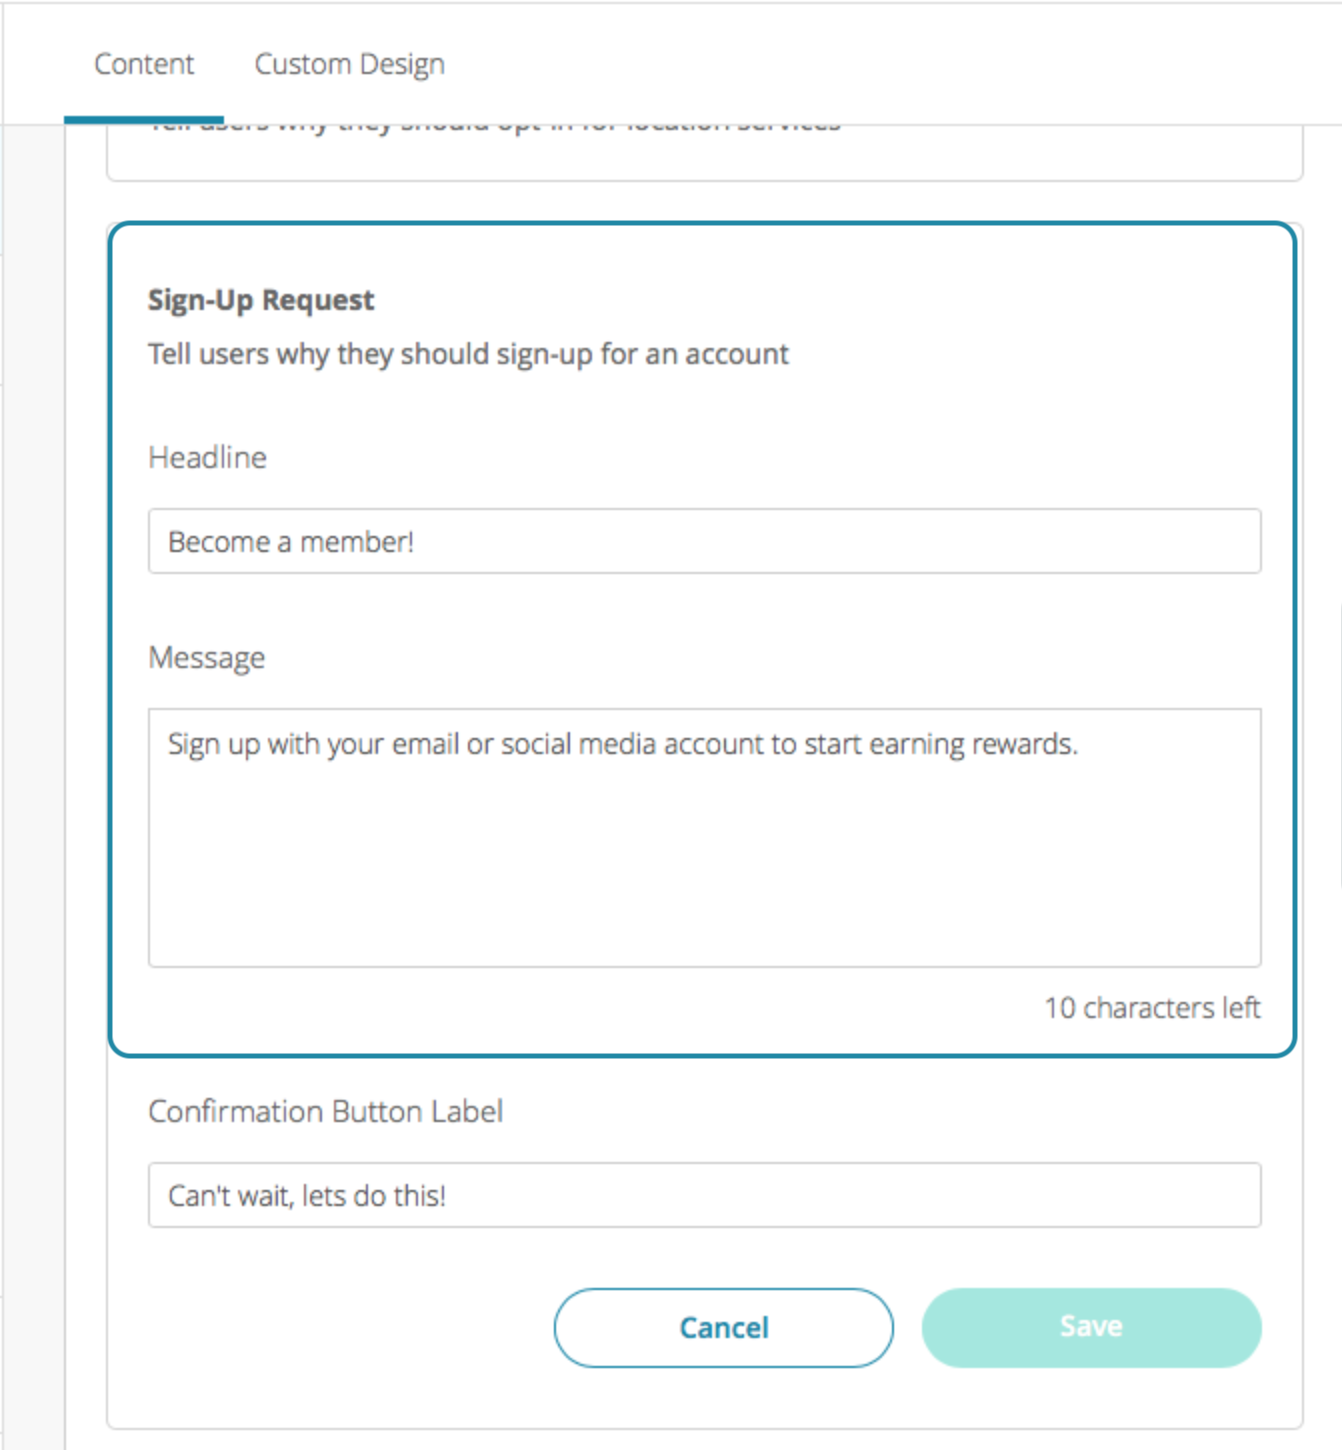
Sign-Up Request
This is an optional screen, and will only be available if you have Sign-Up enabled (we recommend that you do).
- Once enabled, this screen helps educate your new user on the benefits of creating an account.
- In doing so you will be able to grab priceless user data straight from your mobile app.
- Tip: You can also adjust the social graphic that is used here from the Custom Design page giving you another option to let your brand speak as well as the final button text.
Do not be afraid to be fun and let the personality of your brand show!
Additional Information
For older source codes, here is what to expect when using the old Walkthrough feature:
- You will notice your older walkthrough feature will be operating as expected, however, it has been relocated into the new App Onboarding section on the Build page.
- You will also notice on the CMS previewer that your older content will display as expected on the new screens; however, in the text fields, they are trimmed. If you make any saves on this page, your content will be trimmed to fit so be aware of this.
- If you update your native apps to North Park, they too will operate well with the longer text limits.
- It is recommended that once you do update to North Park, you adjust your Walkthrough texts to better incorporate the new screens, designs, and permission flows.